Microsoft Office 365 allows us in a very easy way to encrypt messages to our recipients. To be able to use Message encryption we need to have either an Office 365 Enterprise E3 or E5 Plan or a Microsoft 365 E3 or E5 Plan. If we don’t have one of those plans but at least one of the following Plans:
- Exchange online Plan 1
- Exchange online Plan 2
- Office 365 F1
- Office 365 Business Essentials
- Office 365 Business Premium
- Office Enterprise E1
There is still a way to use the Message encryption feature from Microsoft. In this case we need to get an additional subscription of the Azure Information Protection P1.
With one of these plans or the combination of it we can send encrypted messages to our recipients.
To do that we open a new E-Mail and follow the path > … > Encrypt > Encrypt.
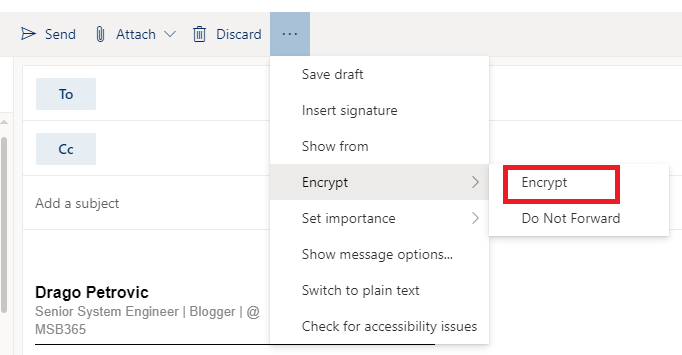
After we have chosen the encryption option, Outlook will show us the information below:
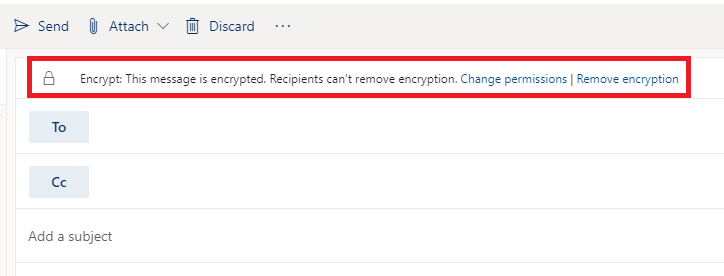
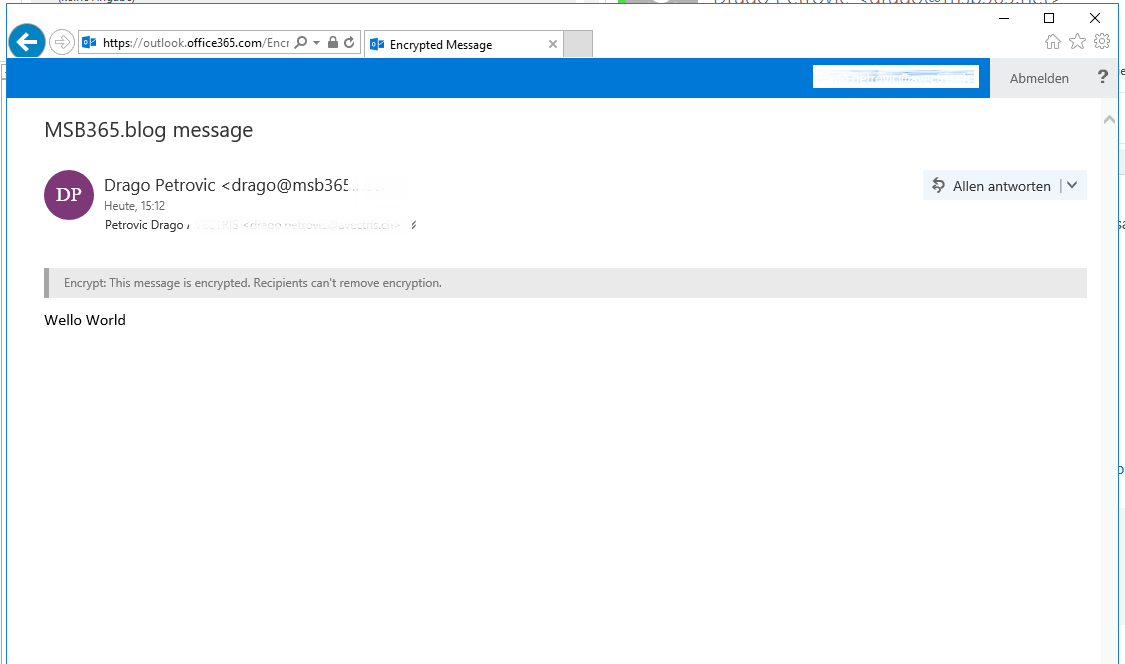
Now we write and send our message to the recipient and he will receive the e-mail this way:
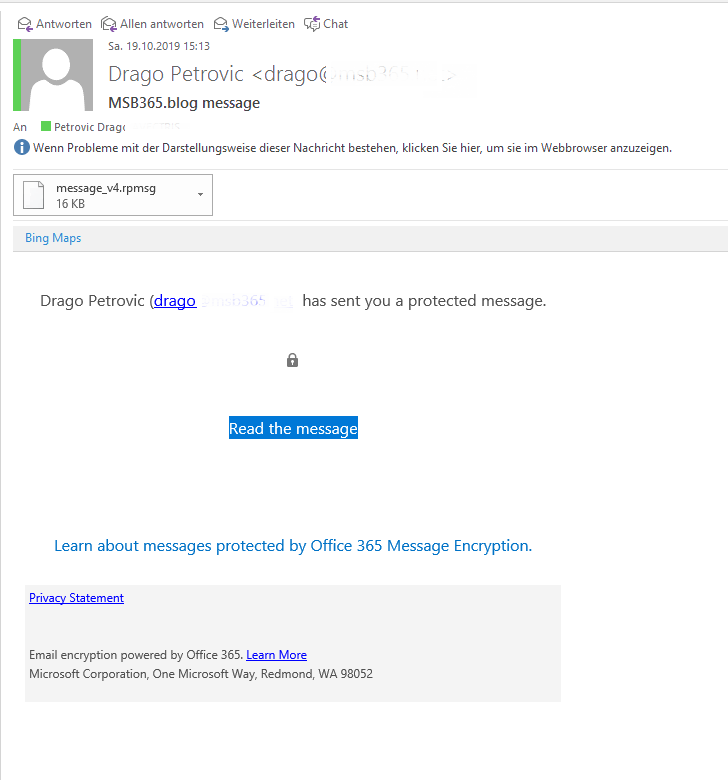
Now he needs to authenticate himself to be able to open the message for him.
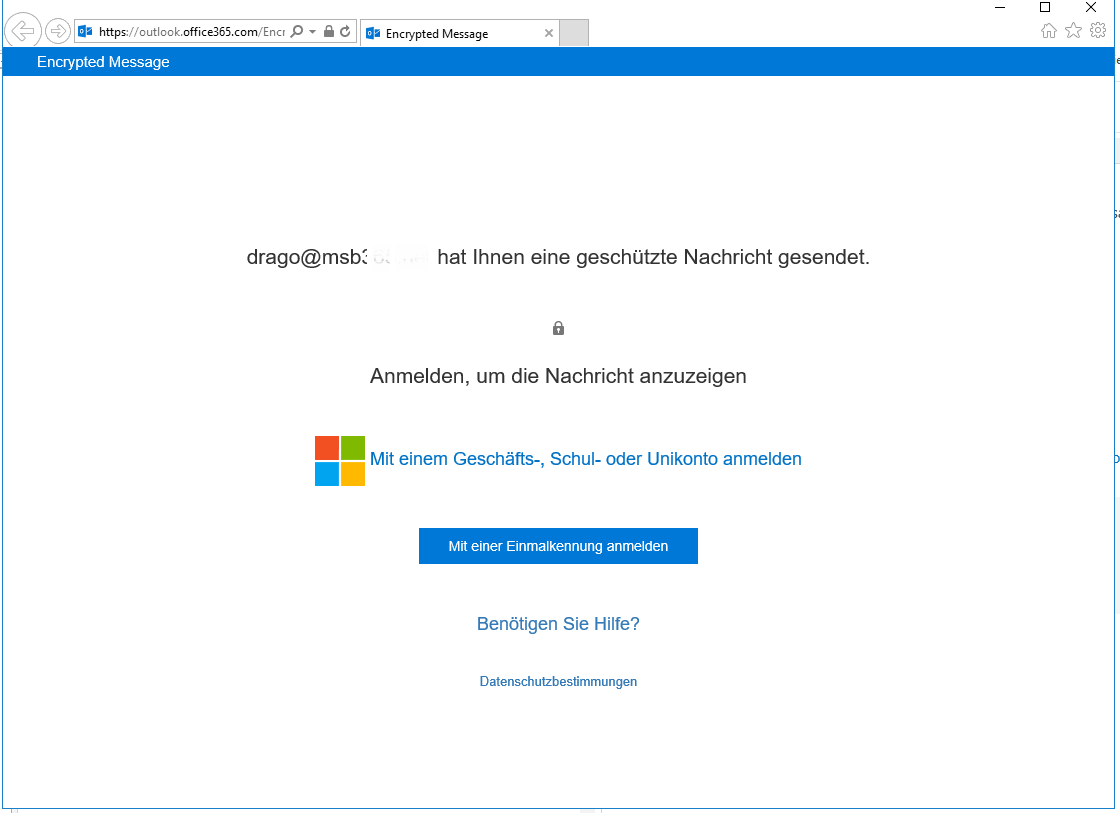
After he has authenticated himself, he will be able, to read the message.
That is really cool, there is no huge pre-configuration or feature installation needed. It simply works out of the box.
Personalization – Why?
In the first part we saw how easy it is to send encrypted messages. However, there is also a way, how we can make a company branding for Office 365 Message Encryption.
I advice to personalize the default design for some reasons. First, it simply looks way more professional. At the second point, the default design looks clean and pretty, but it also could be potentially a phishing message as well. If you are sending a message to Contoso encrypted in this design and the recipient open the message all is good. However on the next day he is receiving a phishing message that look’s one by one the same as your message looked like one day before, he maybe thinks, it is also a normal message, tries to open it and, he got phished.
In the very worst case he maybe will try to make you responsible for that, even if you didn’t have nothing to do with that.
Personalization – How?
To personalize the layout, we will use PowerShell.
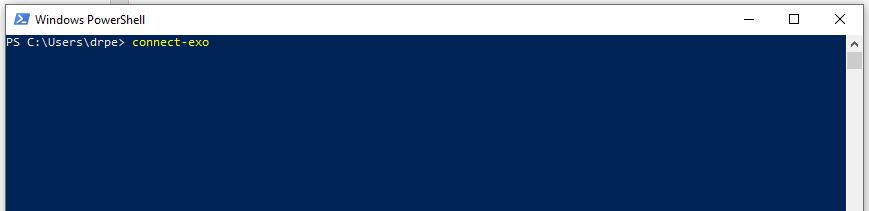
First, we need to connect to Exchange online. If you have enabled MFA, you can download the right Module from your Hybrid configuration.
If MFA is not enabled by you, I made a PowerShell function which you can find HERE for free as download.
To personalize the template in the right way we need to know, what we can personalize and how.
Everything starts with the command:
Set-OMEConfiguration
We will build now the whole command, step by step.
To know what identity we have, we will run first the command:
Get-OMEConfiguration
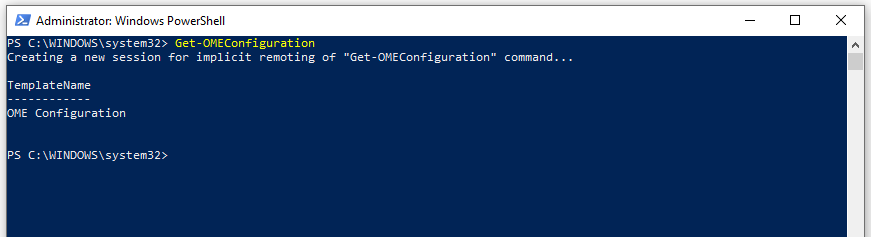
As we see, our Template is called “OEM Configuration”
Wit that information, we have now the second part of our final command. That means, the command currently looks like:
Set-OMEConfiguration -Identity "OME Configuration"
In the end we are able to configure nine points of the template, we will start now with the Background color.
Background color
The background color of the e-mail and Portal branding can use any HTML Hexadecimal color code. As example the code #FFFFFF stays for white.
To get the right code for you, you can browse for the color you want following this Link HERE and get the code you want.
In our example of the PowerShell command I will use a kind of gold color with the code #B7950B.
If we continue now with our PowerShell command, it currently looks like:
Set-OMEConfiguration -Identity "OME Configuration" -BackgroundColor "#B7950B"

Disclaimer Text
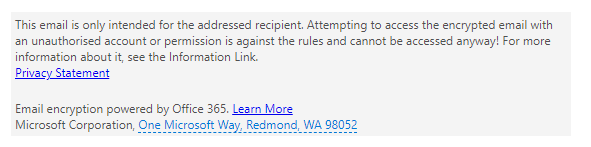
The next part we will continue on our command is the disclaimer text. The disclaimer text is on the bottom of the encrypted message and it can contain maximum 1024 characters.
To add a disclaimer text, we need the option:
-DisclaimerText
For our example we will write:
“This email is only intended for the addressed recipient. Attempting to access the encrypted email with an unauthorized account or permission is against the rules and cannot be accessed anyway! For more information about it, see the Information Link.”
Now our command is slowly getting long, here is the current status:
Set-OMEConfiguration -Identity "OME Configuration" -BackgroundColor "#B7950B" -DisclaimerText “This email is only intended for the addressed recipient. Attempting to access the encrypted email with an unauthorised account or permission is against the rules and cannot be accessed anyway! For more information about it, see the Information Link.”
Add a Company Logo
To be able to add a company Logo as a picture to our template, we need to use the “Get-Content” cmdlet. I guess this command is not that often used in the daily business, so if you don’t know this command, you can find more information about it on Microsoft Docs by following this Link HERE.
Another thing that is important to know is, that only the following Picture formats are supported: .PNG .JPG .TIFF and .BMP
From the dimension size Microsoft advices, the size of 170×70 pixels by a size of 40KB.
We need to add the path of the picture we have located it on the device, we will run the PowerShell command later.In my case the command part will be like this:
-Image (Get-Content "d:\Users\drpe\Documents\26_MSB365\sig_1.png" -Encoding byte)
Now we have the next part of our puzzle. Our final command looks currently like this:
Set-OMEConfiguration -Identity "OME Configuration" -BackgroundColor "#B7950B" -DisclaimerText “This email is only intended for the addressed recipient. Attempting to access the encrypted email with an unauthorised account or permission is against the rules and cannot be accessed anyway! For more information about it, see the Information Link.” -Image (Get-Content "d:\Users\drpe\Documents\26_MSB365\sig_1.png" -Encoding byte)
Main E-Mail text
This part of our configuration is one of the main messages, we want to show to our recipient. I advice you to keep that text easily readable and not too long. Another option is to don’t add any text here and just skip this part of the command.
However, if you want to edit this part, the command would look like this:
-EmailText "You have been sent an email that has been encrypted. You will need to validate your identity in order to access the content of the message."
Note: I will skip this part on our final command we will get in the end of this article.
Introduction Text
This is the introduction text at the top of the E-Mail located above the default “Read Message” link.
Here we have to be very precise, if we want for our example the following text: “Drago Petrovic ([email protected]) has sent you a protected message. Please verify your identity at the link below to access the encrypted email. “, we don’t need to add the whole text!
The only thing we need to add is: “has sent you a protected message. Please verify your identity at the link below to access the encrypted email. “
The user who is sending the message, is a variable.
So the command part looks like:
-IntroductionText " has sent you a protected message. Please verify your identity at the link below to access the encrypted email."

Our final command looks now like:
Set-OMEConfiguration -Identity "OME Configuration" -BackgroundColor "#B7950B" -DisclaimerText “This email is only intended for the addressed recipient. Attempting to access the encrypted email with an unauthorised account or permission is against the rules and cannot be accessed anyway! For more information about it, see the Information Link.” -Image (Get-Content "d:\Users\drpe\Documents\26_MSB365\sig_1.png" -Encoding byte) -IntroductionText " has sent you a protected message. Please verify your identity at the link below to access the encrypted email."
OTP
The OTP specifies whether recipients can use a one-time pass-code to access the encrypted message.
Note: If this is set to $true, the recipient can use a one-time pass-code. If it is set to $false, the user will be only allowed to access the message by using an Office 365 account or a social login, depending on the Social ID Sing-In parameter value.
By default, this option is set with $true. In my example, I will leave it on $true.
So, the puzzle part here is:
-OTPEnabled:$True
Portal Text
Optional we also can set a Portal Text. This will be displayed at the top of the Office 365 Message Encryption Portal.
If we use that option too, It should be a kind of a title. To show what I mean with that we will use the following example for us:
“MSB365 | Office 365 Message Encryption Portal”
To add this to our command, we need the option:
-PortalText
And our command looks now like this:
Set-OMEConfiguration -Identity "OME Configuration" -BackgroundColor "#B7950B" -DisclaimerText “This email is only intended for the addressed recipient. Attempting to access the encrypted email with an unauthorized account or permission is against the rules and cannot be accessed anyway! For more information about it, see the Information Link.” -Image (Get-Content "d:\Users\drpe\Documents\26_MSB365\sig_1.png" -Encoding byte) -IntroductionText " has sent you a protected message. Please verify your identity at the link below to access the encrypted email." -OTPEnabled:$True -PortalText "MSB365 | Office 365 Message Encryption Portal"
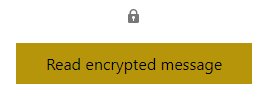
Button Text
If we are personalizing the template, we also are able to customize the Link Button Text. By default the Button Text says: “Read the message”, I personally like that, it is simple and clear. However, a small customization we still can make. We will be changing the Text to: “Read the encrypted message”. To do that, we need the option:
-ReadButtonText
So, the option is made with the command:
-ReadButtonText “Read encrypted message”
And the whole command till now is:
Set-OMEConfiguration -Identity "OME Configuration" -BackgroundColor "#B7950B" -DisclaimerText “This email is only intended for the addressed recipient. Attempting to access the encrypted email with an unauthorised account or permission is against the rules and cannot be accessed anyway! For more information about it, see the Information Link.” -Image (Get-Content "d:\Users\drpe\Documents\26_MSB365\sig_1.png" -Encoding byte) -IntroductionText " has sent you a protected message. Please verify your identity at the link below to access the encrypted email." -OTPEnabled:$True -PortalText "MSB365 | Office 365 Message Encryption Portal" -ReadButtonText “Read the encrypted message”
Social ID Sign in
Last but not least we also can edit the Social ID Sign-In at this place. This is also a part of the OTP chapter if we set the command with $false.
Enabling or disabling the use of Social Idsi is to validate the recipient’s identity that he is able, to read the message.
This command is by default set on $true and can be edited with the option:
-SocialIDSignIn:$True
Final PowerShell command
Finally we got our whole PowerShell command, that command looks for my example like that:
Set-OMEConfiguration -Identity "OME Configuration" -BackgroundColor "#B7950B" -DisclaimerText “This email is only intended for the addressed recipient. Attempting to access the encrypted email with an unauthorised account or permission is against the rules and cannot be accessed anyway! For more information about it, see the Information Link.” -Image (Get-Content "d:\Users\drpe\Documents\26_MSB365\sig_1.png" -Encoding byte) -IntroductionText " has sent you a protected message. Please verify your identity at the link below to access the encrypted email." -OTPEnabled:$True -PortalText "MSB365 | Office 365 Message Encryption Portal" -ReadButtonText “Read the encrypted message” -SocialIDSignIn:$True