What is the Azure Application Proxy?
Azure AD Application Proxy is a feature of Azure AD Premium and Azure AD Basic. It allows publication of internal web-based application to provide Internet access to authorized users in the corporate domain.
The Azure AD Application Proxy can be used in place of internal Web Application Proxy Servers to provide authorized internal users access to internal, web-based applications from outside the security of the corporate network.

Typically, your organization will have internally deployed SharePoint sites, Outlook Web Access, Citrix Director (for those Citrix customers), and many other line-of-business web applications. Using Application Proxy (a feature of Azure AD), you integrate those applications with Azure AD, and the applications can be consumed externally in a secure manner.
Often the case when needing to present such applications out to the internet, you have to depend on VPN-type solutions for security, proxies, DMZ extensions of your applications, or else modify different firewalls to accept direct traffic to your internal resources. Using Application Proxy, a Proxy Connector is installed on a server in your internal network, which acts as the broker (reverse-proxy) to provide you with access to that application. No need to deal with VPNs or firewall rules, just allow ports 80 and 443 from the Connector out to the internet.
Why should I use the Azure Application Proxy?
There are many advantages, that is why we should use the Azure Application Proxy, here is a short list of some of them (This list is not final).
One outgoing and none One incoming connection
You do not need to have an incoming HTTPS publication in your firewall to an internal web server. The connector internal opens an outgoing connection.
No public IP
For me personally one of the two most important points, if a company has only few or no more free public IP addresses or its IP address changes from time to time, this has no influence on the publications with the Azure Application Proxy.
No public certificate
My second personal highlight is that it does not necessarily need its own public certificate. Microsoft provides this and it can be used as often as you like. In this case, however, the domain is specified in the address link. If you don’t want this, you can of course also use your own public certificates.
These can be used relatively easily.
PreAuth, Conditional Access, MFA
You can also select “Passthough” but the pre-qualification of users is a great protection against attacks on accounts, as Azure can already fend off these logins
DDoS protection
Since your own web server is always hidden behind the Azure services, you have a very good DDoS protection built in. Here, too, you have to consider that Microsoft has a huge infrastructure in front of it and this would normally rarely or never be built by companies.
OAUTH
If a user has already authenticated himself on the AzureAD Ap Proxy (preferably with MFA), then you may want to avoid a second login to the actual back end. This is possible via OAUTH tokens. The Azure AD App proxy “knows” the user and your backend app is also known in Azure AD. Then you can also send the user a suitable token which he passes on to the backend service. More and more applications support this login.
Guest Access
Pre-authentication is not limited to its own tenant. You can also authenticate the users of other tenants via the Azure AD App Proxy. Depending on the application, this option opens up the horizon by a right slice.
Cost/License
In order to use Azure Application Proxy and all its benefits, one of the following licenses is required:
Azure AD Premium P1 or P2.
Azure AD Premium P1 is currently also included in the following Microsoft plan:
Enterprise Mobility & Security E3
The Azure AD Premium P2 version is offered in the following Microsoft plan
Azure Mobility & Security E5
The complete overview of the features can be found here:
https://azure.microsoft.com/en-us/pricing/details/active-directory/
Configuration Azure Application Proxy
| Log on to the Azure portal | 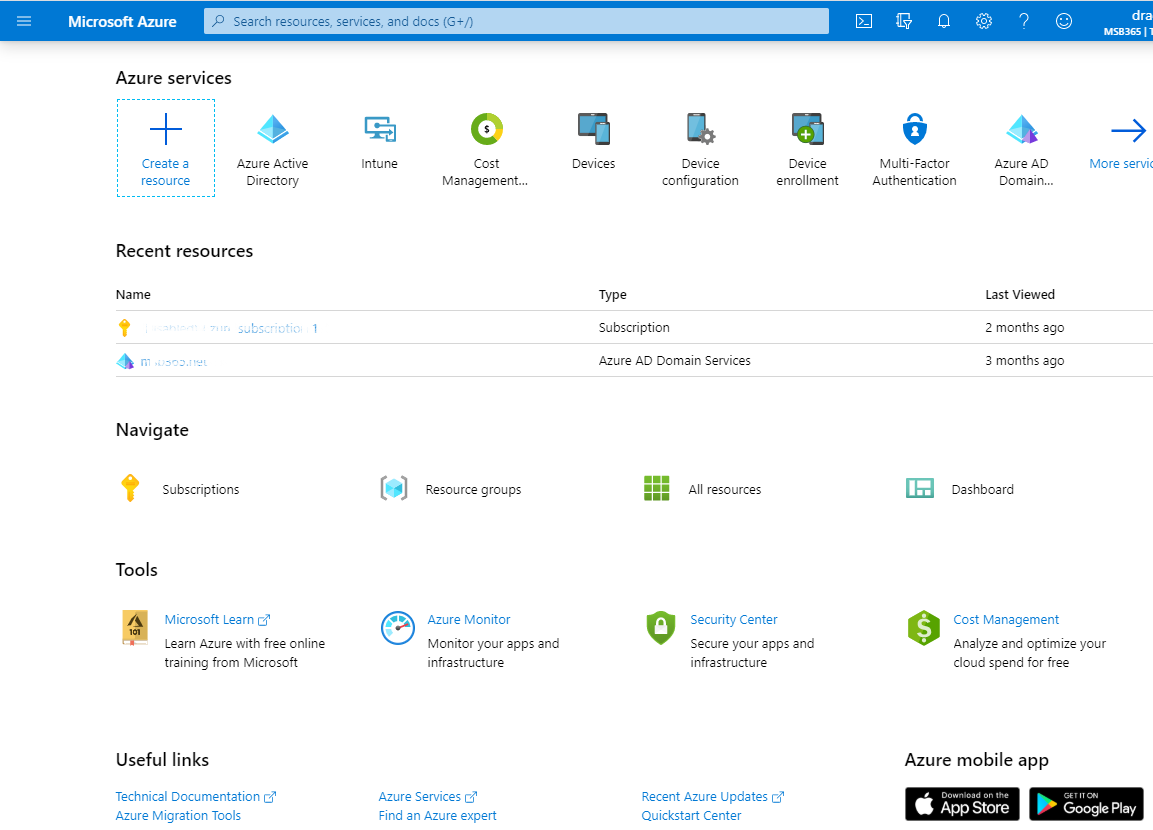 |
| Navigate to Enterprise applications. |  |
| Select On-premises application. The Azure portal will inform you that you have no Application Proxy Connector servers and that you must download and install the required software to a server. Click Download Application Proxy Connector. | 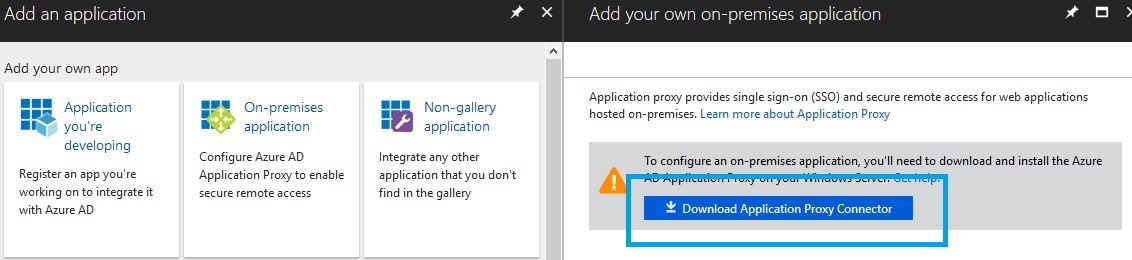 |
| Before installing the Application Proxy Connector software, turn off IE ESC (Internet Explorer Enhanced Security Configuration) via Server Manager. Click Accept terms & Download. | 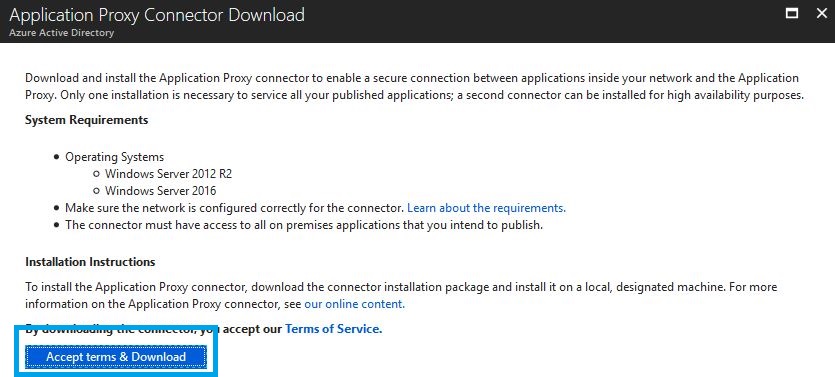 |
| Run the installer from a supported server operating system, and click I agree to the license terms and conditions followed by Install. | 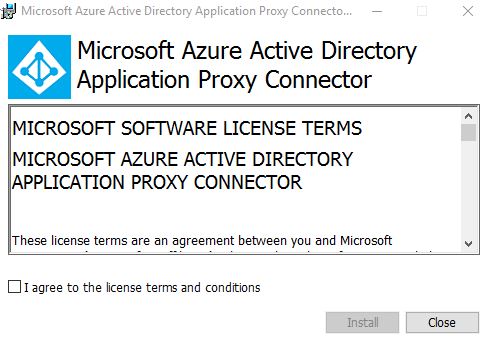 |
| Enter credentials of an Azure global administrator account. |  |
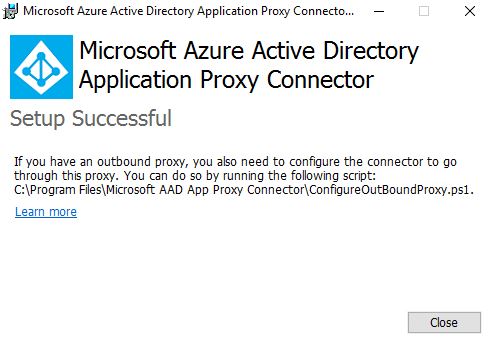
| Click Close to complete the install.
Two services are installed alongside the Proxy Connector:
Microsoft AAD Application Proxy Connector – Enables connectivity. Microsoft AAD Application Proxy Connector Updater – Checks for new versions of the connector and updates the connector accordingly. |
 |
| Return back to the Azure portal and click I’ve finished the installation. | 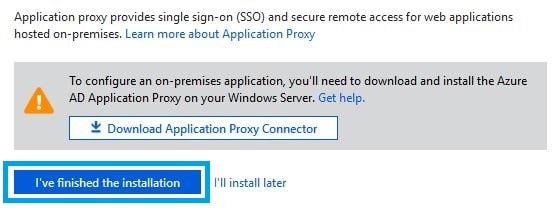 |
Add an application
| Back in the Enterprise applications portal at the Azure Portal we click on + New application | 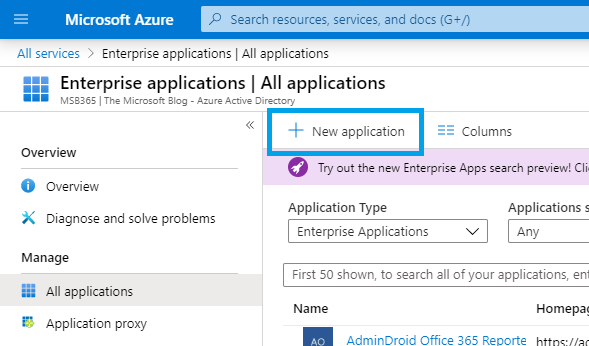 |
| Here we choose the type of our deployment, in our case we choose On-premises application | 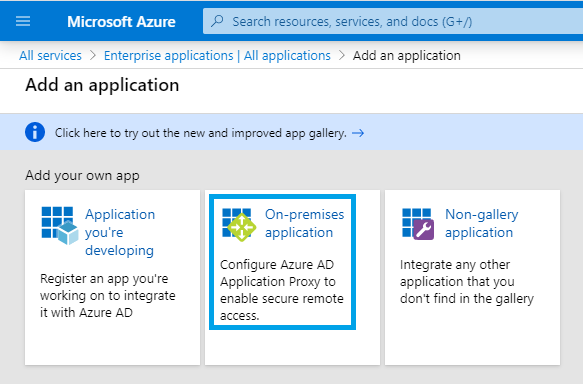 |
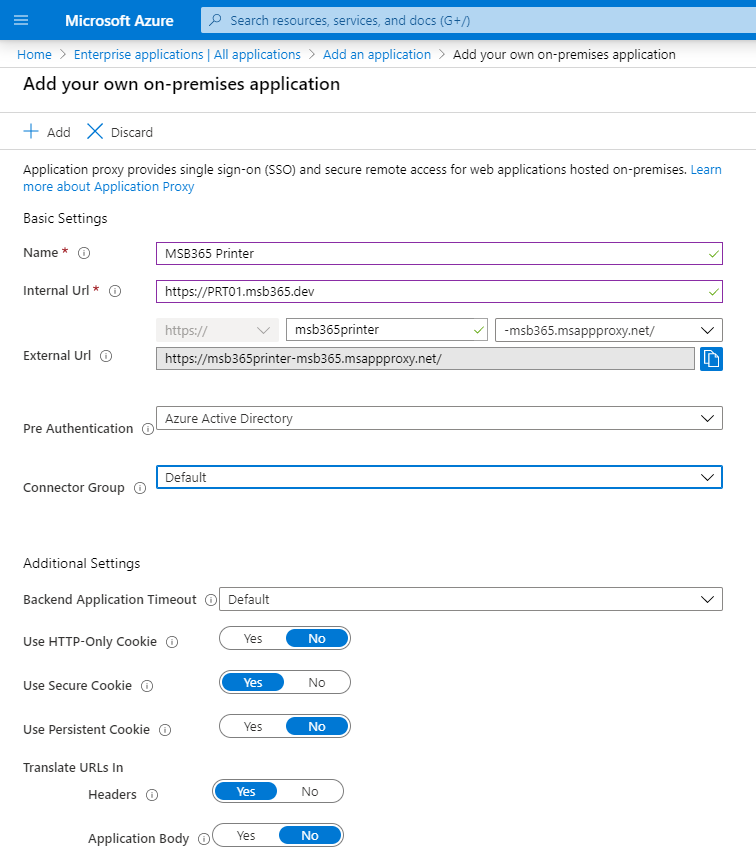
| We fill in the needed information it is shown in the form.
I will use for this article one of my printers… |
 |
| Your application will show as below and is editable at any time. You can also add new applications from this screen. Click on Application proxy. | 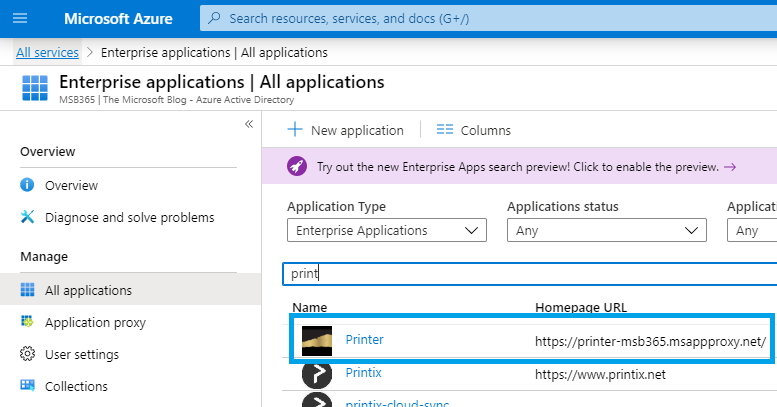 |
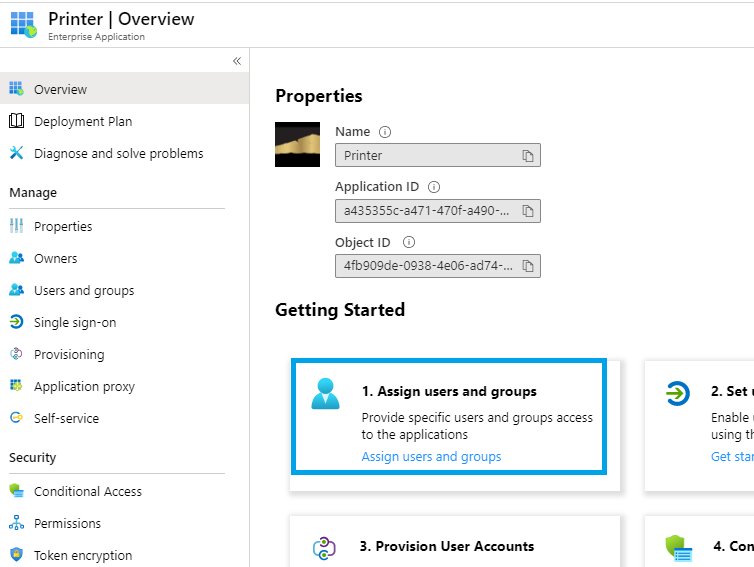
| In the next Step, we need to assign the new application to Users or User Groups, who should be allowed, to access the App.
For that we click on Assign users and groups |
 |
| Here we do it in the way, how we also add permissions to other Groups in Azure. | 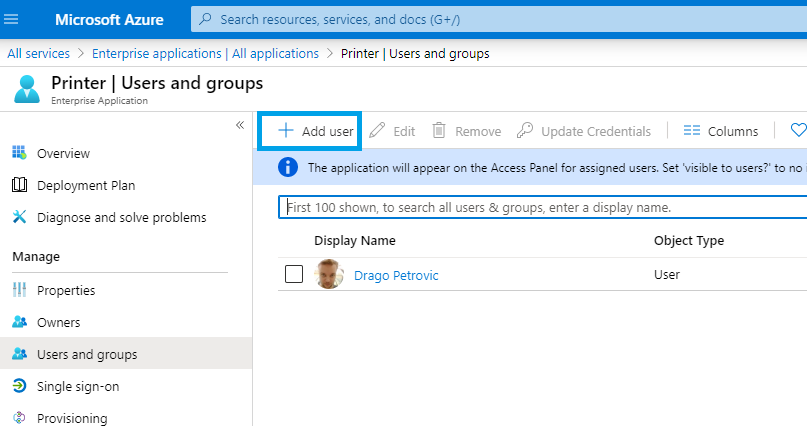 |
Accessing the Application
There are two ways, how we can now access the configured Application:
| The first way is, if we go to the Office 365 Portal using the path https://portal.office.com
Here we click on the |
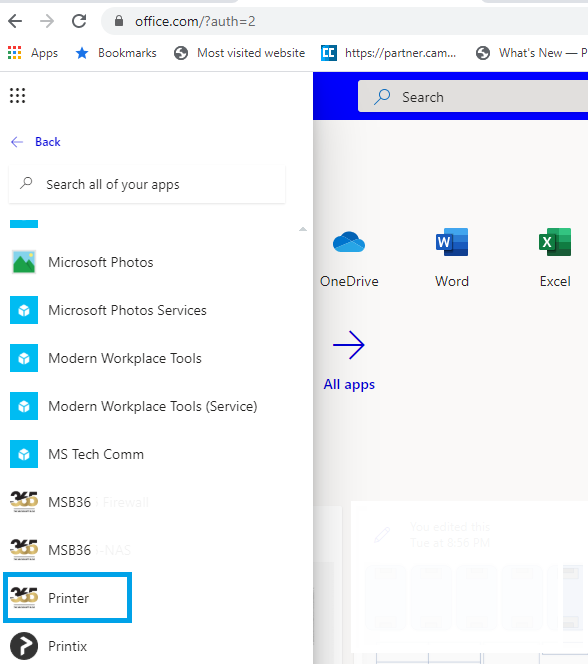 |
| The second way is if we know the public link, we simply hit it in a web Browser. | 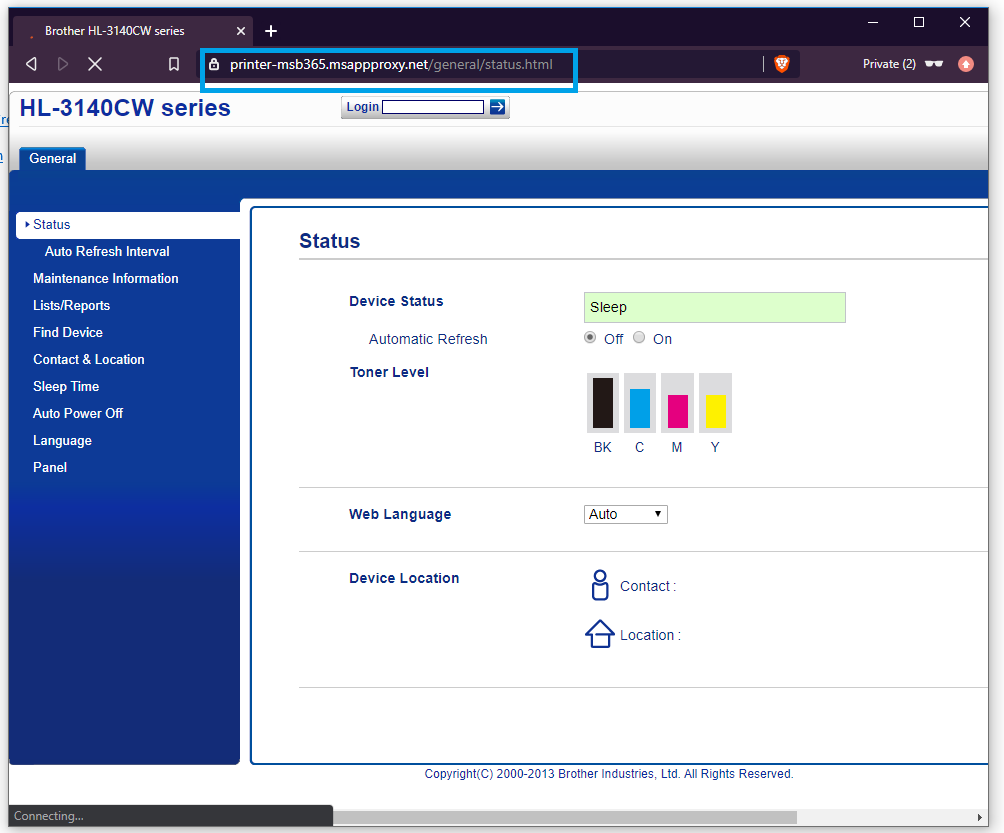 |
Photo by Piotr Hamryszczak on Unsplash