Prolog
Recently I had a small project by one of my customers. This customer company has bought another company and one part of the project was to bring this two companies closer to each other step by step.
However, one of the project points was to create a federation between both Organizations. One company – let us name it Contoso, had an on-premise Exchange environment and the other company – let us call it Fabrikam has an Exchange online environment.
The goal with this action was that both companies are able to share the calendar free/busy information, that they are able to schedule meetings and meeting rooms with each other.
Let’s start – on-premise Exchange
To be able to perform the steps on the on-premise Exchange, I had to make some few pre-tasks.
First, I had to make sure, that my account had the Exchange administrator rights.
After my account was ready, I had also to get access to the public DNS Zone, here we will need to create a TXT-Record to verify the Organization.
The third point I had to make sure was, to check if the Autodiscover was working correctly.
Note: If you also plan to create a federation trust between two organizations you need to make sure, that the Autodiscover configuration works without any problems! This is very important otherwise you will end up with only one-way calendar free/busy sharing.
After all, pre tasks for the on-premise site are done and Autodiscover is working fine, we can now start with the configuration of the federation from the on-premise Exchange site.
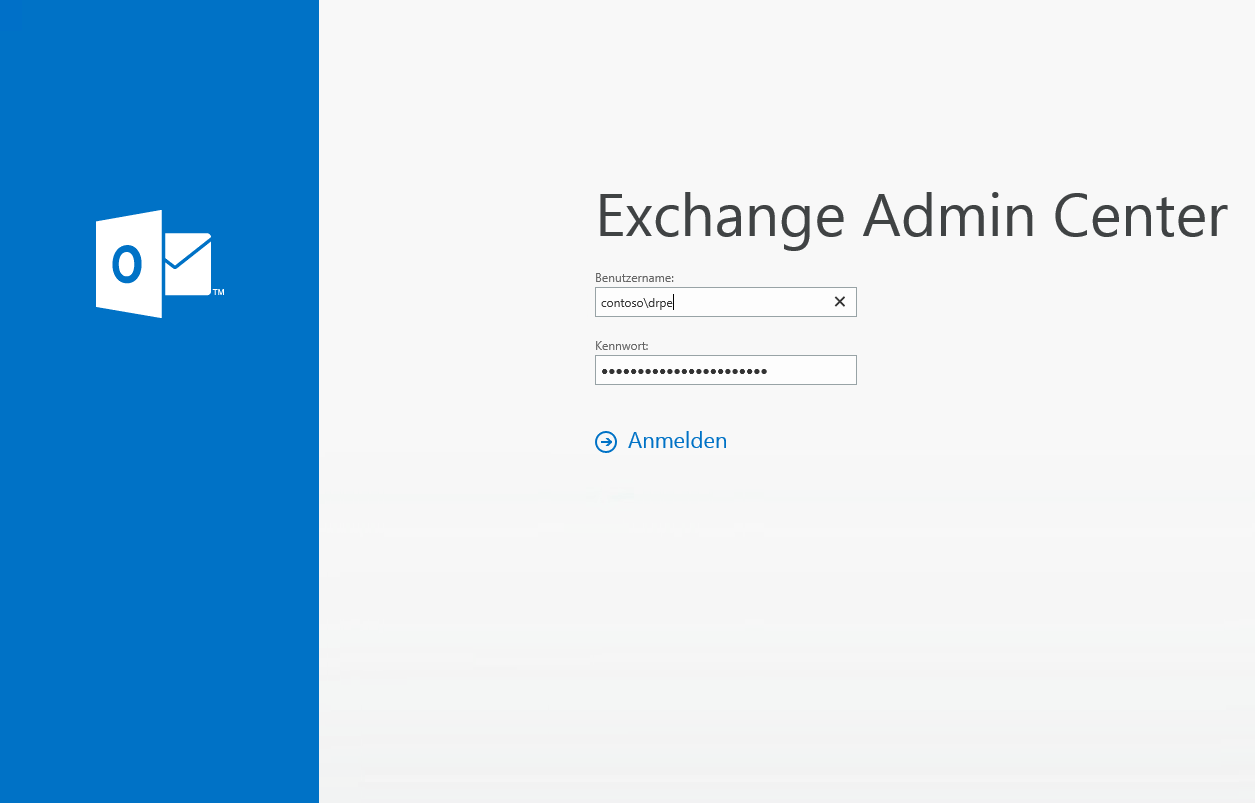
Now I had to login to the EAC with the account who has the Exchange admin rights:
After the login, I had to browse organization > sharing:
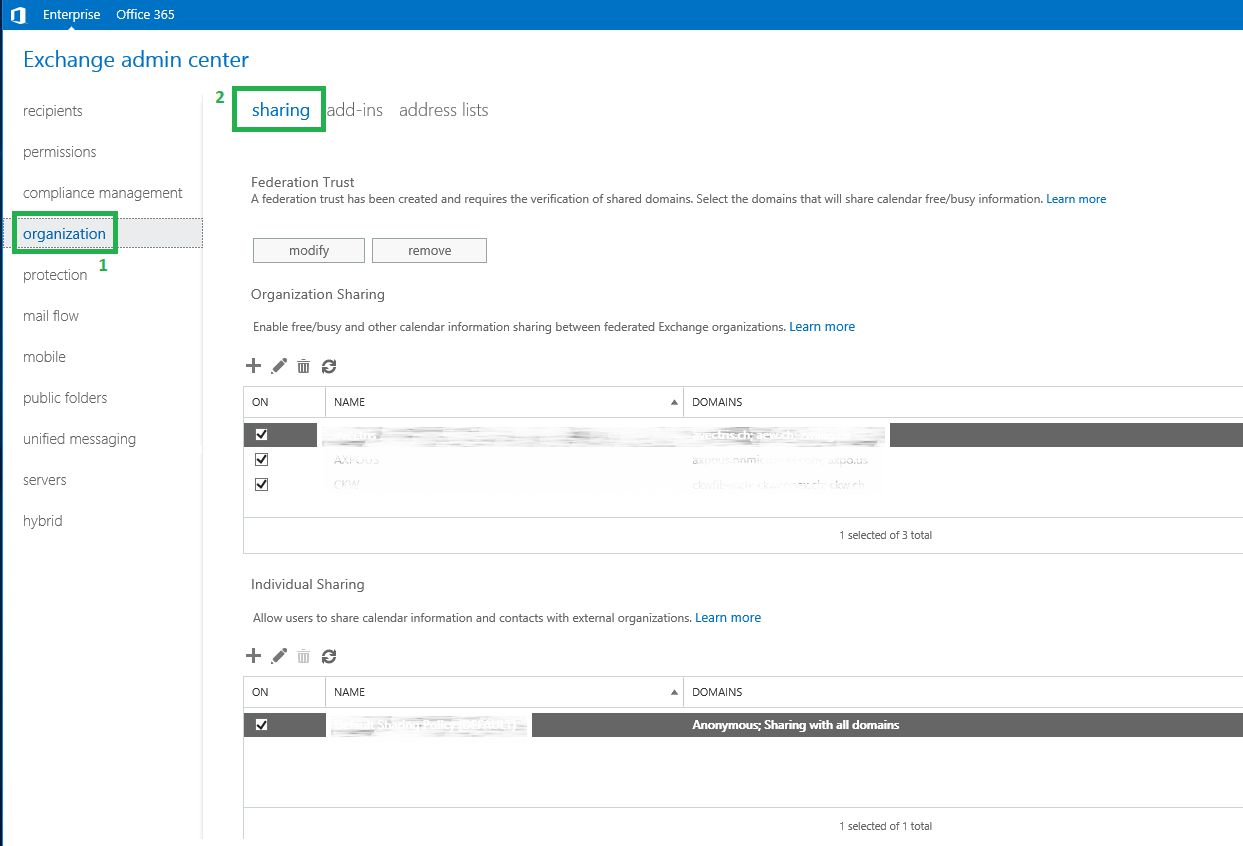
Note for the next step: If there is not configured any federation trust, you will have to click on enable. This will start the federation trust wizard, this wizard is a straight forward setup and once when the wizard is done, you only need to click on close.
From this point I was continuing the federation configuration.
In the next step I had to continue under federation trust with the option modify:

A new windows is opening called Sharing-Enabled Domains, here I had to click on browse. In the menu Select Accepted Domains I had to select the primary domain name of the on-premise exchange setup and then I clicked OK to continue.
The continuation at this point was, that exchange creates a federation trust with the Azure AD authentication system. I also got promoted a TXT-Record on the windows, this TXT-Record I need to create in the public DNS zone of my primary domain which I had chosen to create the federation trust.
Note: Creating a public DNS Record can take up to 24h till it is replicated world wide.
In the most of my cases I had to wait plus/minus 15min till I was able to continue with my configuration. So, once I had created the record and after drinking one coffee, I clicked on Update for continuation.
When all this tasks are done, our window Sharing-Enabled Domains will look like the example below. It has created a unique federation trust namespace and it registered it with the Azure AD authentication system.

At this point we can add additional domains to the trust, I simply had to click on the “+” Icon and add the additional Domain I want, clicking OK and then Update for exiting.

One of the last steps is now to add a new sharing. Click on the “+” symbol and create the Organization relationship:
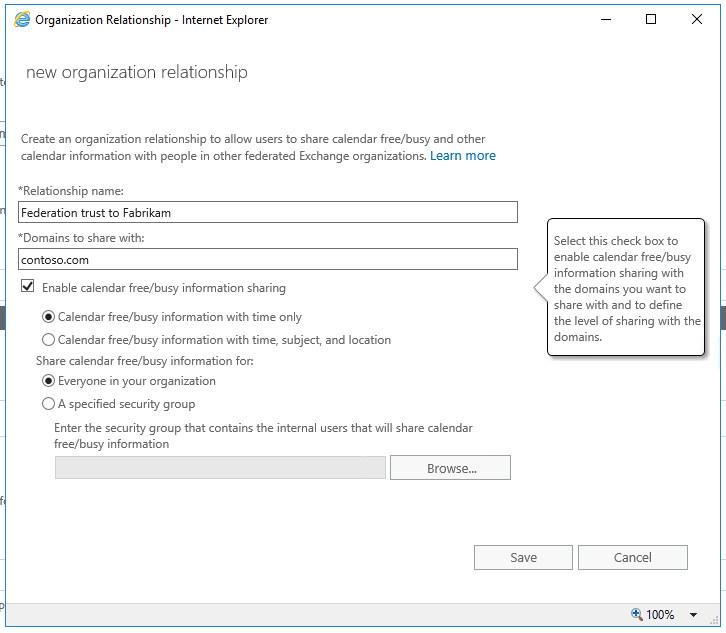
I configured the sharing policies, and finished this task with clicking on Save.
*Configuring Exchange online
To configure the other site of the Exchange federation, we continue with the Office 365 site. Here we also need to prepare one thing before we start.
The account we want to use for the configuration needs global administrator privileges for the Office 365 tenant.
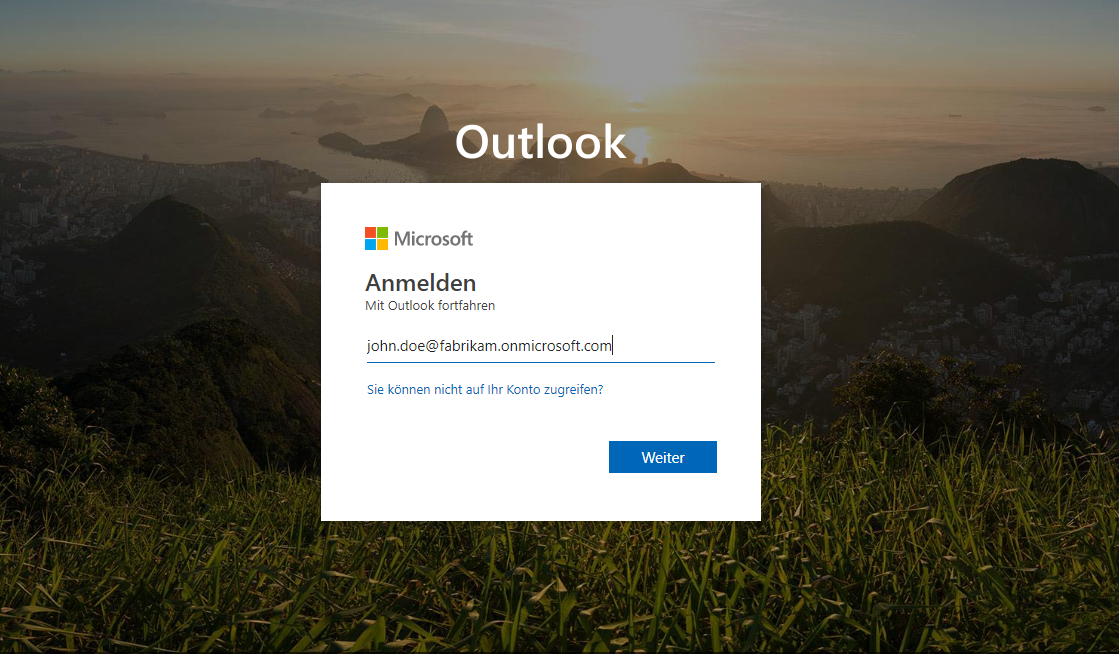
Now I had to login to the Office 365 Tenant of the Fabrikam company, to be more precise to the Exchange online EAC. The link for that is https://outlook.office.com/ecp
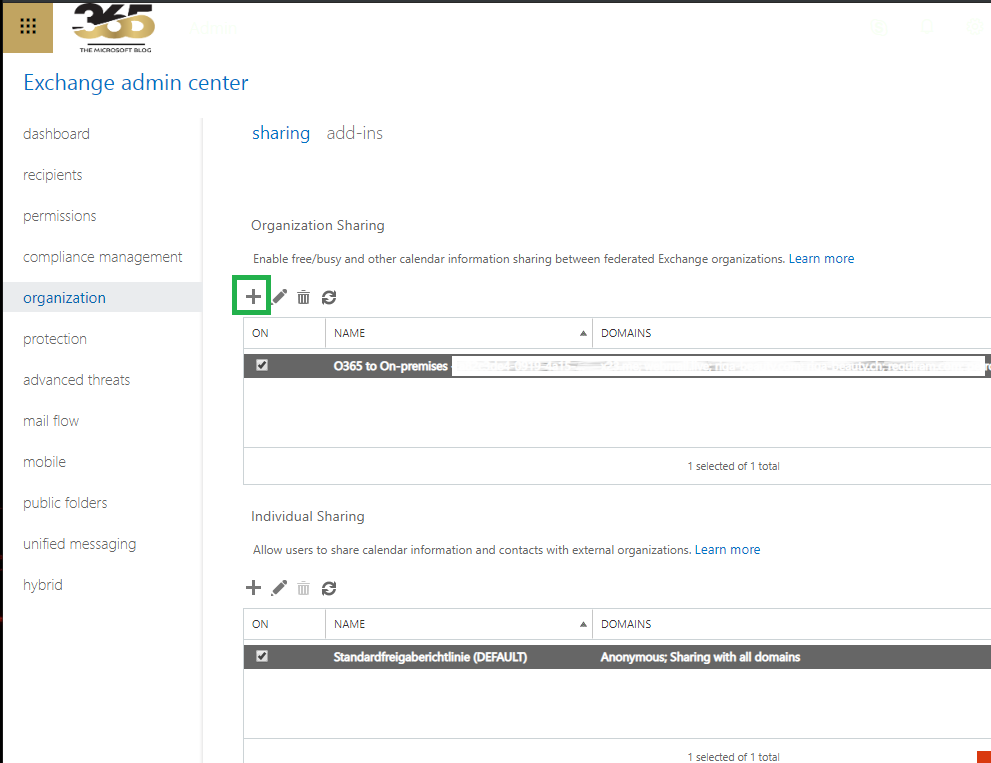
After the login I had to browse again to Organization > sharing. Here I clicked on the “+” Icon for a new organization relationship.
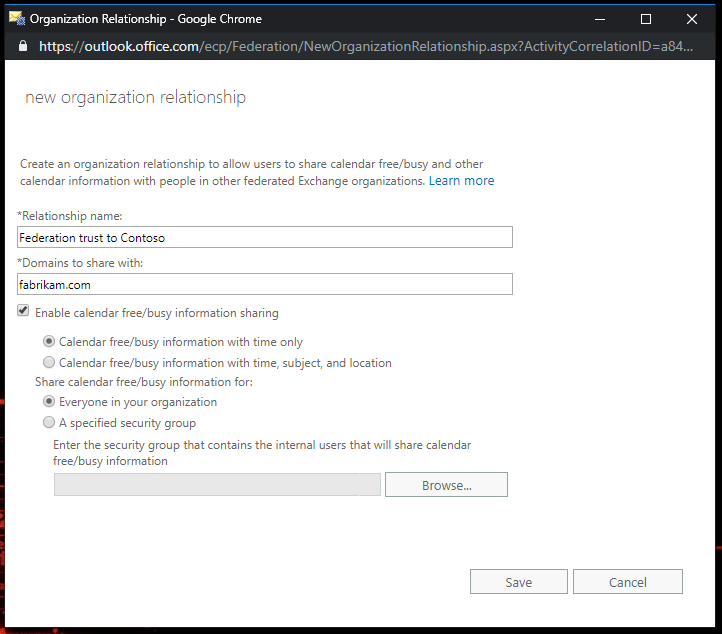
In the new window, I had to fill the information about the Office 365 domain and set the sharing permissions as I desired.
Note: I really recommend to everyone to use the same permission on both sites. This will prevent you in the future from some headache if you need to make a troubleshooting.
At this point the whole configuration is done and I was ready to test the free/busy functionality.
Depending on the on-premise Environment size the replication between the Exchange server can take a wile. If the free/busy sharing is not working straight away, you need to be passioned – or try to restart the IIS on the on-premise site. In my experience, this can help too.