Prolog
In my last article about this topic I have described how you can perform simulated phishing attacks on your own infrastructure. This is all about raising the awareness of your own employees.
If you haven’t read this article yet, I recommend you do that later. This article is based in many points of the first part.
Besides the classic “Display Name” attack, which primarily targets the user credentials, there is another very common type of attack. Here we speak of the “Spear Phishing” attack.
A spear-phishing attack is a targeted attempt to acquire sensitive information, such as user names, passwords, and credit card information, by masquerading as a trusted entity. This attack will use an attachment and try to get the end user to open it.
Prequels
The prequels to perform, such a simulation are identical to those of the Spear Phishing attack:
As mentioned earlier, the organizations messaging system has to be hosted in Exchange online. Microsoft’s attack simulator is not available for on-premises Exchange environments. If we want to run a simulated attack on on-premises environments, unfortunately we will need third party tools.
An IT Engineer, who has to prepare and run the simulated attack needs to be a global administrator and the company’s Office 365 Tenant.
The multi factor authentication is turned on for at least global administrators of the Office 365 Tenant.
The organization has Office 365 Advanced Threat Protection Plan 2 enabled. However, in that case the option “Attack simulator” will be available in the Security & Compliance Centre.
The Office 365 Advanced Threat Protection Plan 2 is also included in the Office 365 ATP Plan 2.
ATP Plan 2 is also part of the following Office 365 plans:
Office 365 E5
Office 365 A5
Microsoft 365 E5
If your organization do not run any of those plans, they can be purchased dedicated as an add-on for certain subscriptions.
To learn more, see Feature availability across ATP plans.
Attack two – Spear Phishing (Attachment)
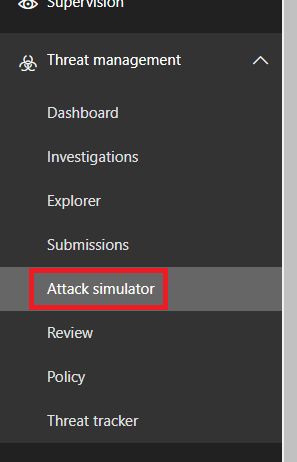
So that we can start planning a simulated attack, we have to go to our Security & Compliance Centre first, then we browse further on Threat management > Attack simulator.
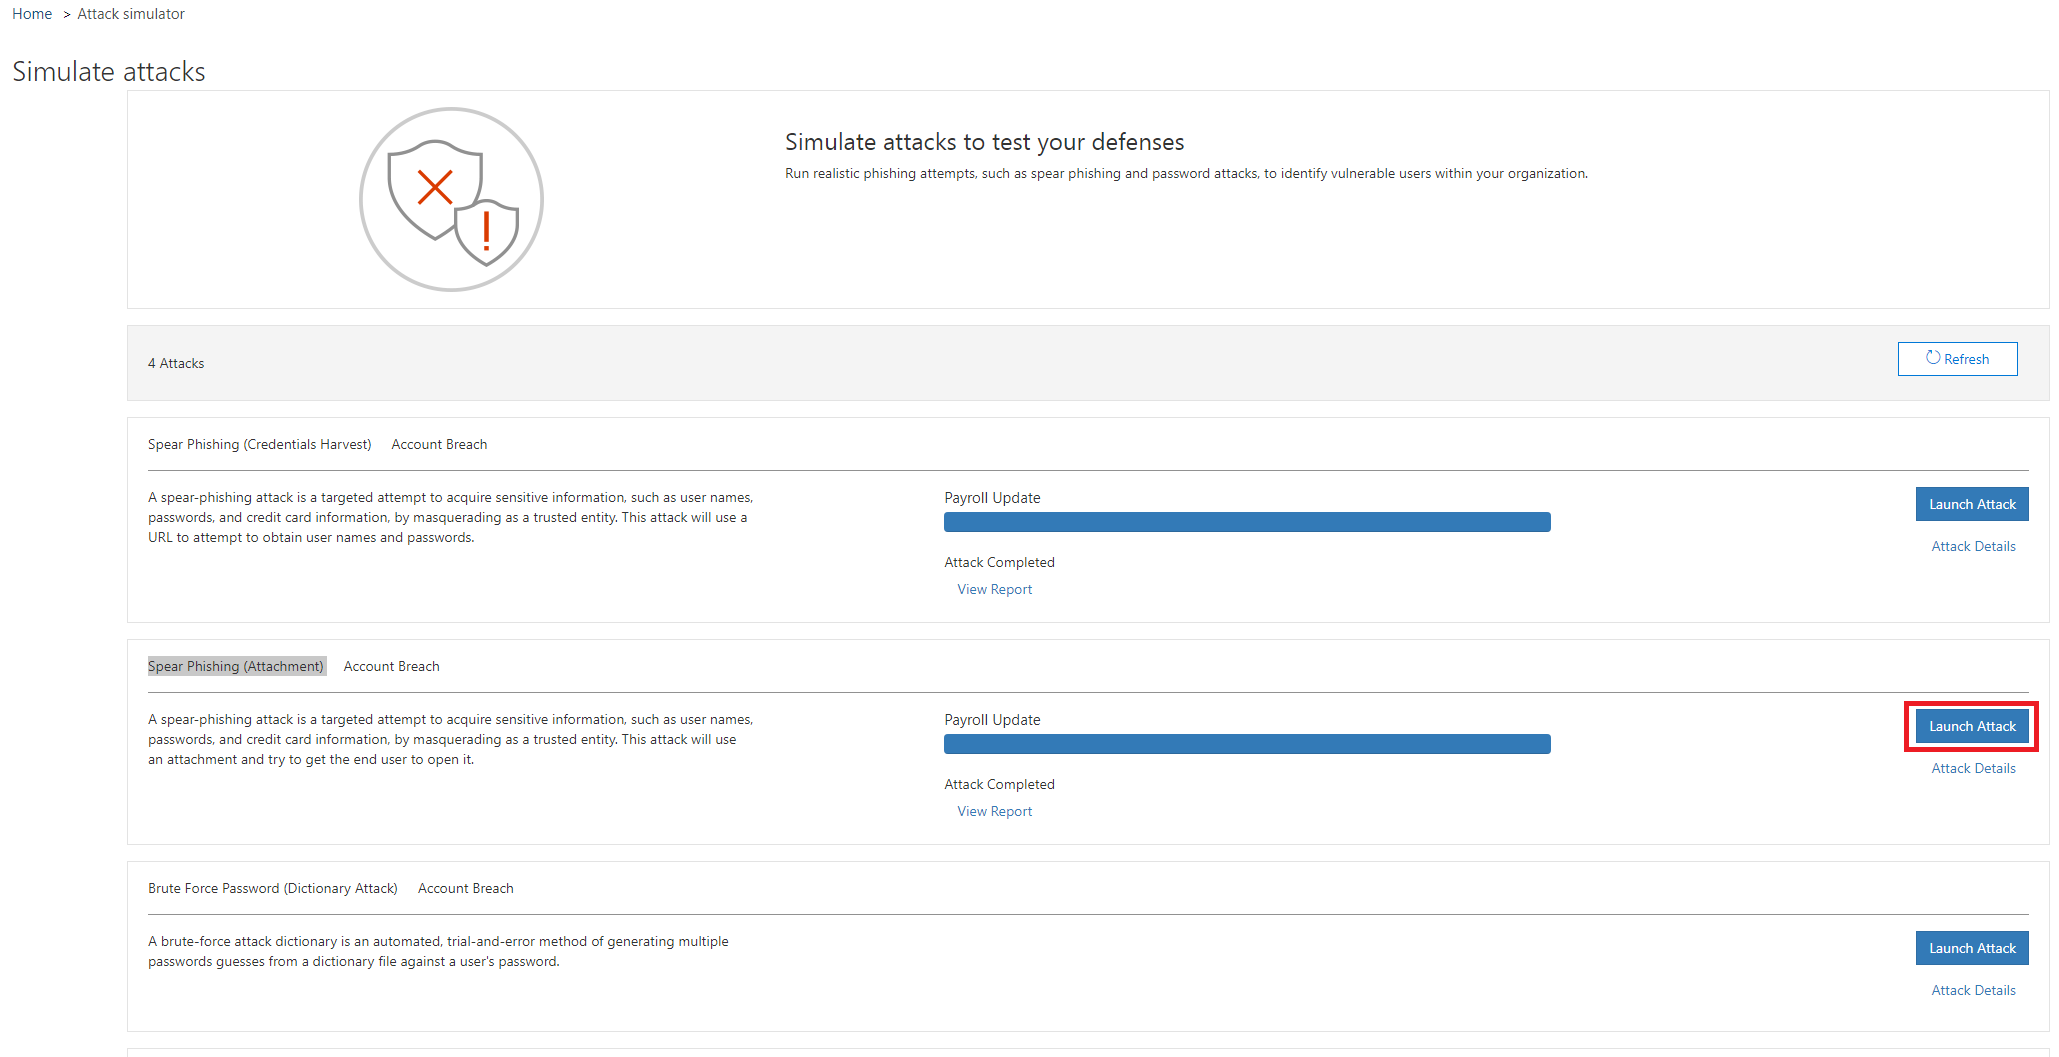
In our second case we select the Spear Phishing (Attachment) attack option and click Launch Attack.
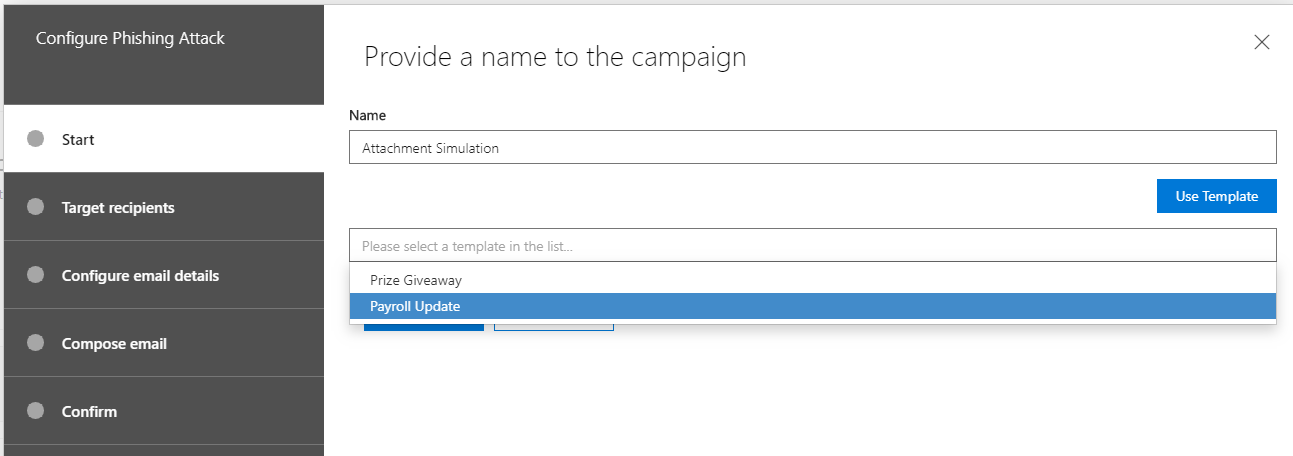
Provide a name for the attack simulation, continue with Next. You also can use a default Template, for this example we use the “Payroll Update” Template.
In next step the target users are defined. A single attack can be executed against the entire organization or only against individual users.

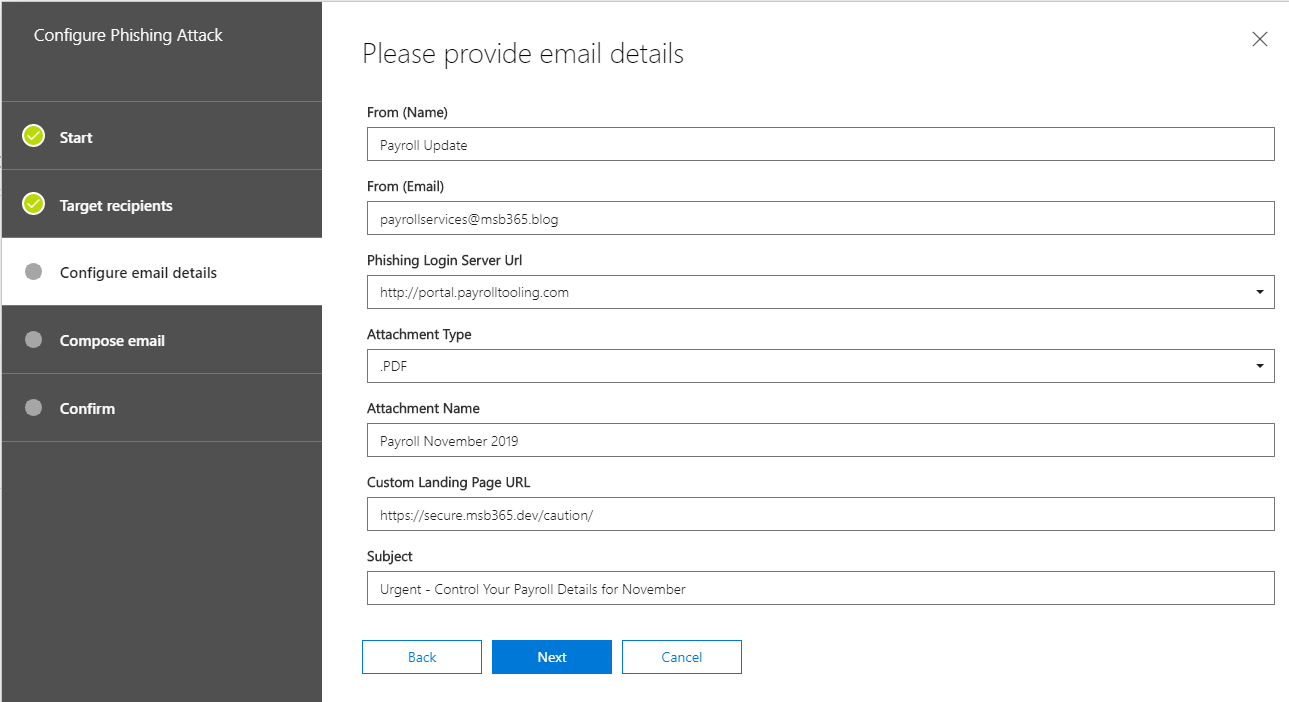
In next step various settings has to be made. This is also where the theme of the attack is defined. On one hand it is about the design of the message. What should be displayed as the sender of the phishing message? What should be the sender’s e-mail address?
Further you can select in a dropdown window which fake target web address should be presented.
Last two points are real destination web address and the message subject.
Note: Remember that the Custom Landing Page URL should be a dedicated website, where the users, who have fallen into the trap will be redirected. On this dedicated website the users should get the information that he has been part of a simulated phishing attack.
I am currently preparing such a landing page, as soon as it is ready, you are welcome to refer to it. The custom landing page does not store any information entered by the user. This is a simple redirecting to an info page.
One point that is different here than in our last attack is the attachment options. Here we can define which attachment type we want to use and what it should be called. For this example, we use a PDF.
The next step is to generate the message for the users. Microsoft offers a template, which is not very good.
Every administrator, who prepares such a simulation can set up a message either in text form or source form (HTML).
I have prepared a HTML message for you below (I advice you to use the “Download Now” Button if you want to get the File below). My template contains the custom variables and as well the variable link for the forwarding.
If you want, feel free to use that one and of course you can modify it, so it fits into your scenario. I just advice you, to replace my “Company Logo” with your own.

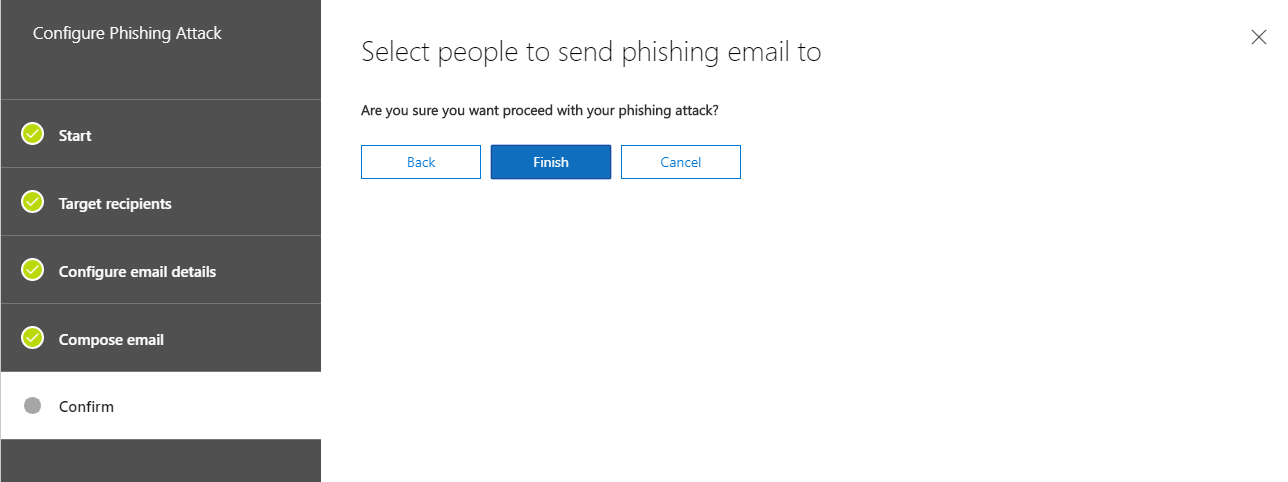
The configuration of the simulated attack is now complete. Click Finish to start it.
The attack has started – User view
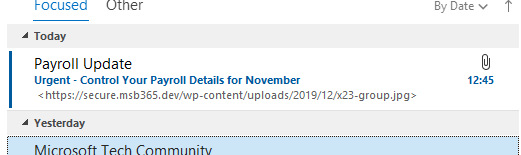
Let’s change the perspective now. We have started the simulation. Since Microsoft has configured the simulated attack for its own tenant, we don’t have to worry that the message will end up in the SPAM folder. Normally the phishing message will end up in the inbox as usual.
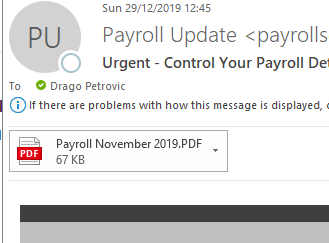
This message can look like the following example:
After opening the message, we also see who the sender is (including the defined e-mail address) and subject.
It is also exciting that the predefined variables are immediately dragged in the mail text and the affected user is personally addressed by name:
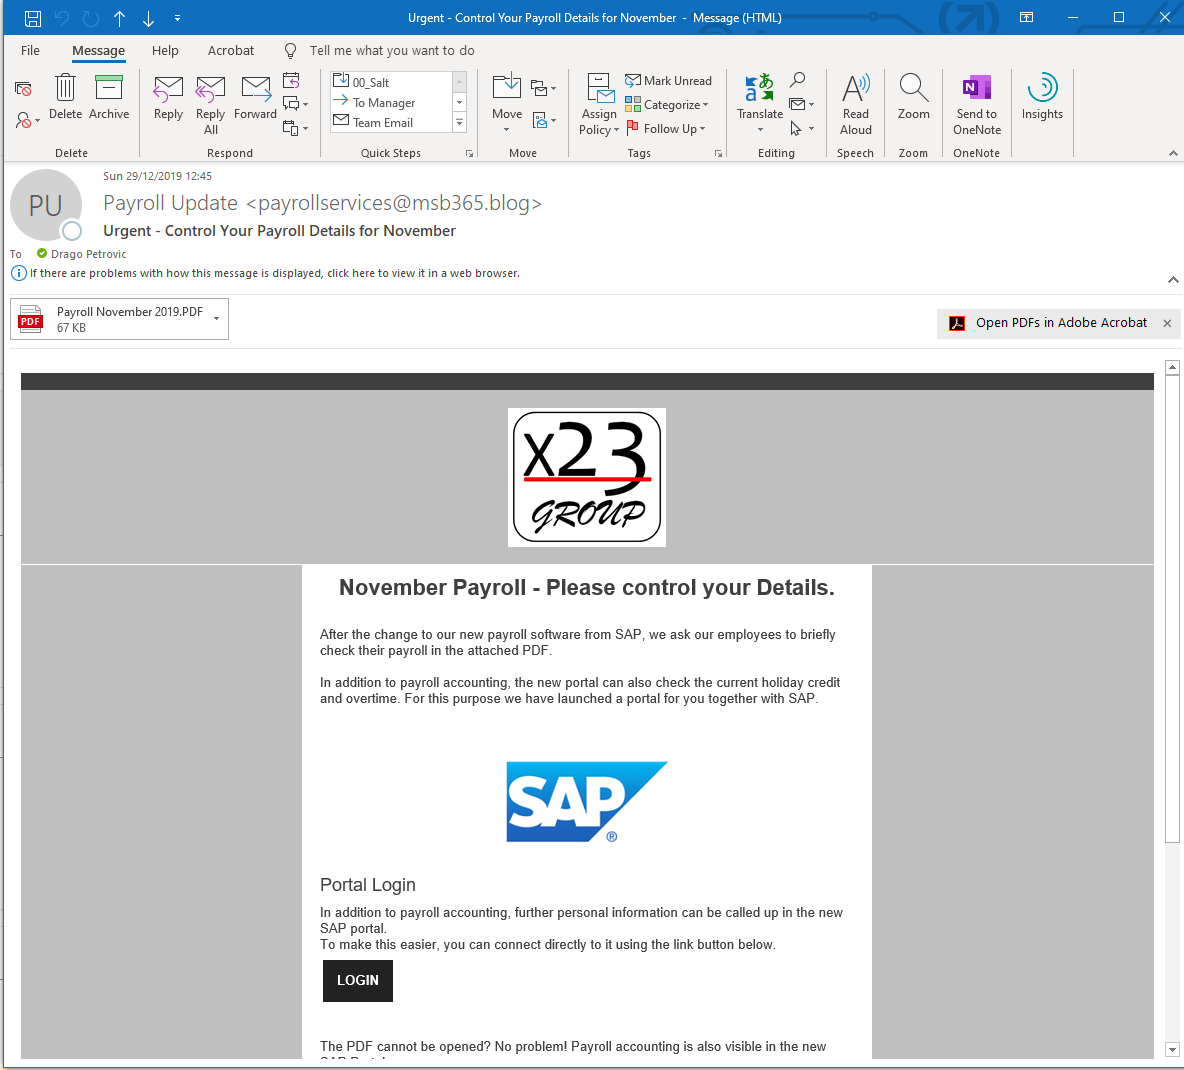
Actually this time we have two attacks in one message, once like the previous time by caching the logon information:
And the attack with the attachment:
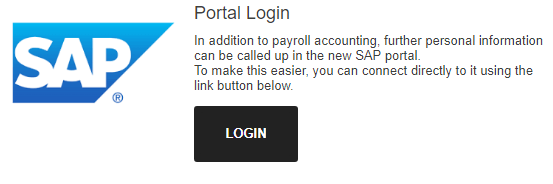
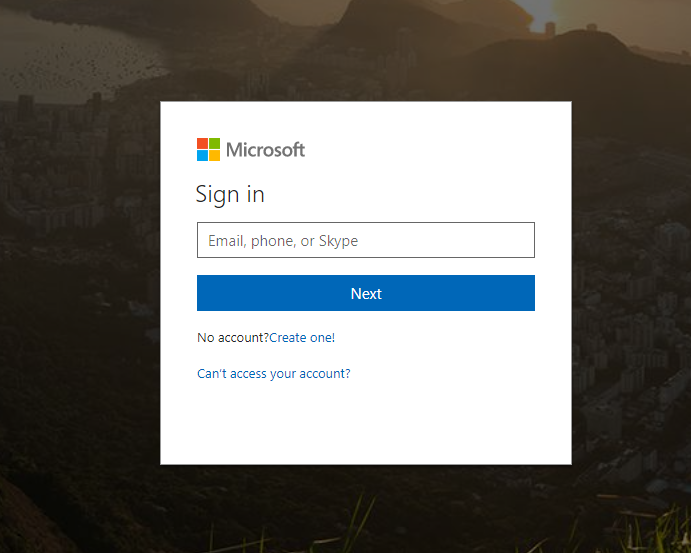
So, if the User klicks on the Link in the message, he will be redirected to a simulated Microsoft Sign-In Page.
This is the fake link, that we had defined earlier in the wizard during simulation configuration.
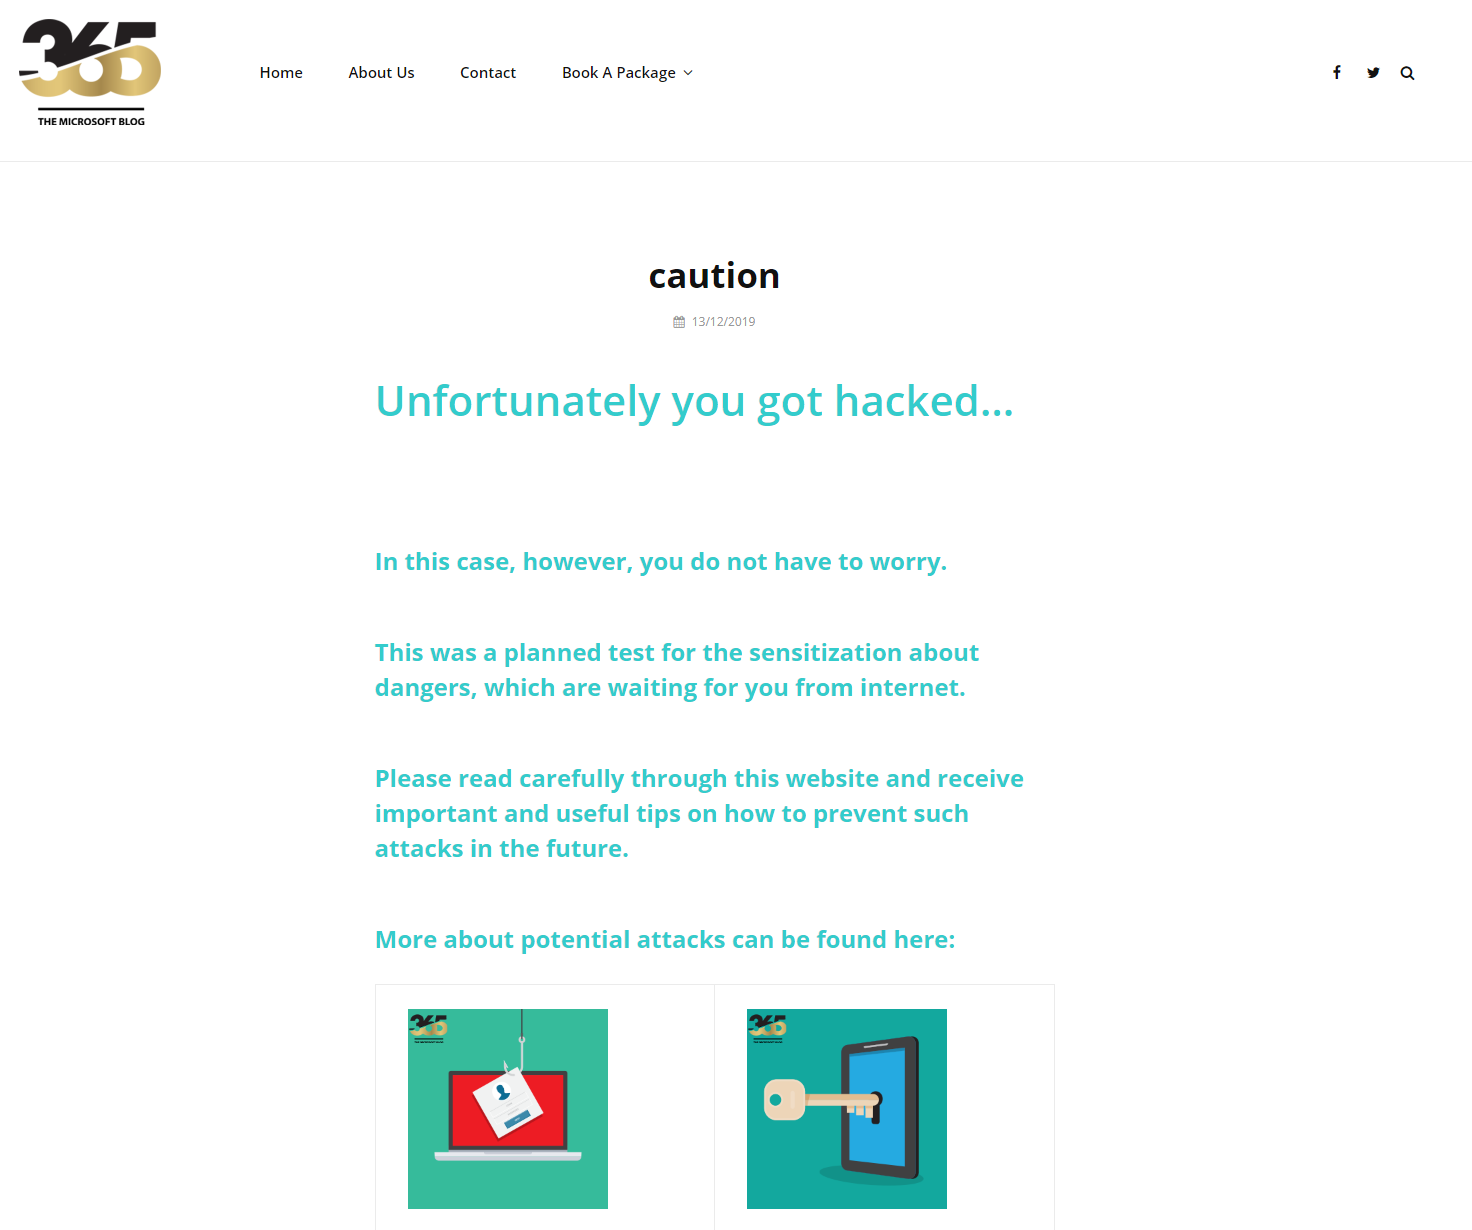
If the user has also entered his credentials and then clicked on Log-In, he has become a victim of the simulated attack. The redirection follows the Custom Landing Page URL which has been defined by the administrator. As already mentioned, I will soon provide such a landing page for free to use.
Now let us have a look on the Attachment and what will happen, if the User klicks on it:

As we can see immediately a personal message is included in the PDF. This message tells the user that he has just become the victim of a simulated phishing attack.
This message is standardized and should help the user to pay more attention in the future.
Reporting
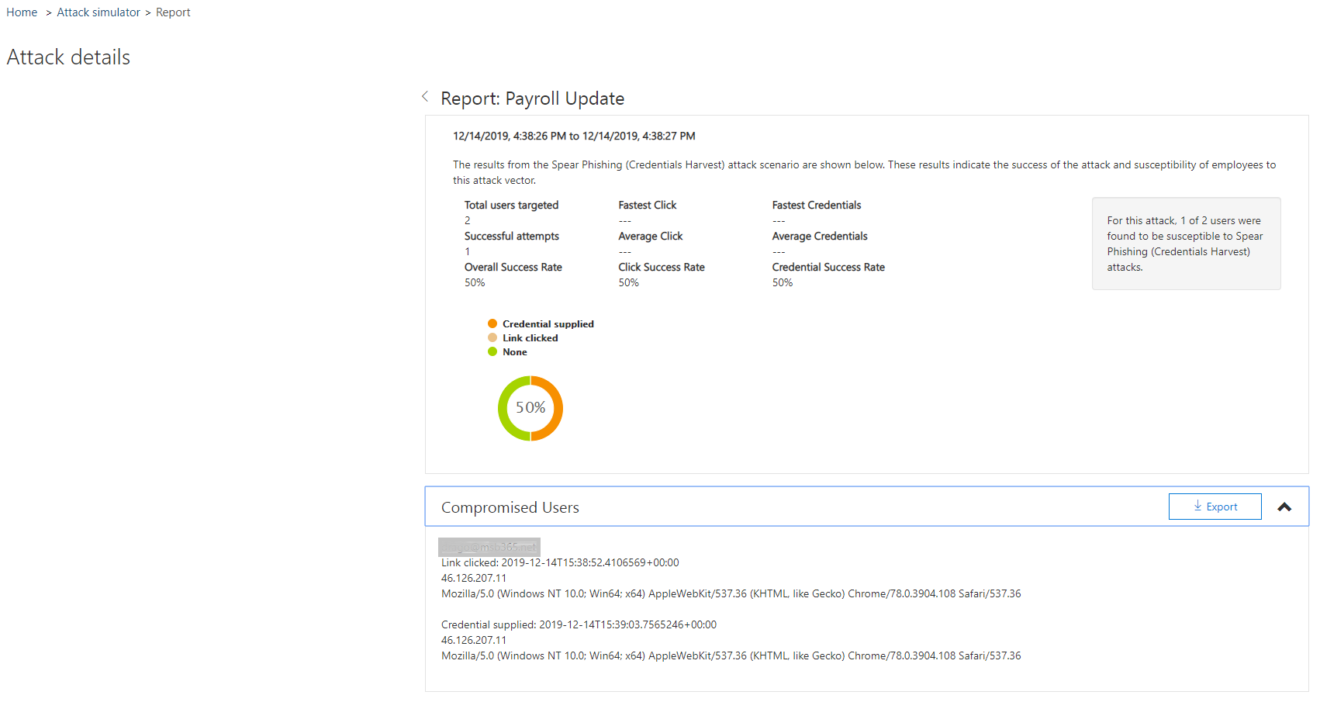
After the simulation is finished, we can go back to the Admin Centre as administrator. We can see at a glance how far the simulation has progressed and with a click on View Report we can see further details.
Conclusion | Preview Part three
As you can see, the second part is quite similar to the first.
We just chose a different scenario than in our first simulation. Additionally, we were able to define an attachment file within a few minutes.
I think if these two attacks are executed in a defined time frame and a tearing is done afterwards, the company is well prepared for possible attacks.
The third part of this series will be a bit more intensive and we will deal with brute force attacks.