For almost a year now, we have had to deal with the COVID-19 pandemic. Many of us can work from home, but unfortunately not all.
From a CISO’s point of view, one of the challenges is to ensure that internal company documents remain internal and are not duplicated without permission.
Microsoft offers “Sensitivity Labels” for this purpose. These are individually configurable on various levels.
On the one hand, you can define what they should be called, but also what should happen when a document is labeled and who is entitled to a label.
In this article I will briefly explain how a label can be created – including various options.
Create a label
| In the first step, we log in with our admin account at https://protection.office.com/ and then navigate to Classification and Sensitivity labels. | 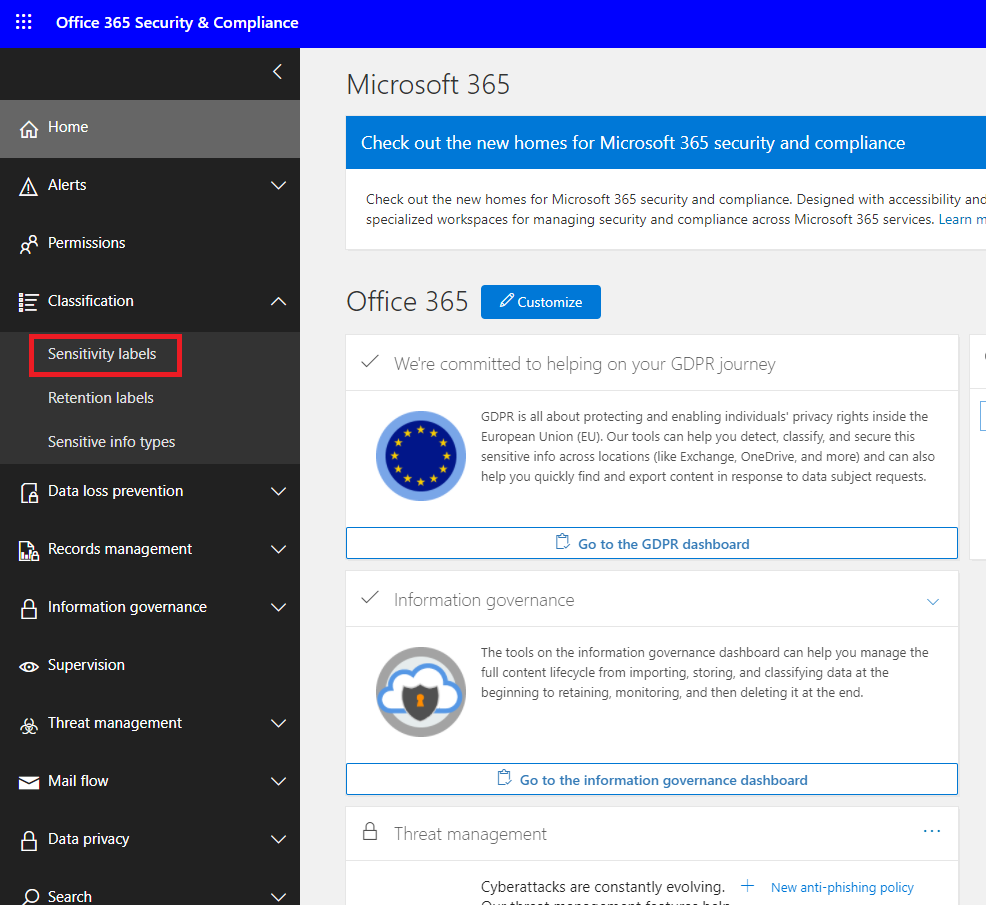 |
| Here we can create a new label with Create a label | 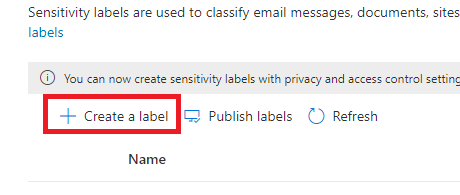 |
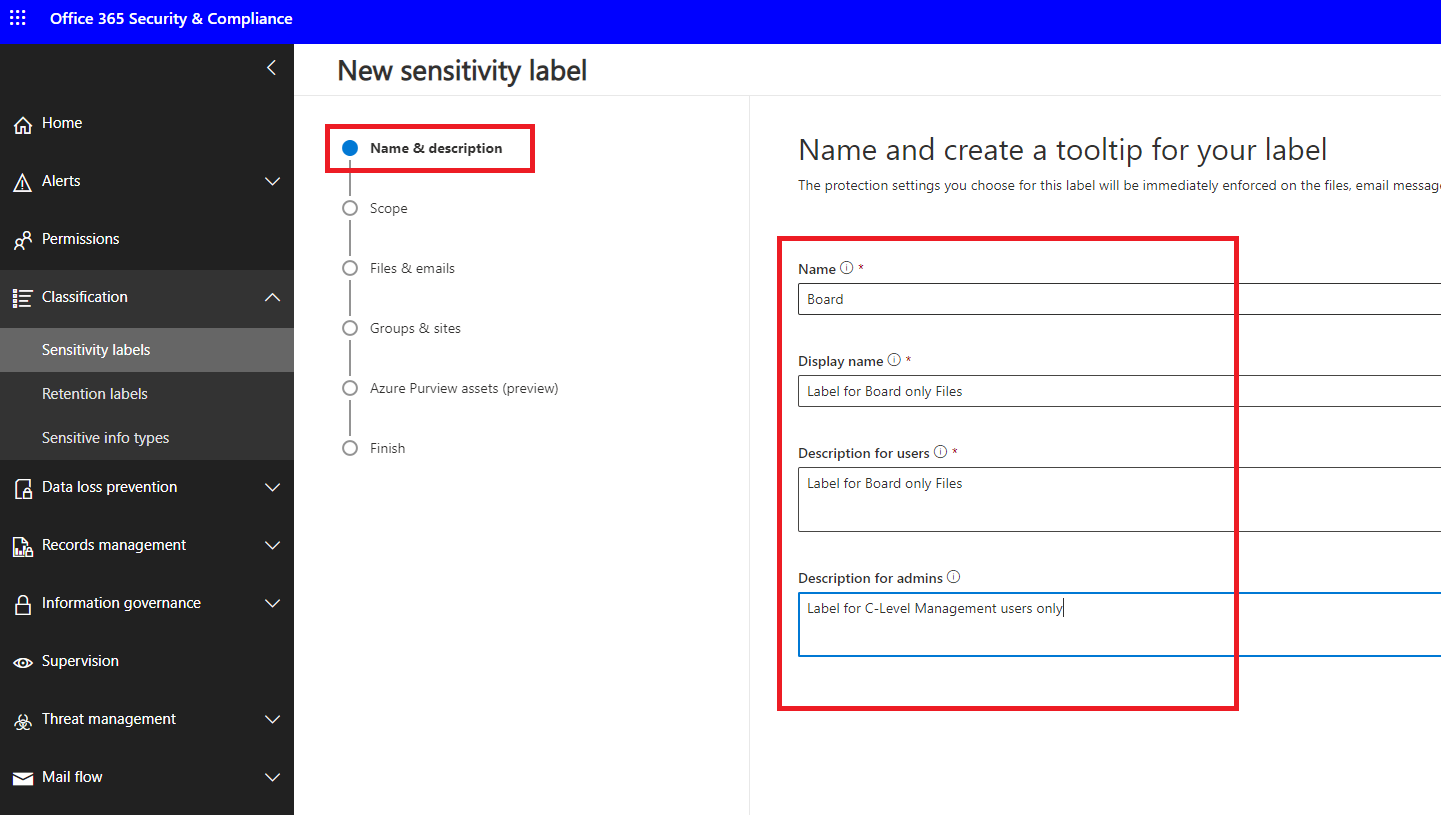
| In the first step of the wizard we define the name of the label.
We also define a display name that will be visible to the end users, and a description for users and admins. |
 |
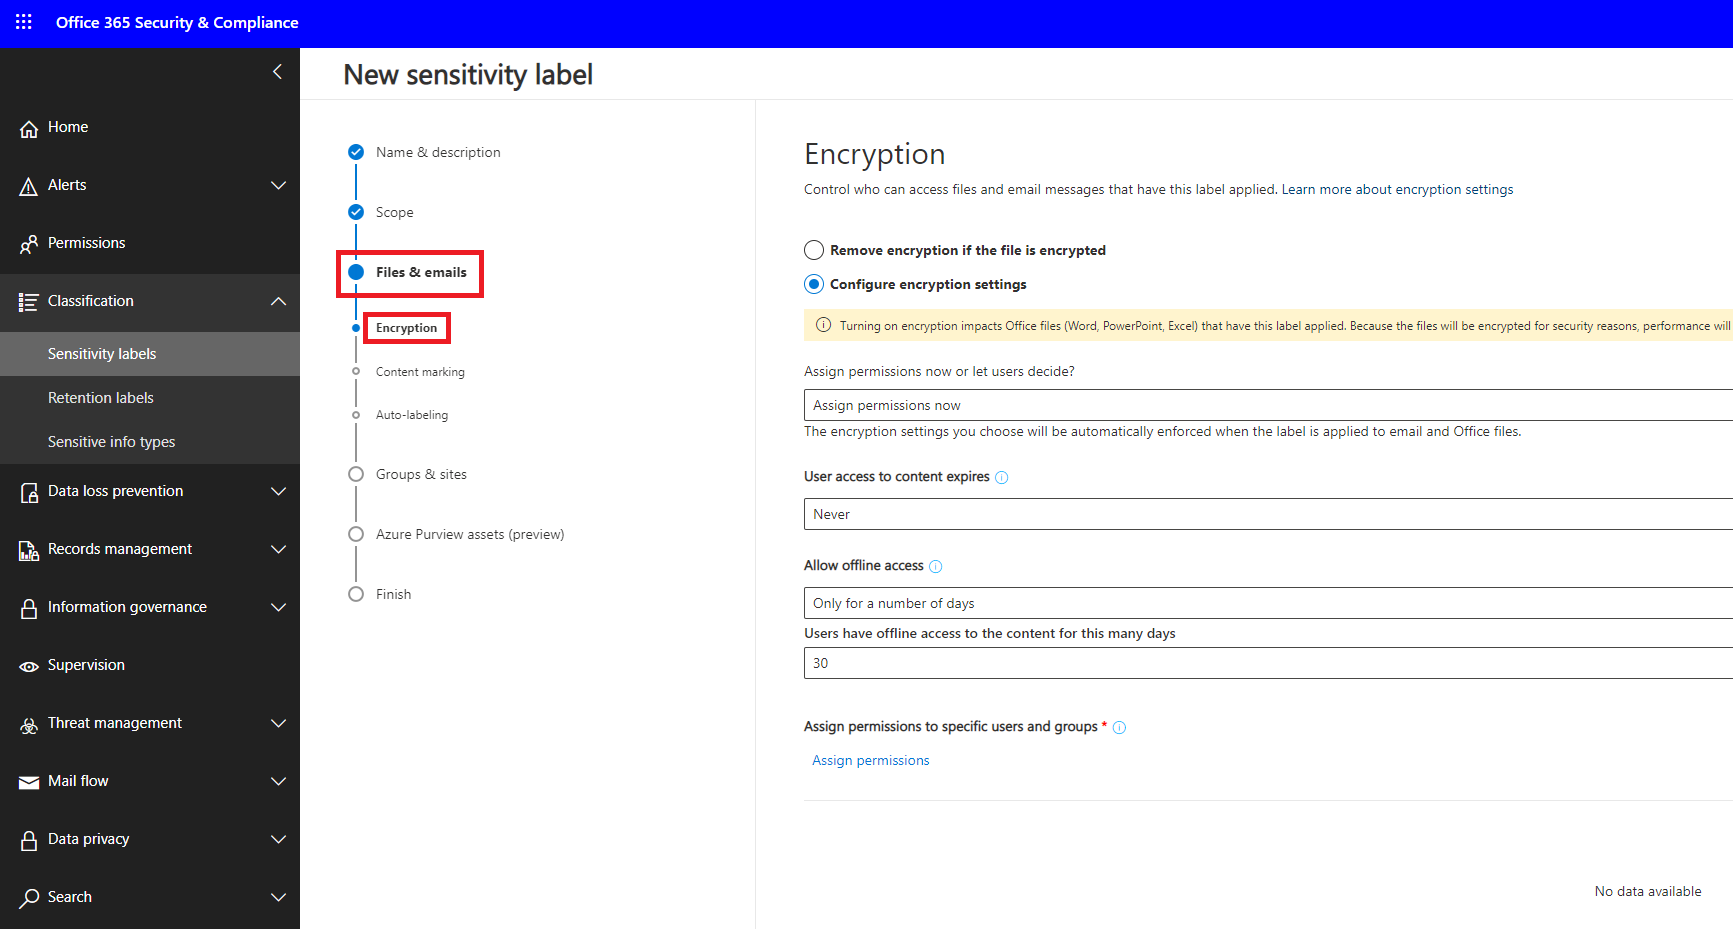
| Under Scope we can decide whether files and mails should be encrypted with the corresponding label. In this example we select this option | 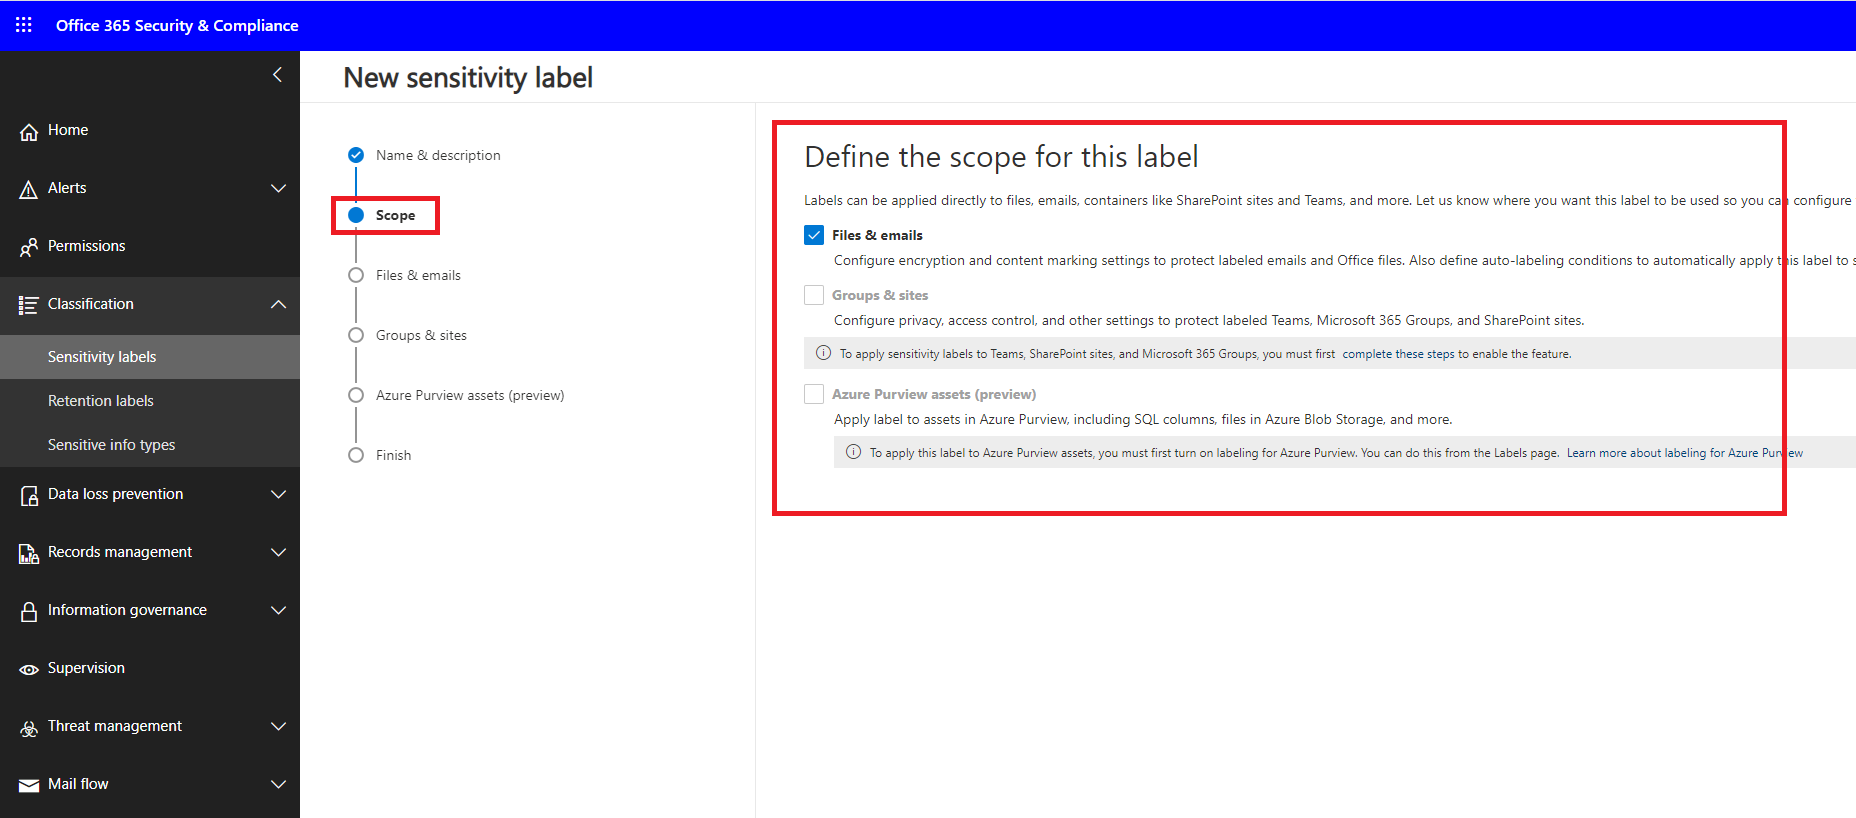 |
| The next step is about how the label should behave on files and mails. Here we can decide who has access to the encrypted messages and also whether we want to configure a watermark. |  |
| If we select both options, as in this example, further sub-configurations are added to the wizard.
The first is encryption. As a last point, we can also define here whether files or mails should also be available offline, if so, a time period can also be defined. |
 |
| Next, we should define who is authorised to use this label. To do this, we continue with Assign permission. | 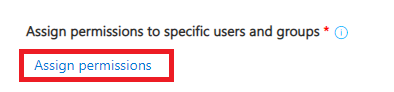 |
| Personally, I always recommend using groups rather than individuals. This simplifies the management a lot. |  |
| We can search for groups and select the appropriate one. | 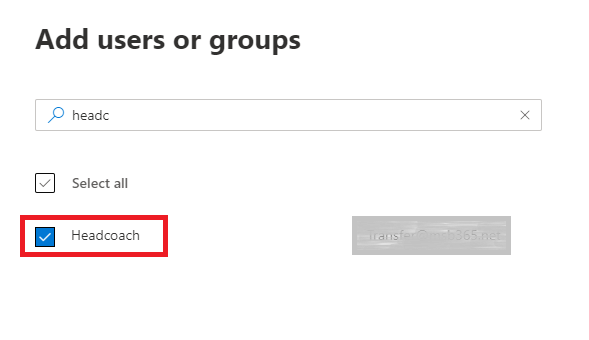 |
| The next step is content marking.
Here we define which watermark we want to use for our label. |
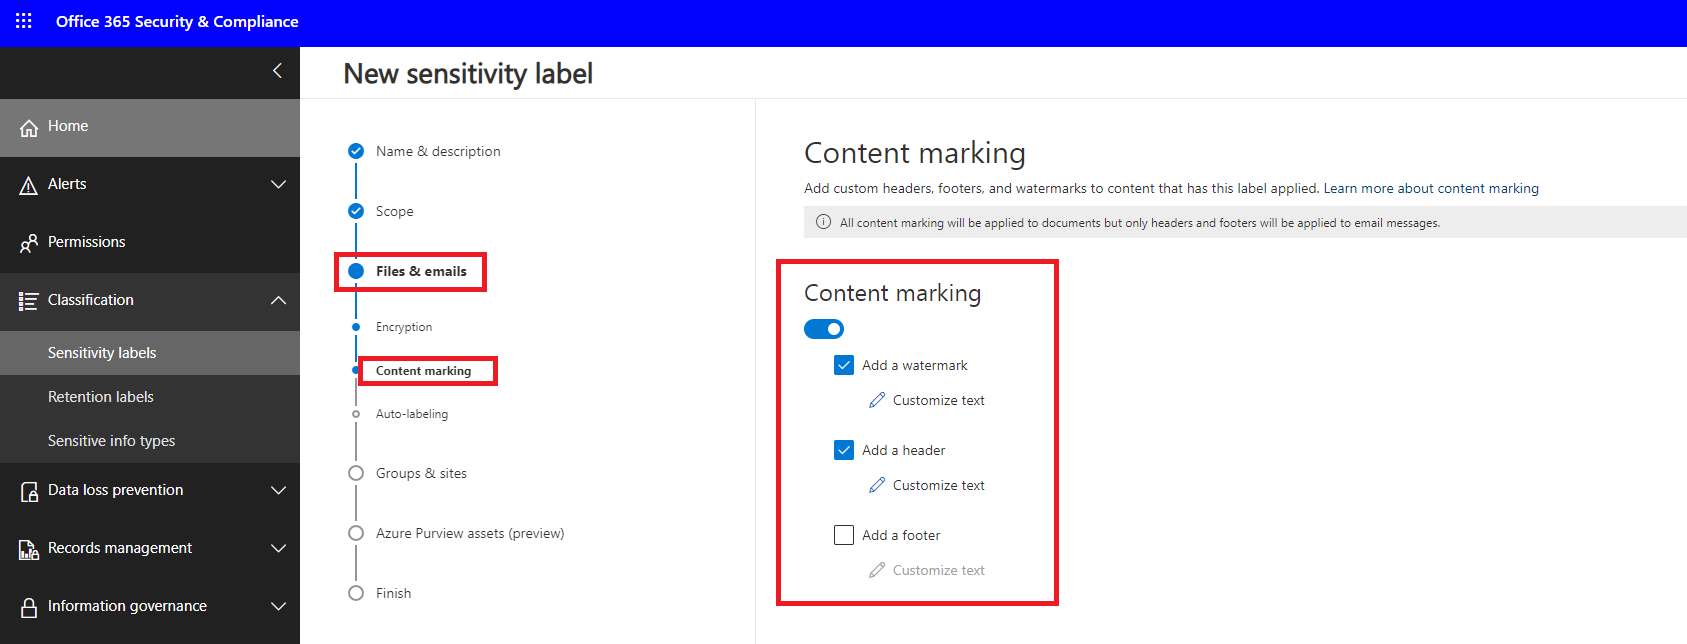 |
| In this example we use 2 variants, on the one hand the watermark which is visible diagonally across the document. | 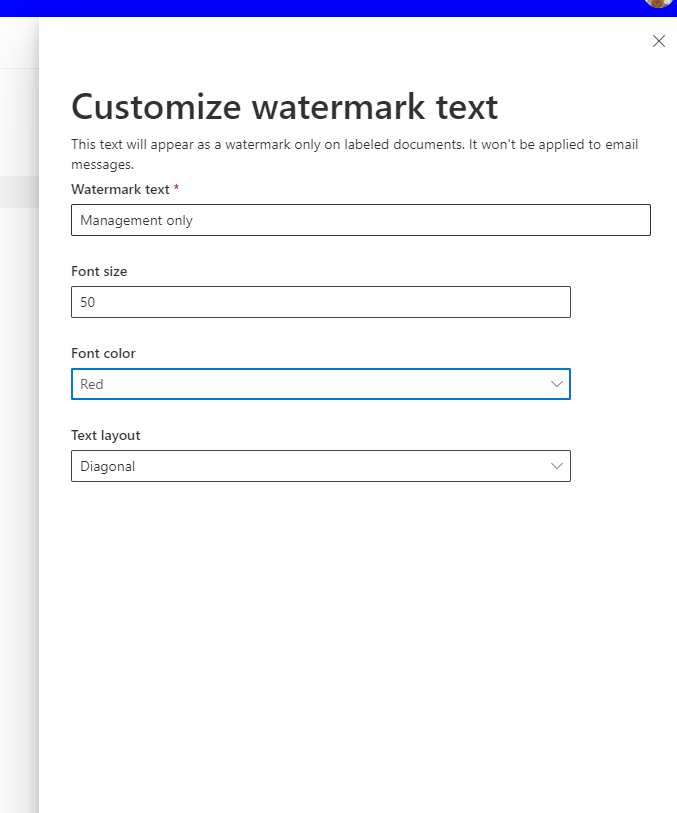 |
| Next we can also configure a header text | 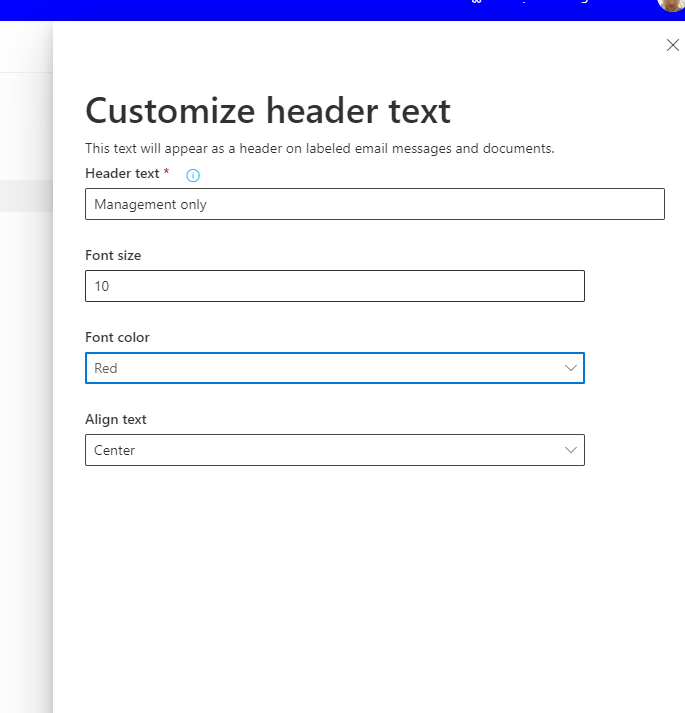 |
| The third step is used for the auto labelling option. If this option is enabled, all files and mails that match the configuration will be labelled automatically after this label is published. | 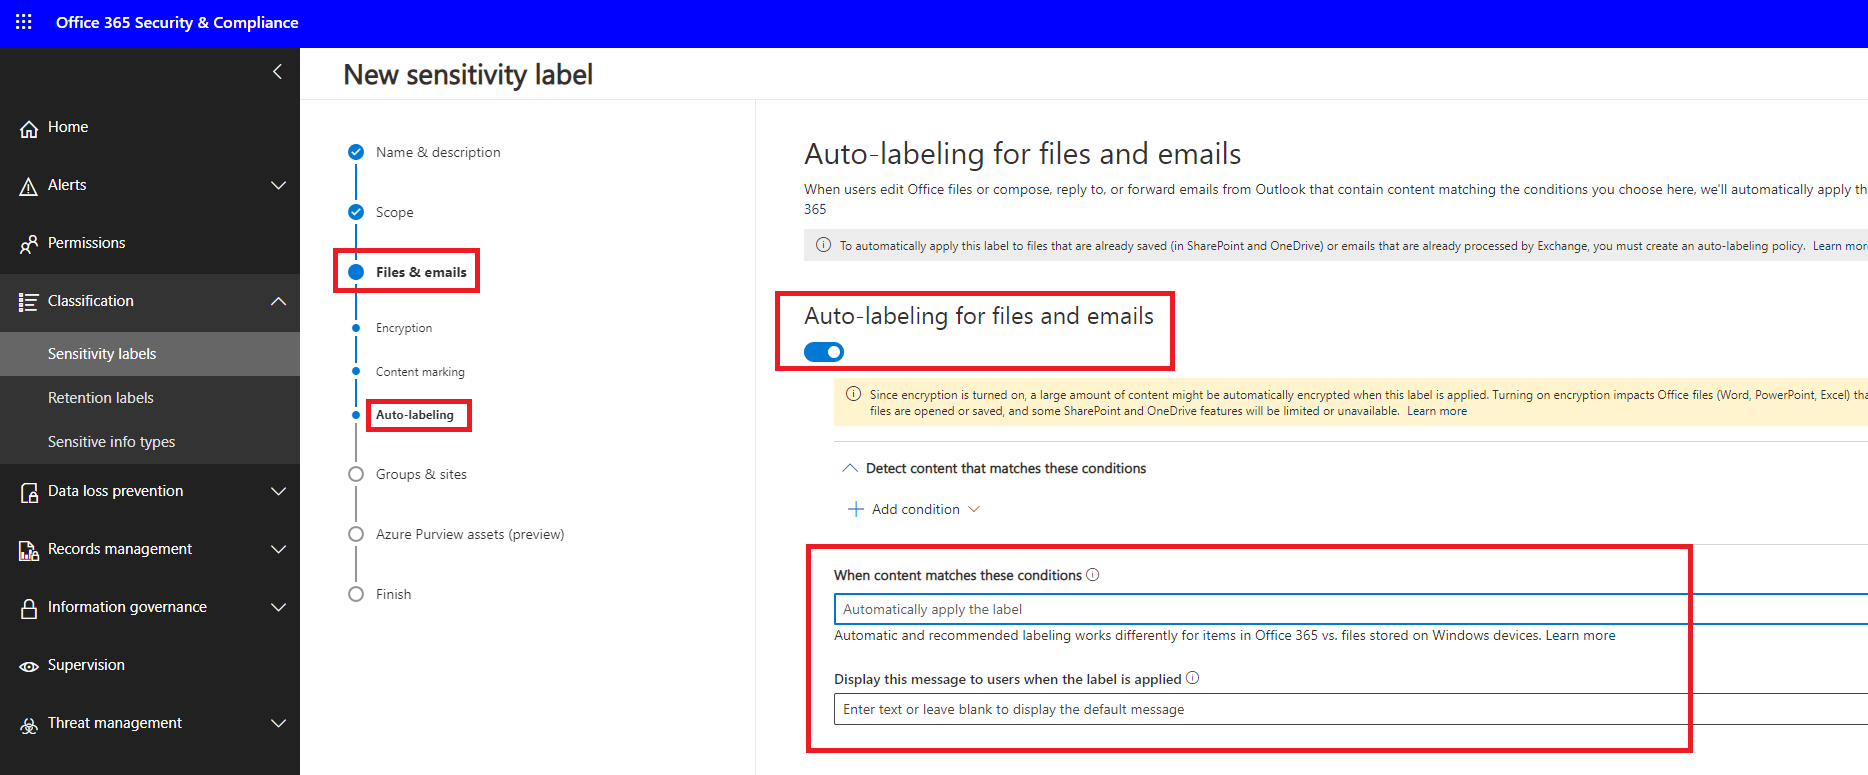 |
| Finally, a review of the configuration is shown and the label can be created. | 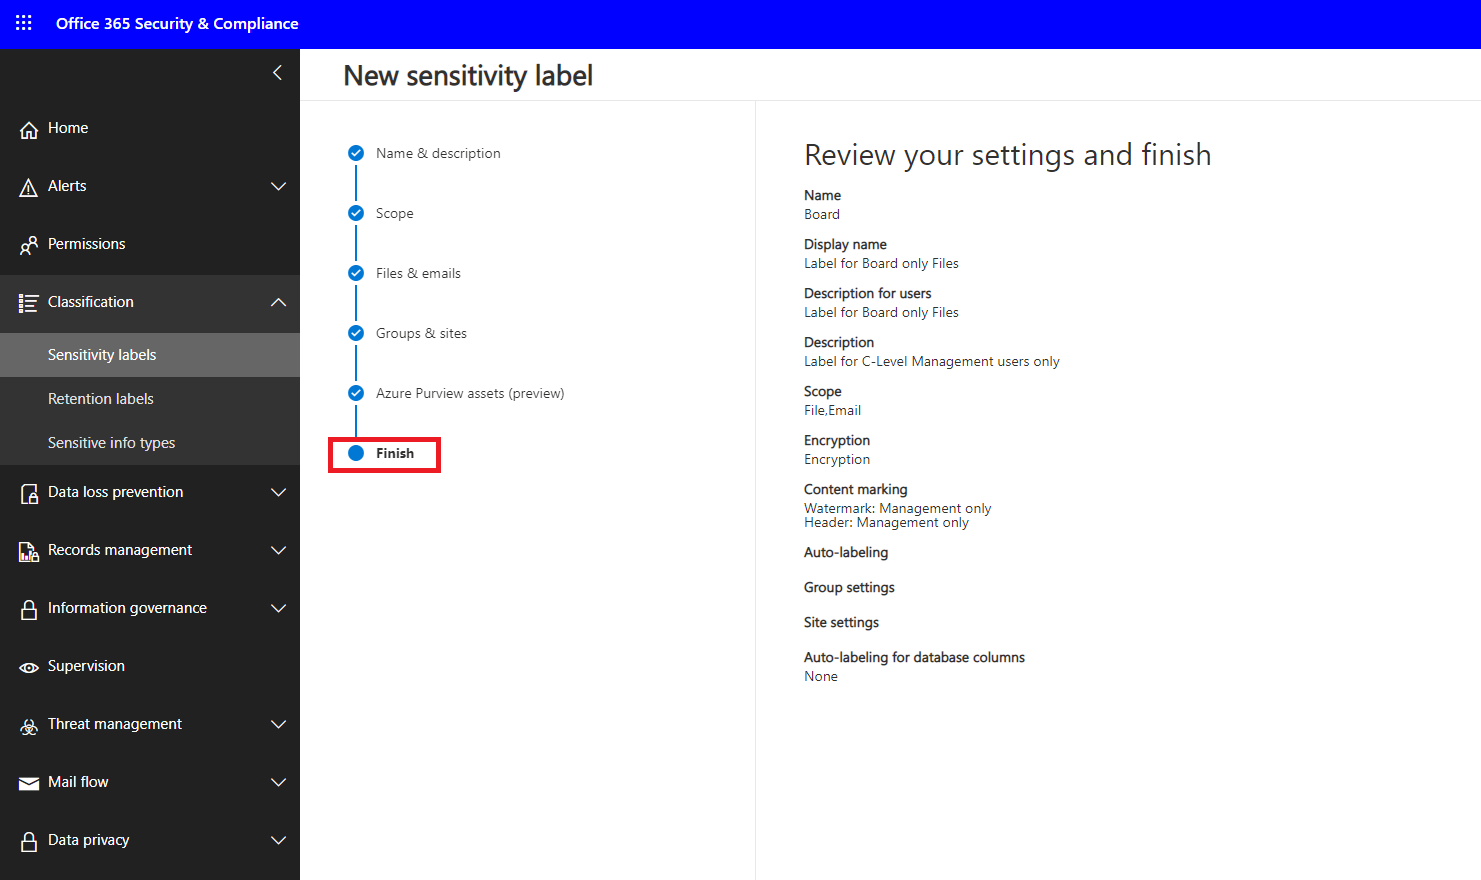 |
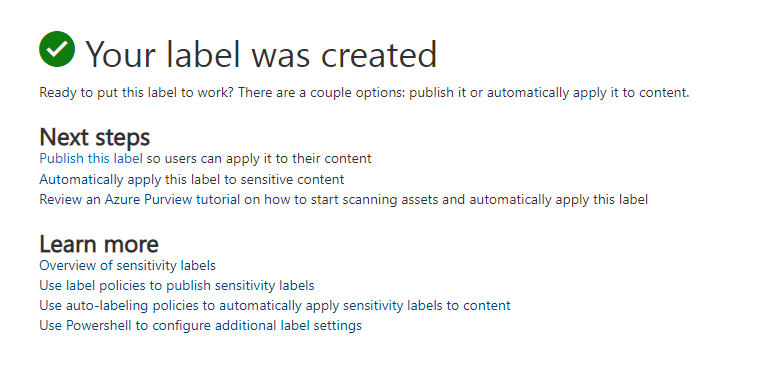
| If everything is in order, you can continue with the next steps.
The label is now created, but not yet published. |
 |
Creating the Label Policy
| We now see the newly created label, which still has to be published. | 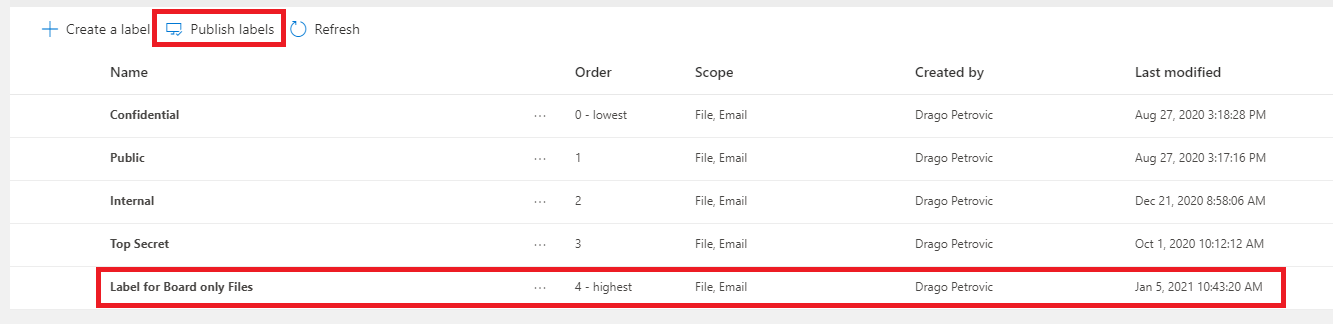 |
| After the label is selected, a window with several options appears. Here we select Publish label. | 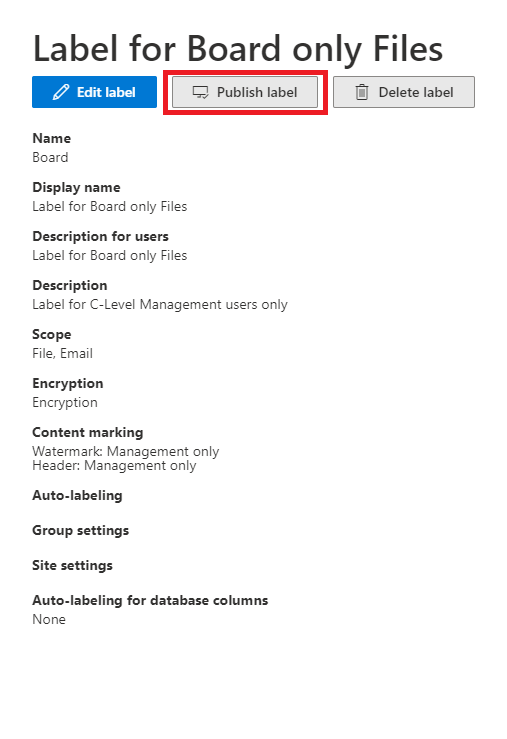 |
| Here we select the appropriate label. | 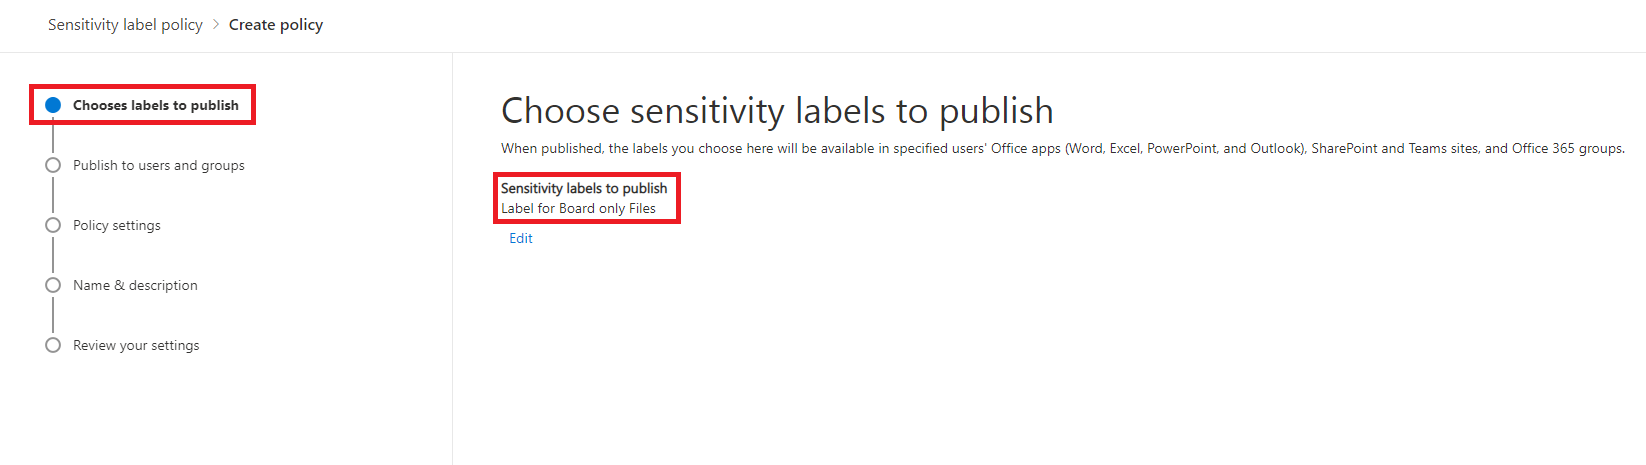 |
| Selection of which groups the label should be deployed to. | 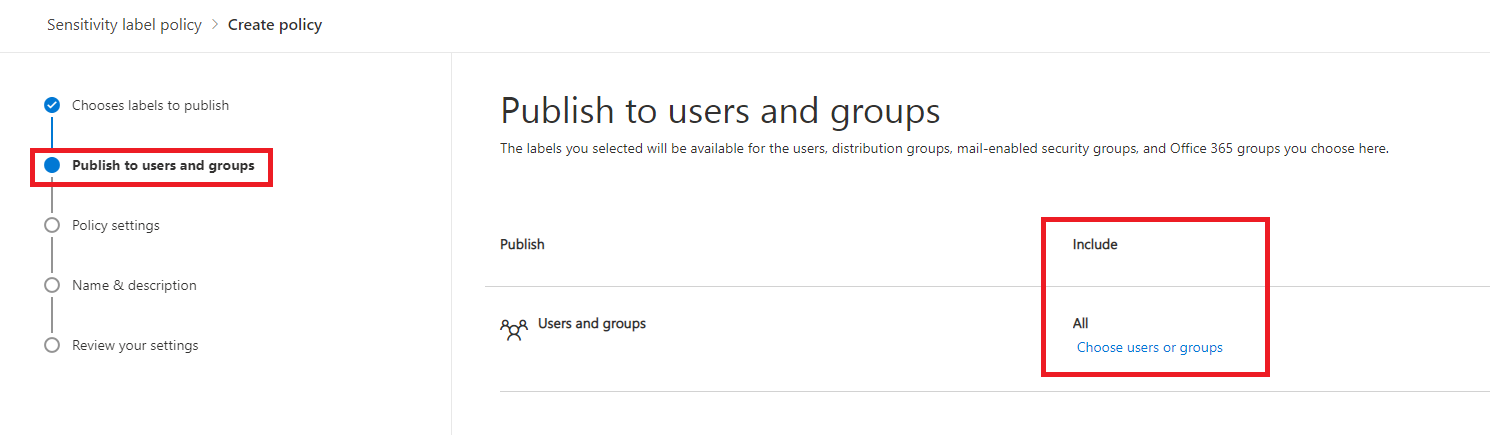 |
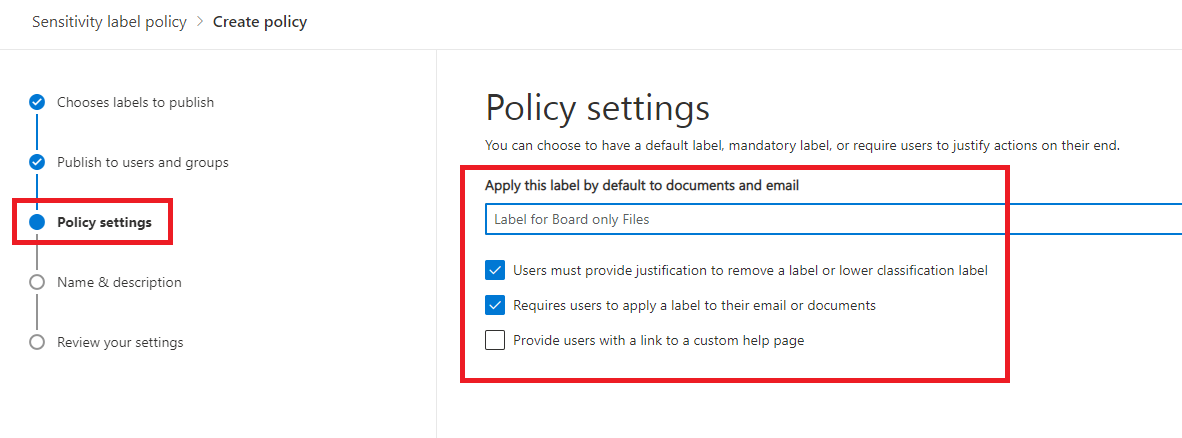
| Further configuration for managing the label.
As an example, it must be confirmed if the label is to be removed or replaced. |
 |
| Name for the policy and a description. | 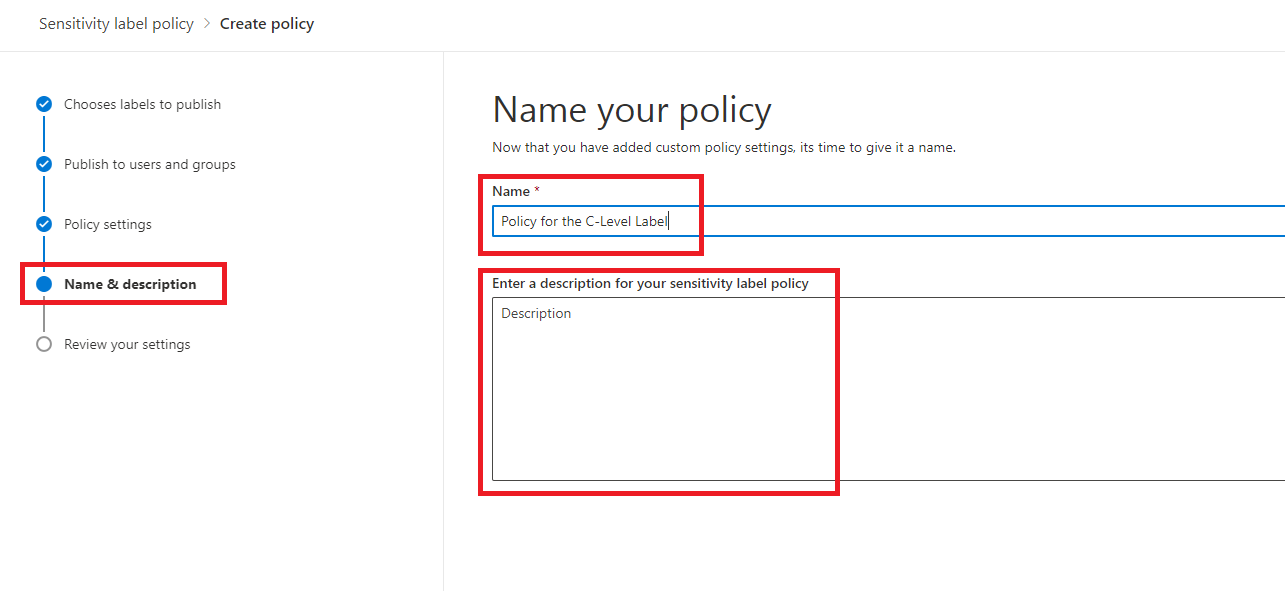 |
| As with creating the label, a review is displayed before the policy is created. | 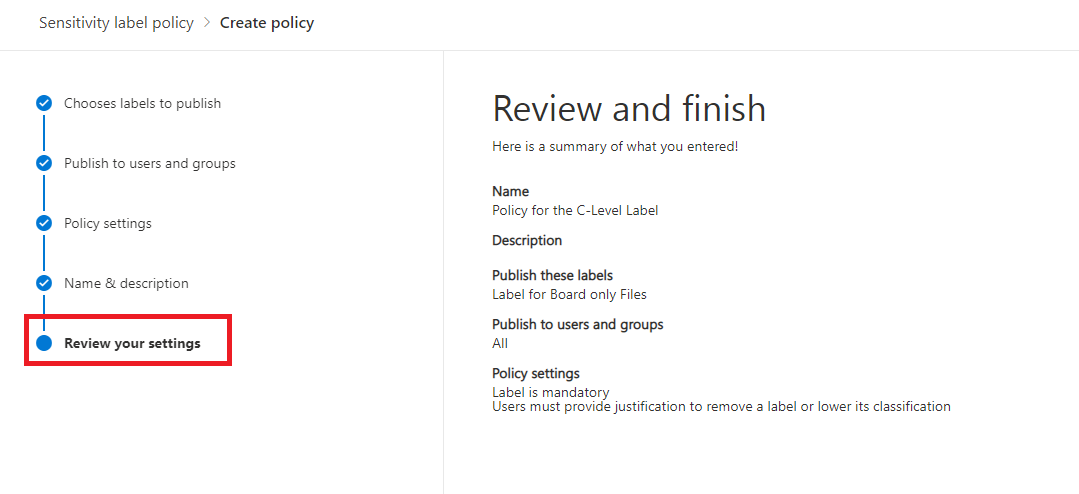 |
| The policy is now created and the label rolled out.
The next time the end user opens an office application, the label is available depending on the authorisation. |
 |
Applying the Policy
| In the following screenshot we see a Word document where our new label is visible under Sensitivity and can be used accordingly. |  |
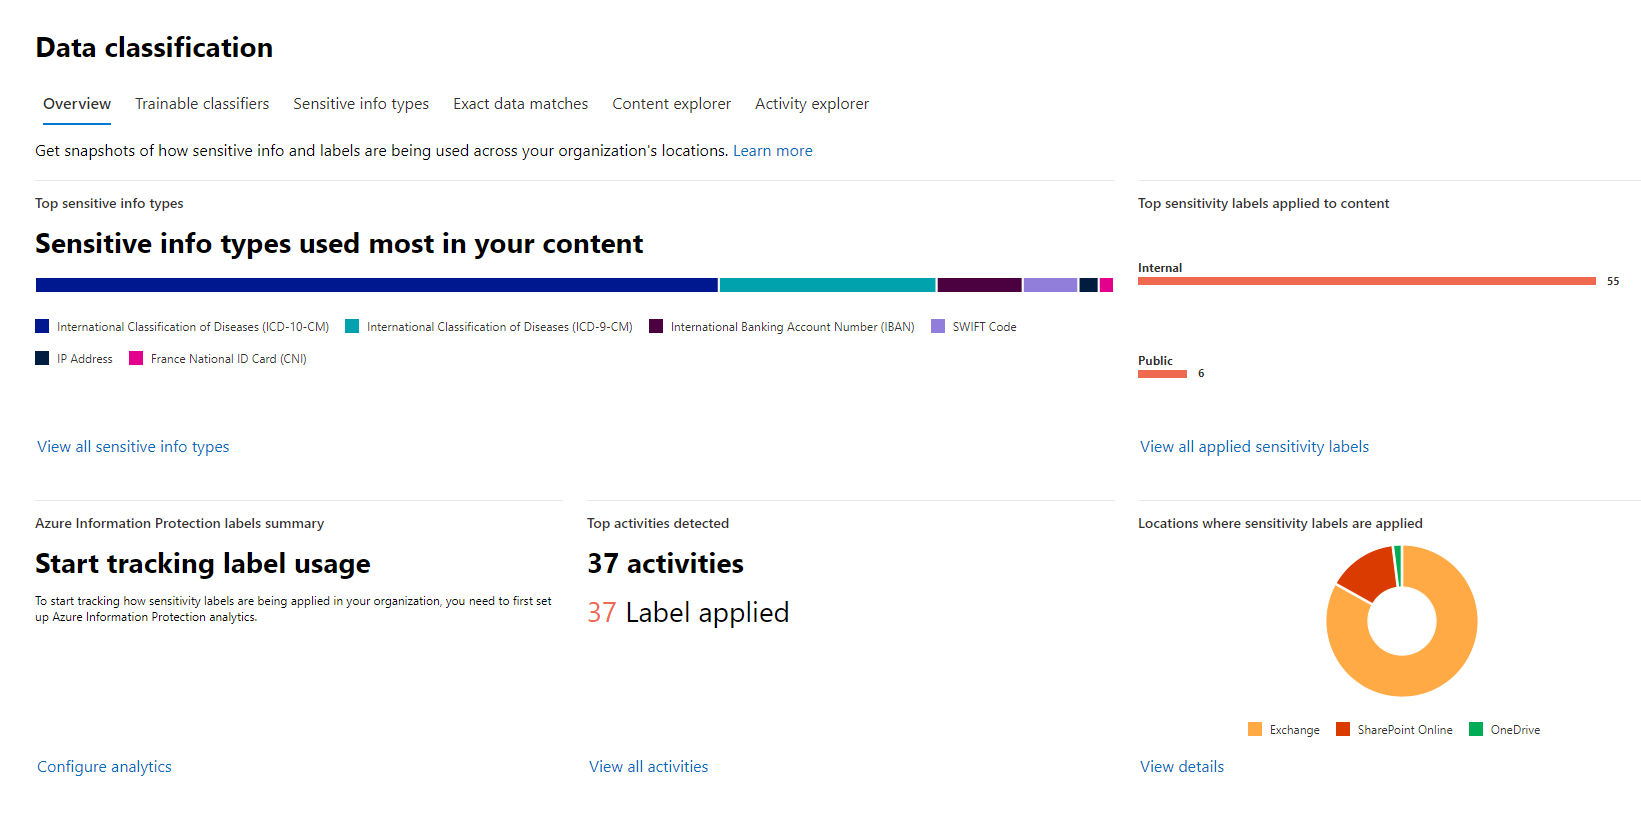
Overview
| To get an overview of which labels are used how often, we can go to Data classification on the portal at
https://compliance.microsoft.com/ and get an overview there. |
 |
I have only described the most important basic functions in this article, but there are some more interesting options for sensitivity labelling. I will describe these in a later article.
However, after this article you should currently be able to create and use sensitivity labels.