Background
Some time ago I was on a very interesting project about on-premise infrastructure, Exchange online and 3rd party player for Skype for Business. This constellation had a couple of challenges to cope with.
The Exchange organisation was set up in a hybrid mode. All warmbody Mailboxes where located on the Exchange online and all coldbody mailboxes on the on-prem servers.
This customer is using Skype for Business as a service from a third party provider. What means that I wasn’t able to login directly to the Skype server.
I will try to describe how the setup of this constellation was made in a later post on this page.
Challenges
After all warmbody mailboxes where migrated to Exchange Online, I had to enable the UM Policy for all users.
This is not really a big deal if you are doing it for one user. All you need is the Enable-UMMailbox cmdlet with the mailbox Id and the extension parameter. Of course there are more parameters you can set. For example the PIN or which UM policy to use. You can find more about the Enable-UMMailbox cmdlet here:
The challenge I had was to enable the UM role for more than 400 warmbody mailboxes. To do that you can follow different ways. The easiest way is to simply login to your Skype for Business server. But as I mentioned earlier in this post, the Skype for Business server is managed by a third party company. Thus, I was not able to do that.
Another way is to do it directly on the Exchange Online server through remote PowerShell.
But, here we have another challenge: The Enable-UMMailbox cmdlet is an Exchange command, but the extension I need is from the phone number, which is usually the Active Directory object field “Telephones”.
So how to do that now?
Solution
First thing I did was to search the web for some solutions for this challenge. After I wasn’t able to find any solution which could help me, I started to write a script, which worked out perfectly for me!
I am now going to present you this script and how to use it in it´s current version (2.5).
The old Post was about the version 1.0. There you were only able to enable UM in Exchange Online and you had to modify parts of the script for the extension length.
Whats new in the current version (2.52)?
Well, this!
- Option to enable UM on-premise (on-premise)
- Set extension number length as variable (on-premise, online)
- check if the Azure AD module is installed including a forward to the download site (online)
- Choosing between Mailbox types
Download
You can download the whole script from Microsoft Technet: https://gallery.technet.microsoft.com/Enable-UM-in-exchange-8a221ec1
Here now how to use the script:
Enable UM in Exchange Online for multiple mailboxes
.CHANGE LOG
V1.00, 2017/11/03 – Initial version – (Enable UM in exchange online)
V2.00, 2017/11/14 – Added on-premise as a options | choose between Office365 and on-premise environment after starting Script to enable UM
V2.10, 2017/11/18 – Added the option to choose the Extension number length during the script execution, Added AzureAD module check (if O365 is selected)
V2.50, 2017/11/20 – Added support for MSonline module, added comments, added error count for summary
OPTION: Office 365
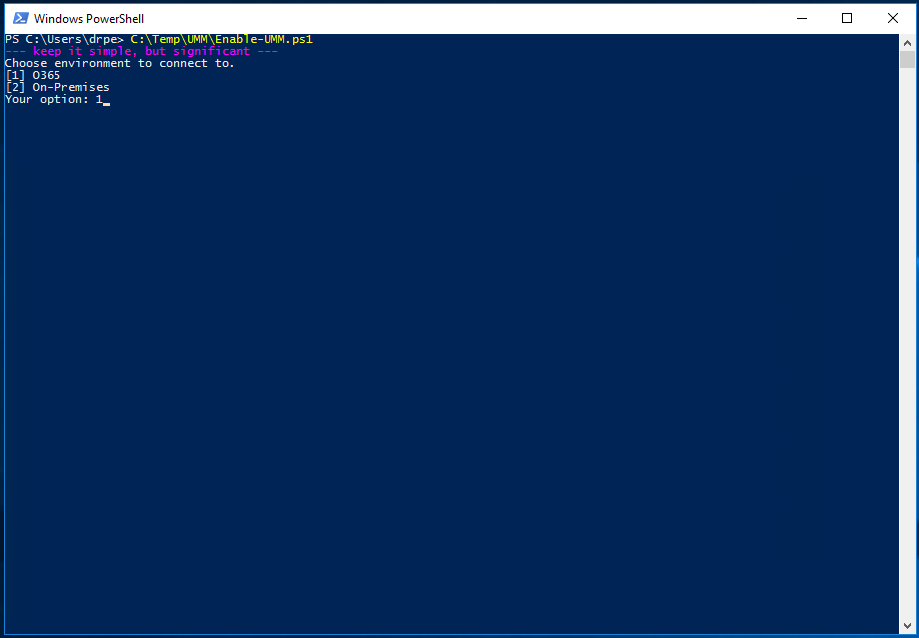
After starting the script in your Windows PowerShell console, or through right-click –> run with PowerShell (No need to start it over the Exchange Management Shell),
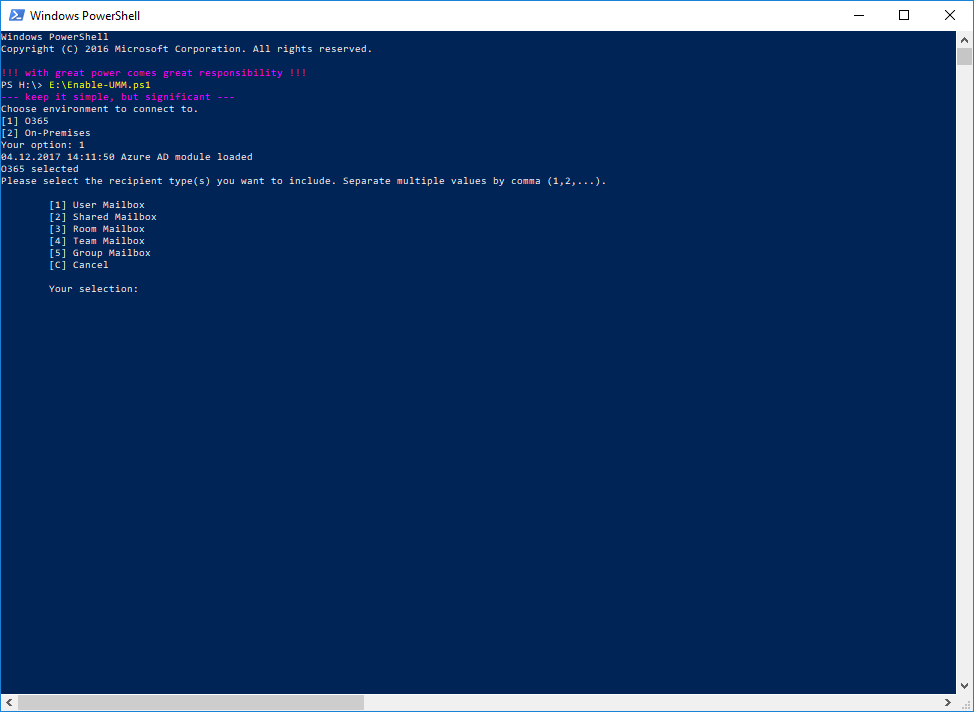
you will need to choose one of the two options you want go with. In this case we start with the Office 365 option [1].
The script now checks if the Azure Active Directory module is available on your machine, if not you will receive the following output:
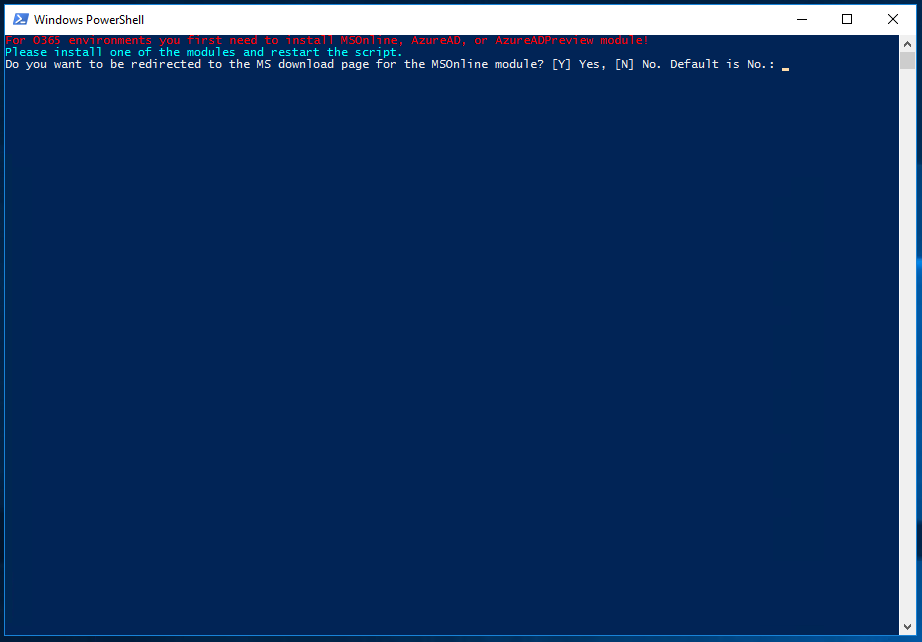
If you receive this message, and you choose the option [Y], your browser will be opened and you will be redirected to the Microsoft download page.
Here you can see the content of the page: http://connect.microsoft.com/site1164/Downloads/DownloadDetails.aspx?DownloadID=59185
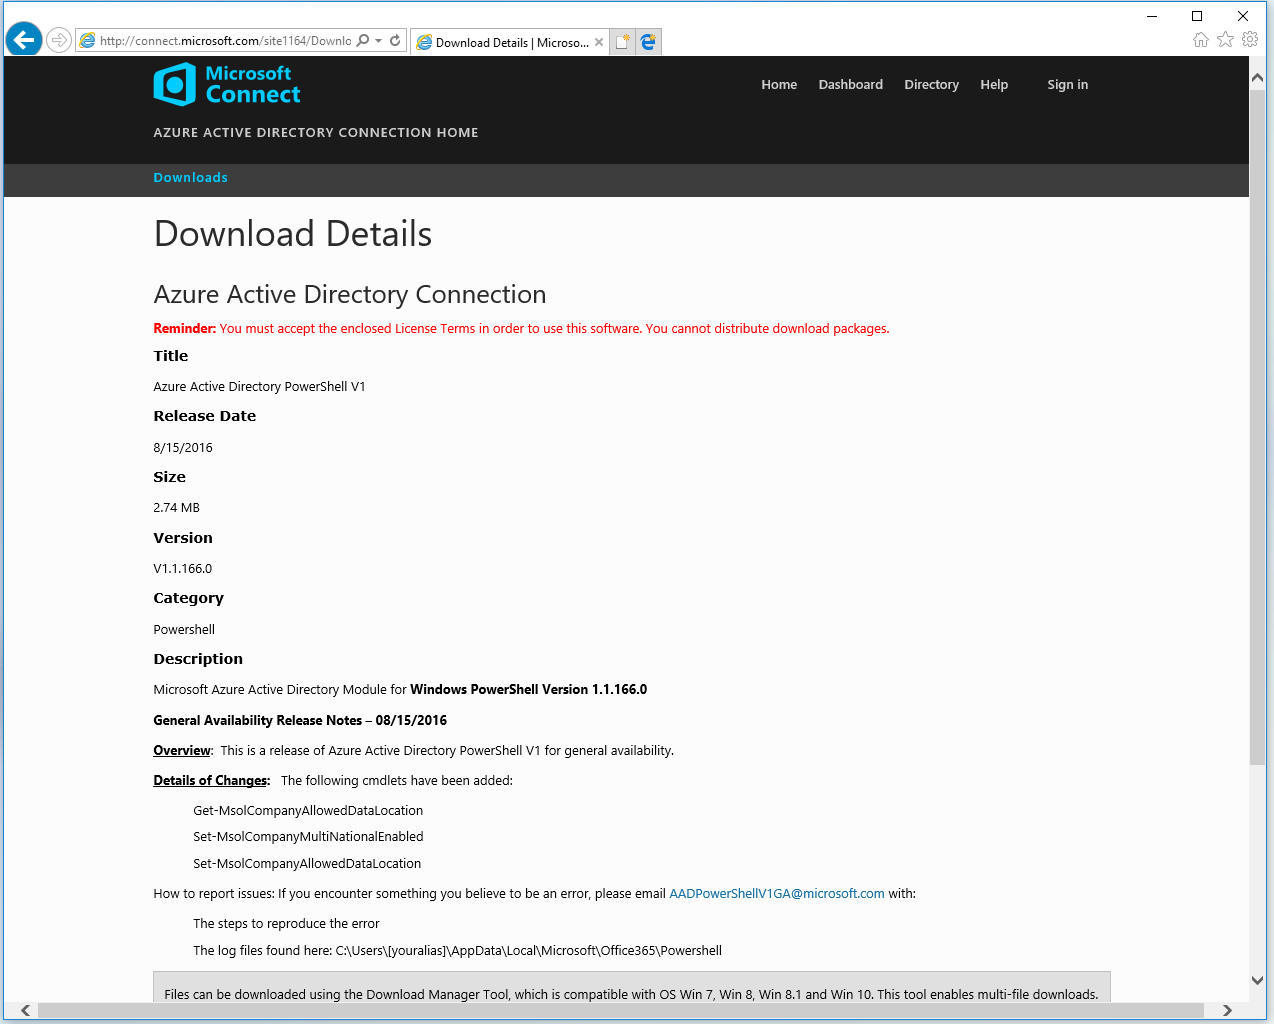
You just need to download the msi file from the web site, install it and then re-run the script again. You should close the current PowerShell console window and open a new one, as well.
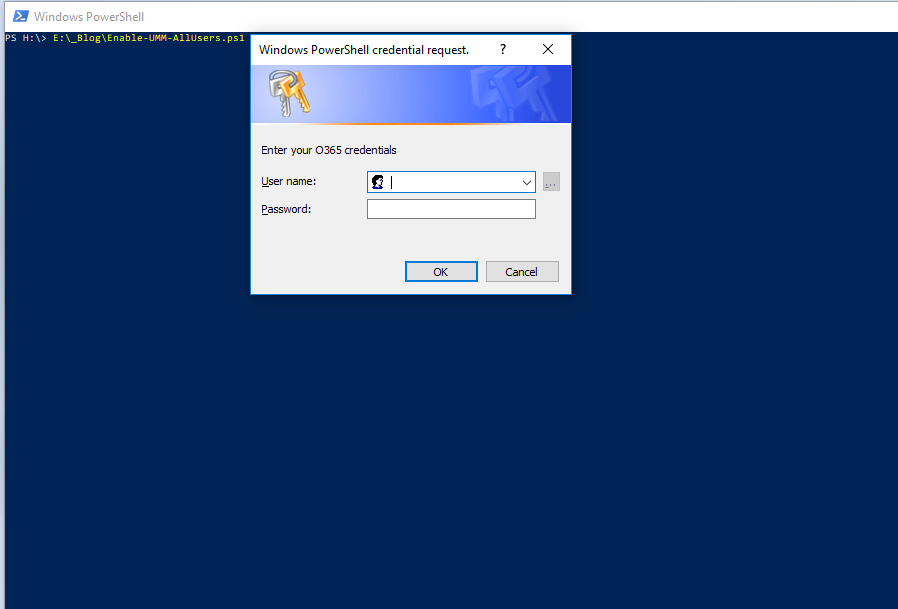
If you have installed the Azure AD module, the script follows its procedure to the O365 credentials prompt.
Here, just enter the Microsoft Office365 credentials of an account that has administrative permissions in your O365 tenant and Exchange Online.
Usually this is your [email protected] account, or in hybrid environments your on-premise e-mail, resp. UPN.
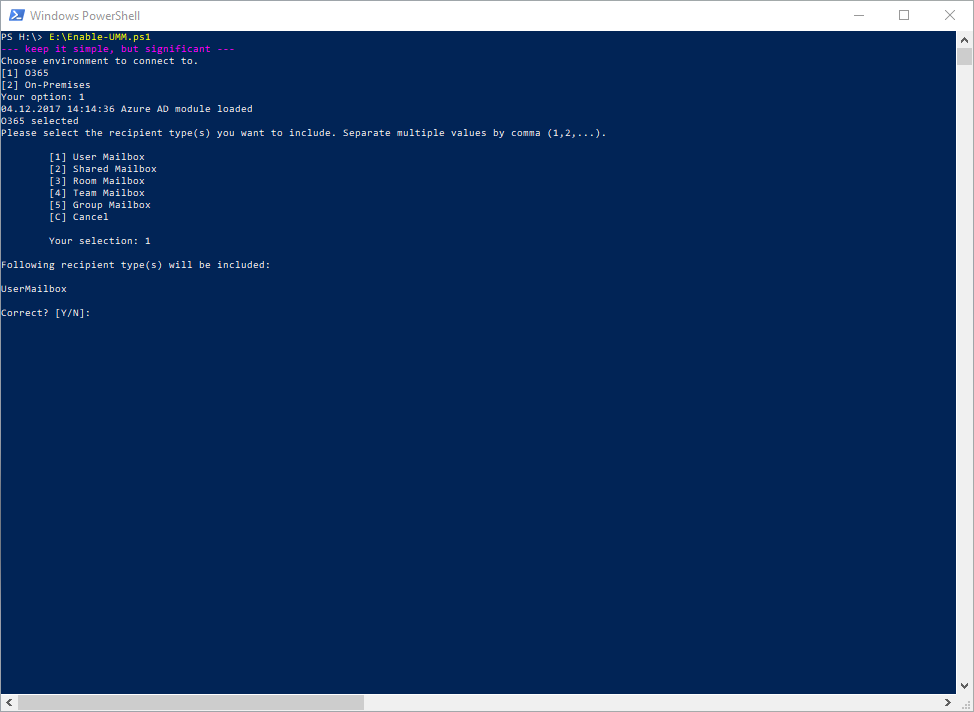
After entering your credentials, you will be asked for which Mailbox Type(s) you wanna enable the UM Role. (multiple are possible)
Now you will be asked to confirm your choose:
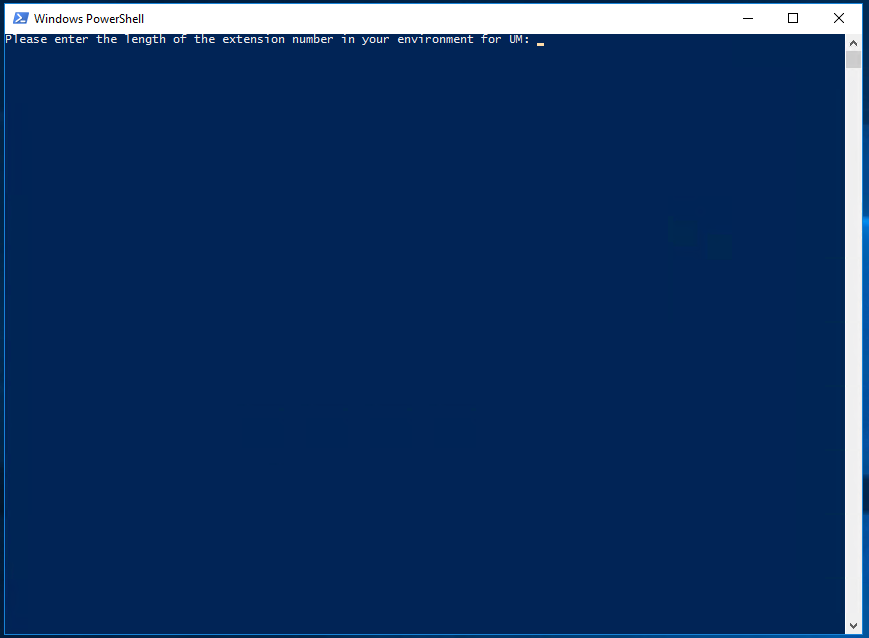
In the next step you will have to enter the length of your UM extension number. By this, you choose how many of the last digits of a users phone number which will be used as the extension number in Skype.
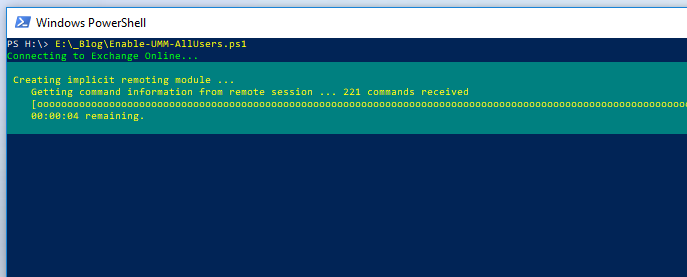
Now the script is connecting remotely to Exchange Online and AzureAD.
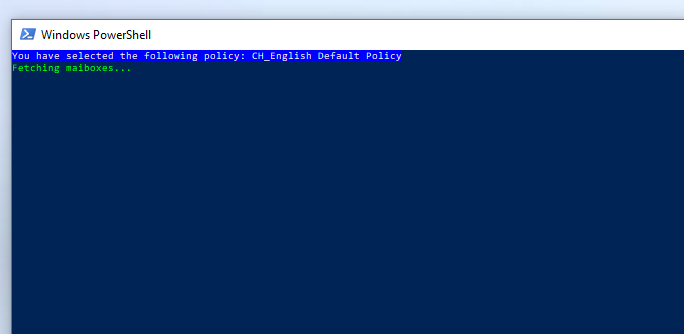
After the successful login, the script gets your existing UM policies and lists them for you in the form of a menu. Now you can easily choose the UM policy you want to enable for your mailboxes.

The script now searches all mail boxes which are not enabled for UM.
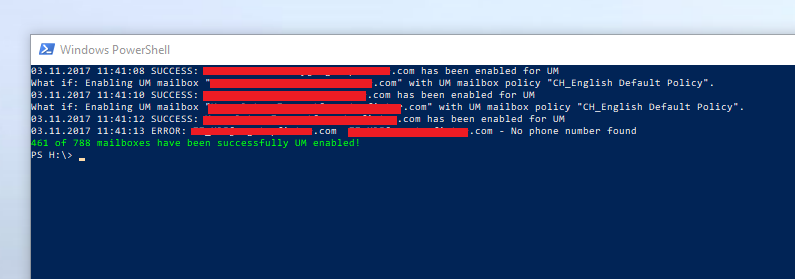
In a next step, UM will be enabled for any found mail box with the UM policy you picked and the extension number consisting of the last n digits of the users phone number.
After all mailboxes are processed, you will receive this message at the end, which shows you how many mailboxes where enabled for UM.
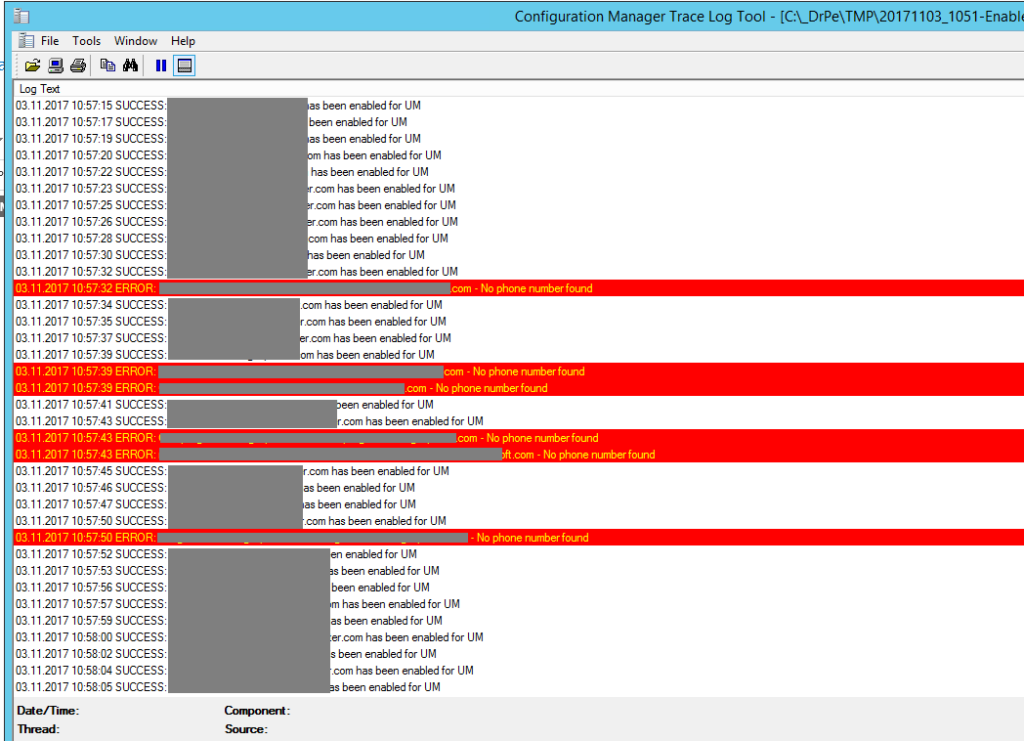
The script creates a log file in the path, where you saved and ran the script.
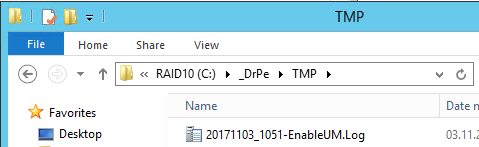
In this log file you can see every successful and failed try of enabling UM.
OPTION: ON-PREMISE
Running the Script on-premise is almost equal to the O365 mode. Of course there are some different steps which have to be done.
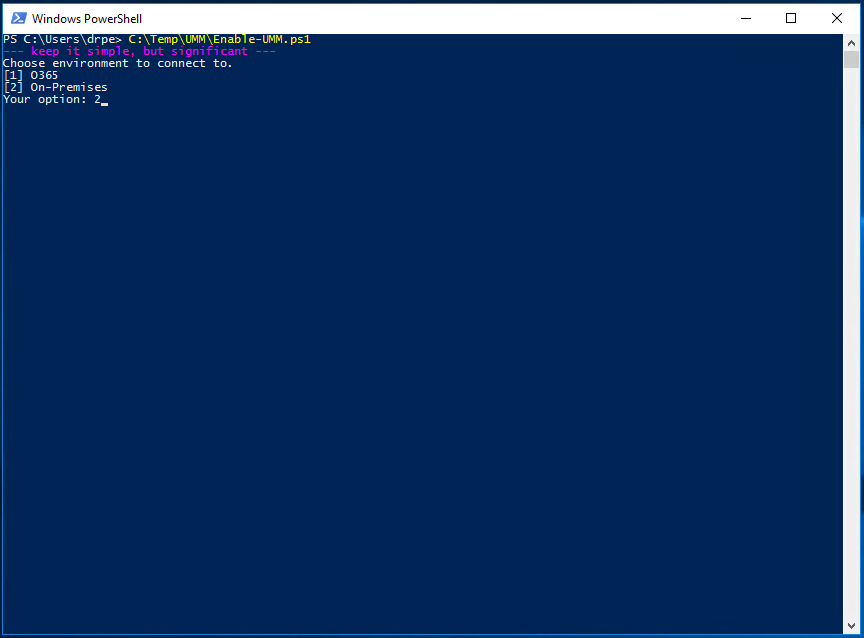
After starting the script in your Windows PowerShell console (No need to start it over the Exchange Management Shell),
you will need to choose one of the two options you want go with. In this case we start with the On-Premises option [2].
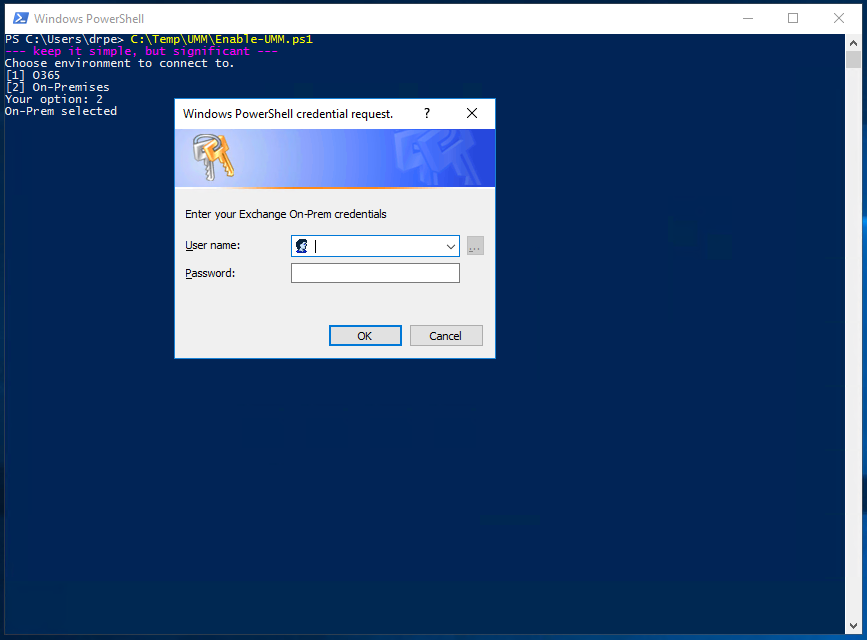
Now you need to enter your Exchange admin credentials for your on-premise environment:
After entering your credentials, you will be asked for which Mailbox Type(s) you wanna enable the UM Role. (multiple are possible)
Now you will be asked to confirm your choose:
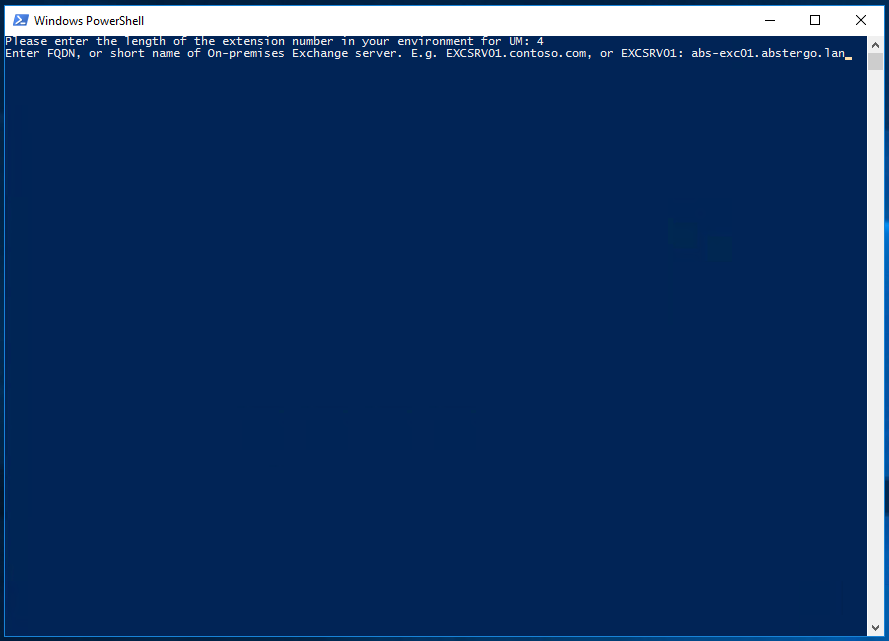
In the next step you will have to enter the length of your UM extension number (same as in the O365 option):

After you have set the extension length, you will be asked to enter the name of an Exchange (CAS) server inside of your organization.
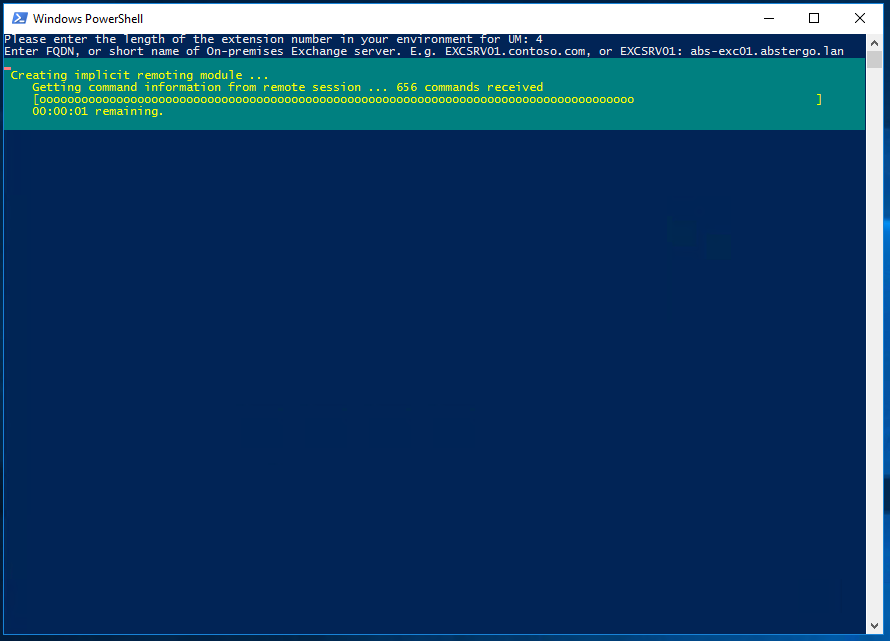
if your server name and Exchange credentials are correct, the script connects to your exchange server:
After the successful login, the script checks your existing UM Policies and list them for you in the form of a menu. Now you can easily choose the UM policy you want to enable for your mailboxes.
The script now searches all mail boxes which are not enabled for UM.
In a next step, UM will be enabled for any found mail box with the UM policy you picked and the extension number consisting of the last n digits of the users phone number.
After all mailboxes are processed, you will receive this message at the end, which shows you how many mailboxes where enabled for UM.
The script creates a log file in the path, where you saved and ran this script.
In this log file you can see every successful and failed try of enabling UM.
Photo by Namroud Gorguis on Unsplash