Prolog
There are several ways to create a Certificate request (CSR) for SSL Certificates. There are a large number of tools that can help or assist you in this process.
Personally, I like to use PowerShell for this. There is a module in my Exchange Suite which you can download HERE and create a CSR with the menu option 49.
This article is about how to create a certificate request (CSR) with the standard Windows tools and without using IIS.
At this point it is important to note that we should perform the entire process of creating a certificate on the same computer, because when the CSR is created, the private key of the future certificate is created on the same computer.
Create CSR
So let’s get started:
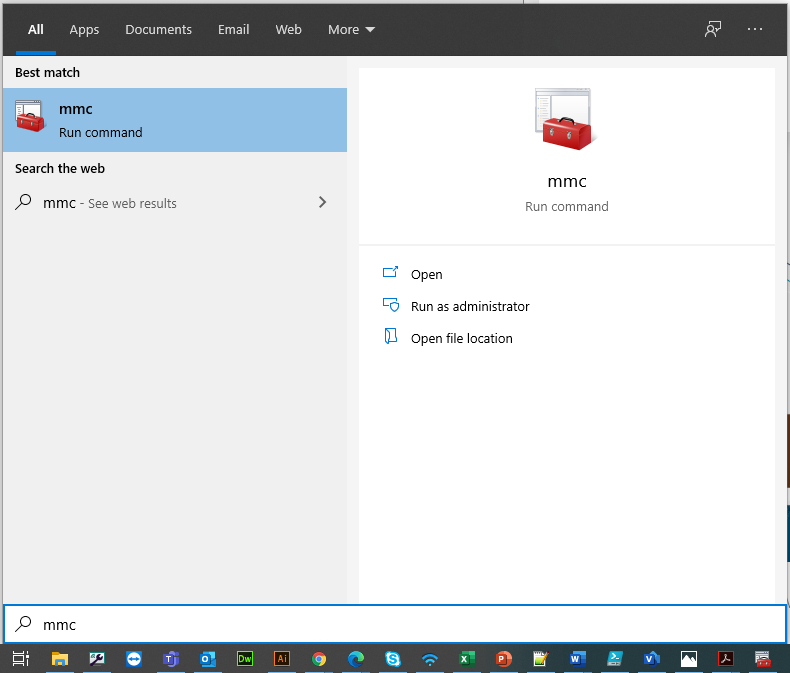 |
To create a CSR, we need the Microsoft Management Console (MMC).
To start it, we click on Start > Search program and files type the command mmc then press Enter to run the Snap-in console.
|
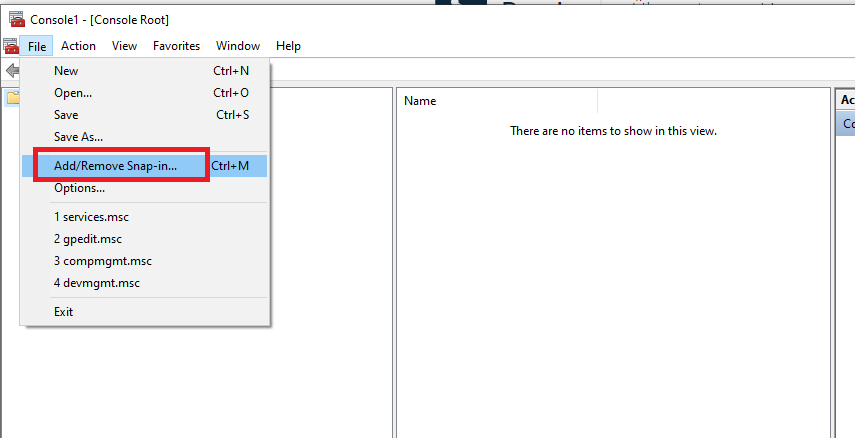 |
From File menu select Add/remove Snap-in option. |
 |
Select Certificates then click Add button. |
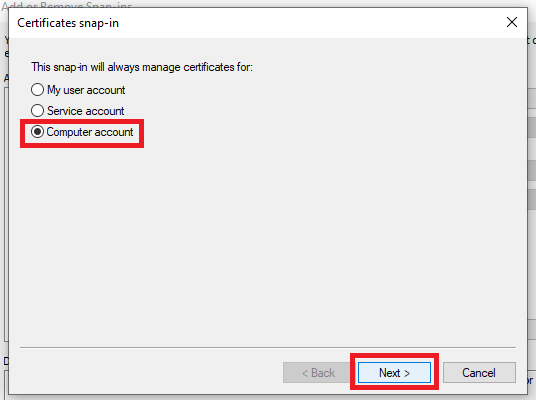 |
Since the certificate refers to the machine itself, select Computer account option then click Next. |
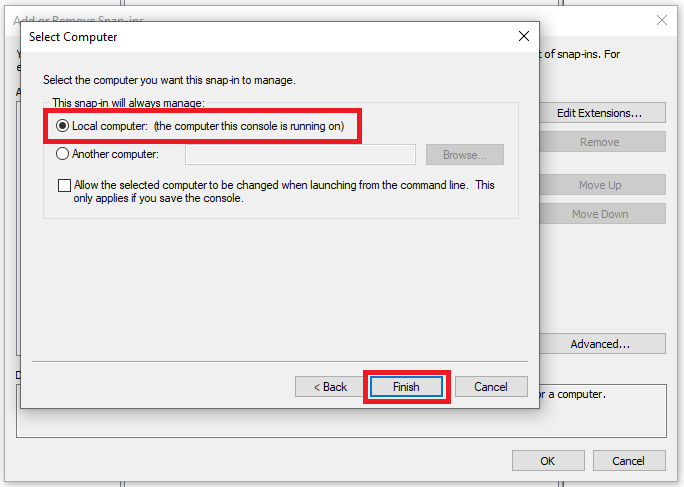 |
Select Local computer and click Finish. |
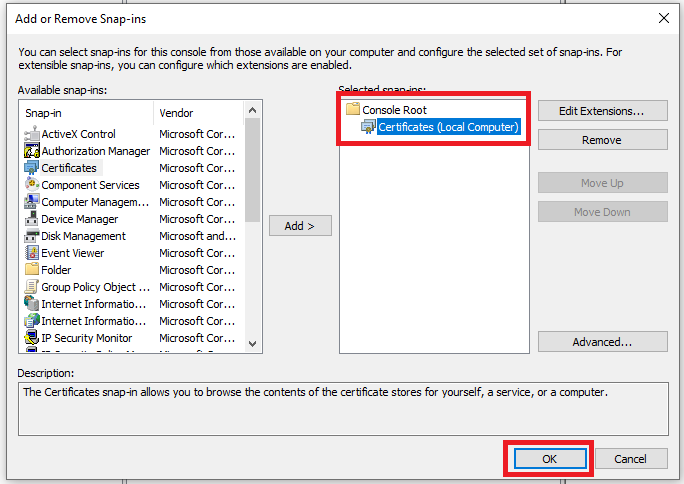 |
When the Certificates snap-in is added to the right pane, click OK to open the console |
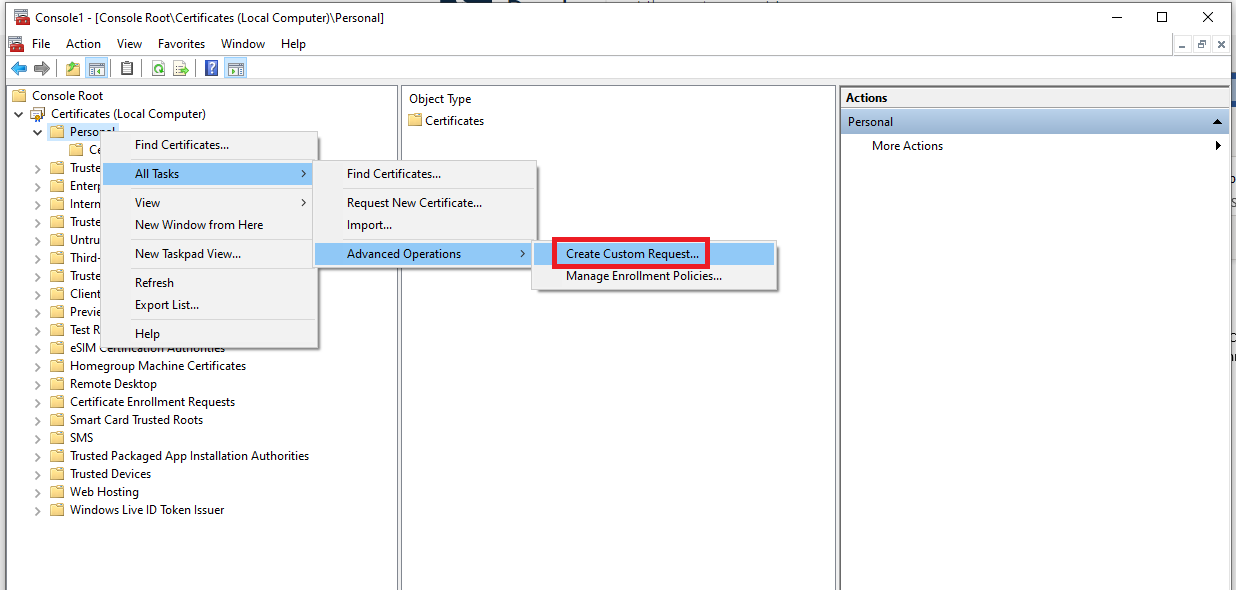 |
Expand the Certificates item and right click Personal. Select All Tasks > Advanced Operations > Create Custom Request. |
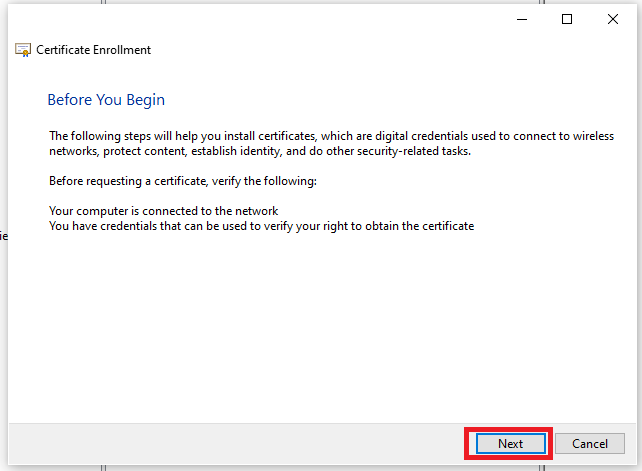 |
The Certificate Enrollment Wizard opens. Click Next to proceed. |
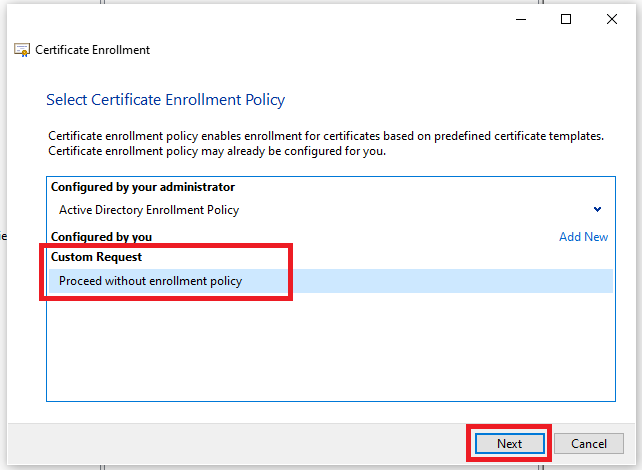 |
Select Proceed without enrollment policy option then click Next. |
 |
Select (No template) Legacy key value from the Template drop down menu and PKCS #10 option as Request format. Click Next. |
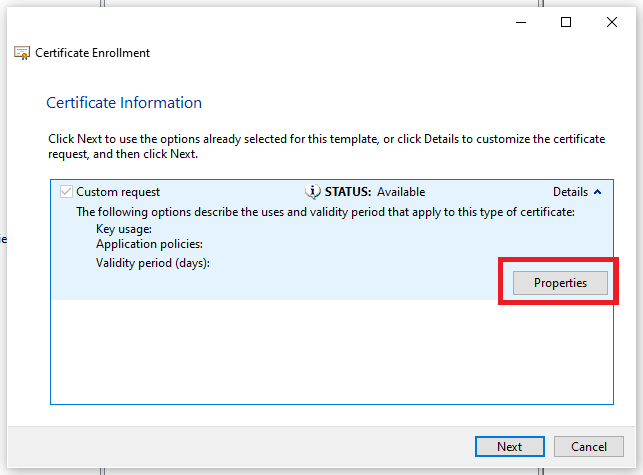 |
Click on Details to show the additional info and click on Properties. |
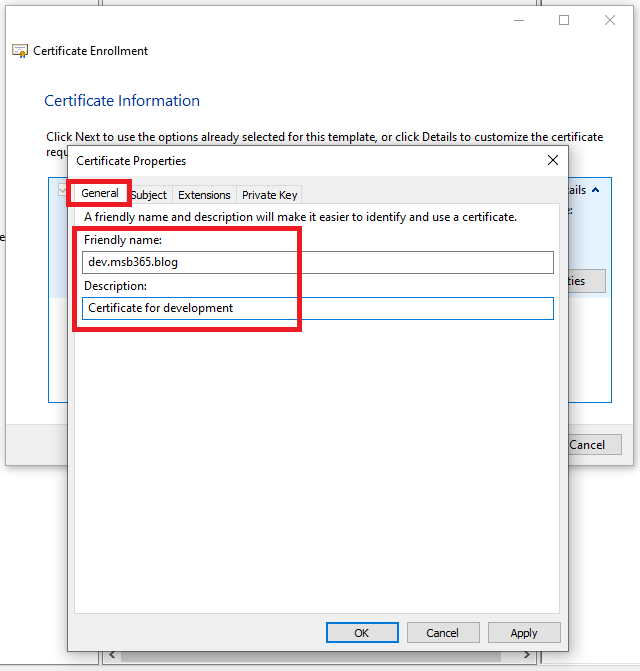 |
In the General tab type a Friendly name to better identify the certificate and a Description. Select Subject tab when done. |
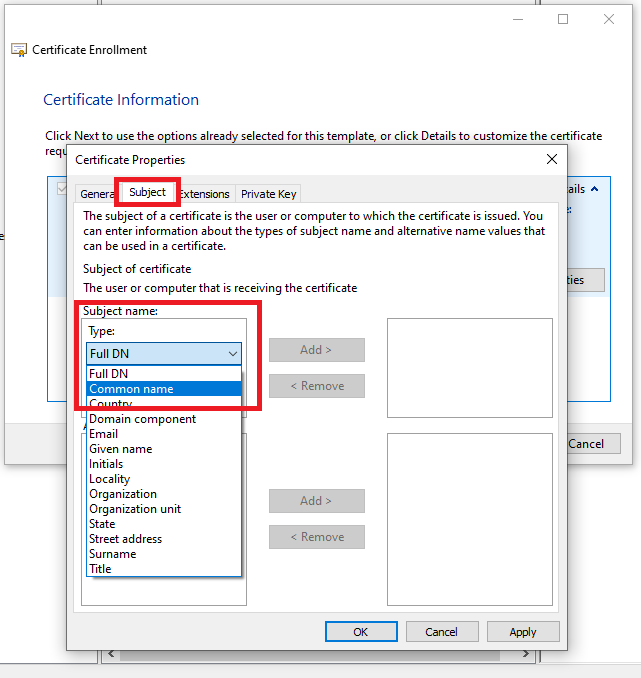 |
In the Subject tab we are going to configure the certificate properties. From the Type drop down menu select Common name. |
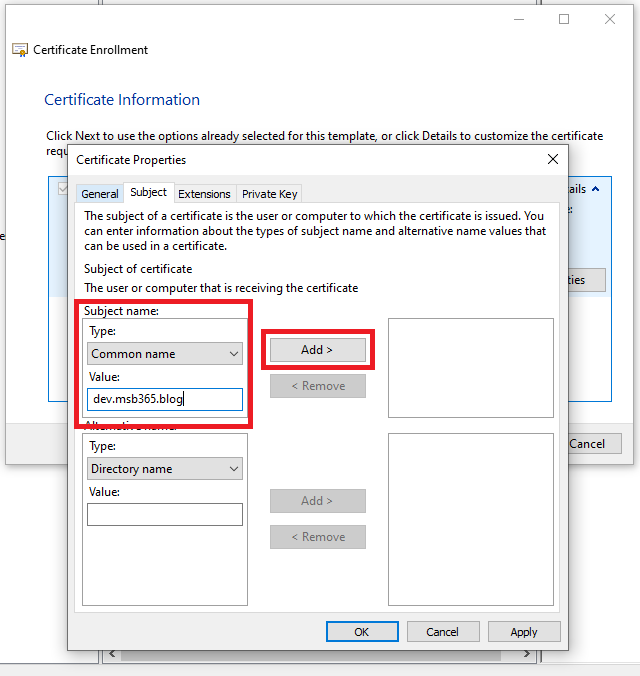 |
This name is what will be configured in the public DNS. Click Add to add the Common Name to the certificate. |
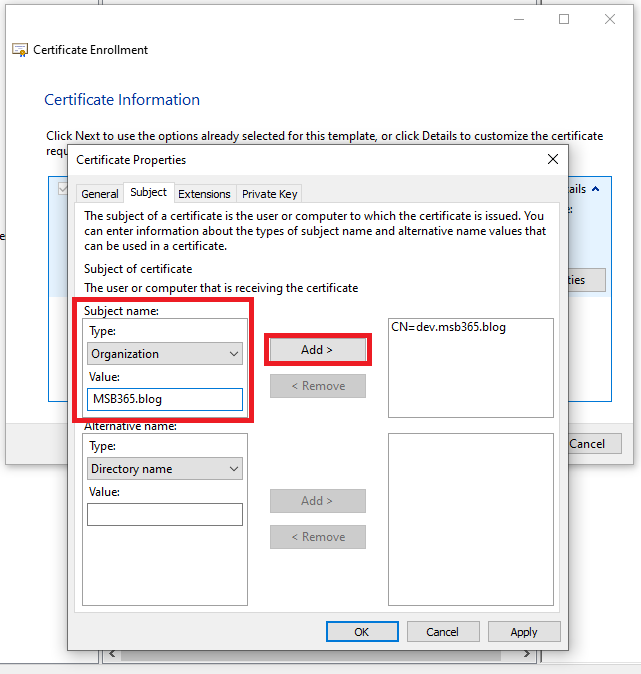 |
Now select Organization from the drop down menu and type the Value then click Add. |
 |
Select Organization unit, type a Value and click Add. |
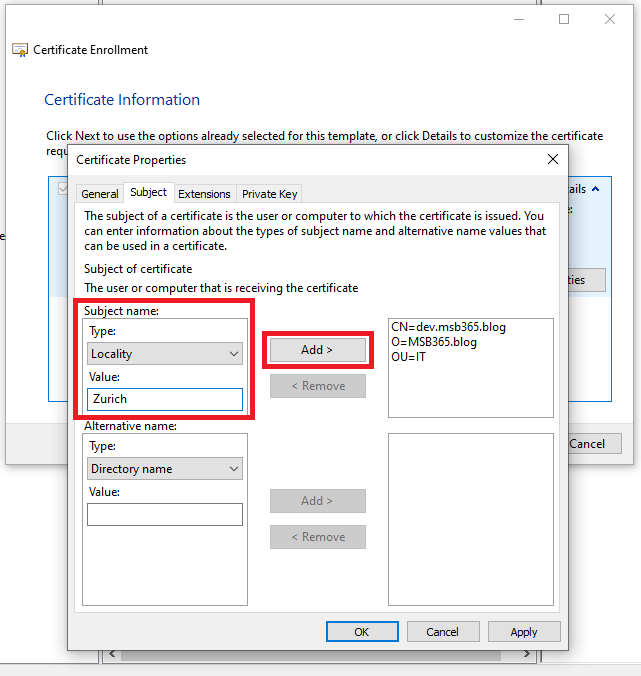 |
Select Locality, type a Value and click Add. |
 |
Select State, type a Value and click Add. |
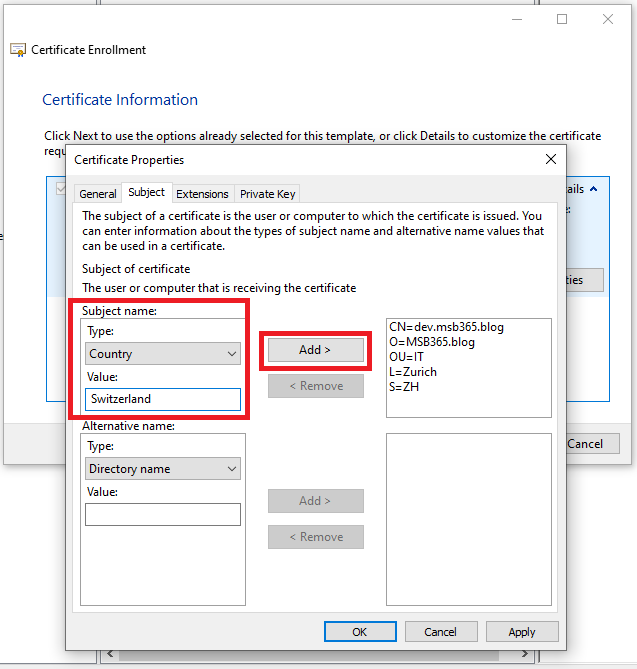 |
Select Country, type a Value and click Add. |
 |
When the certificate properties has been set, select Private Key tab.
Click on the Cryptographic Service Provider‘s ^ symbol to expand the properties and select Microsoft RSA SChannel Cryptographic Provider (Encryption) option.
|
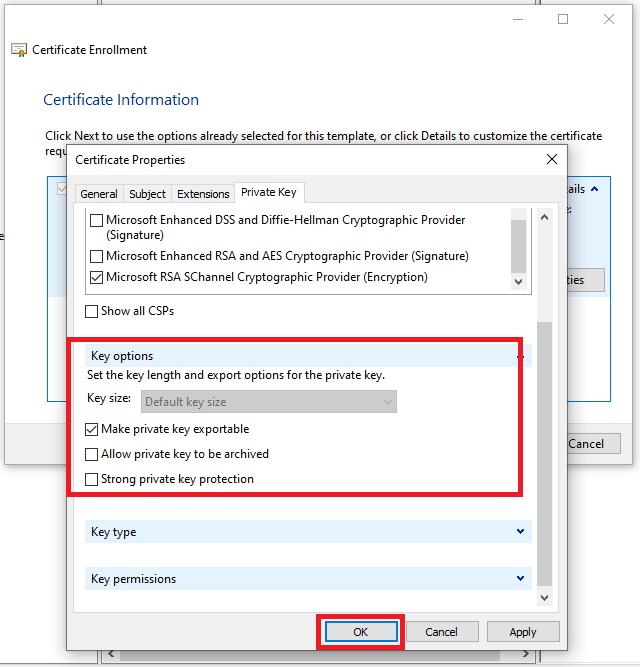 |
Click on the Key options‘ ^ symbol to expand the properties and set 2048 as Key size.
Note: Depending about your main settings, this option could be not available. It will select the Default key size.
Enable Make private key exportable option. Click OK to save the certificate properties. |
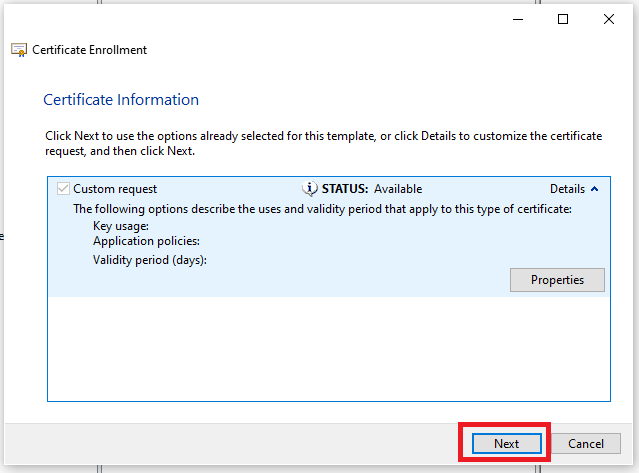 |
Click Next to continue with the request process. |
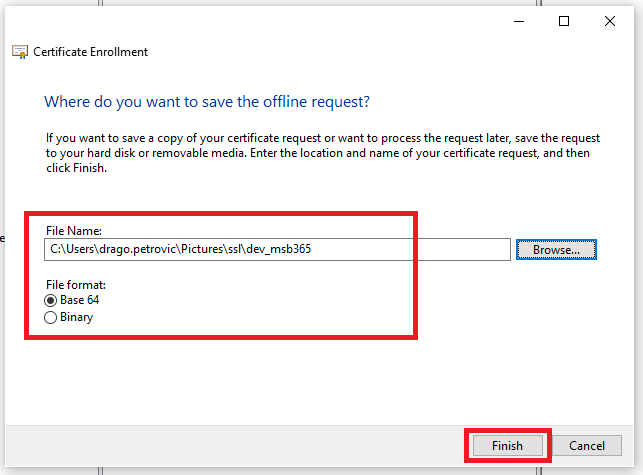 |
Type a File Name and set Base 64 as File format. Click Finish to complete the procedure. |
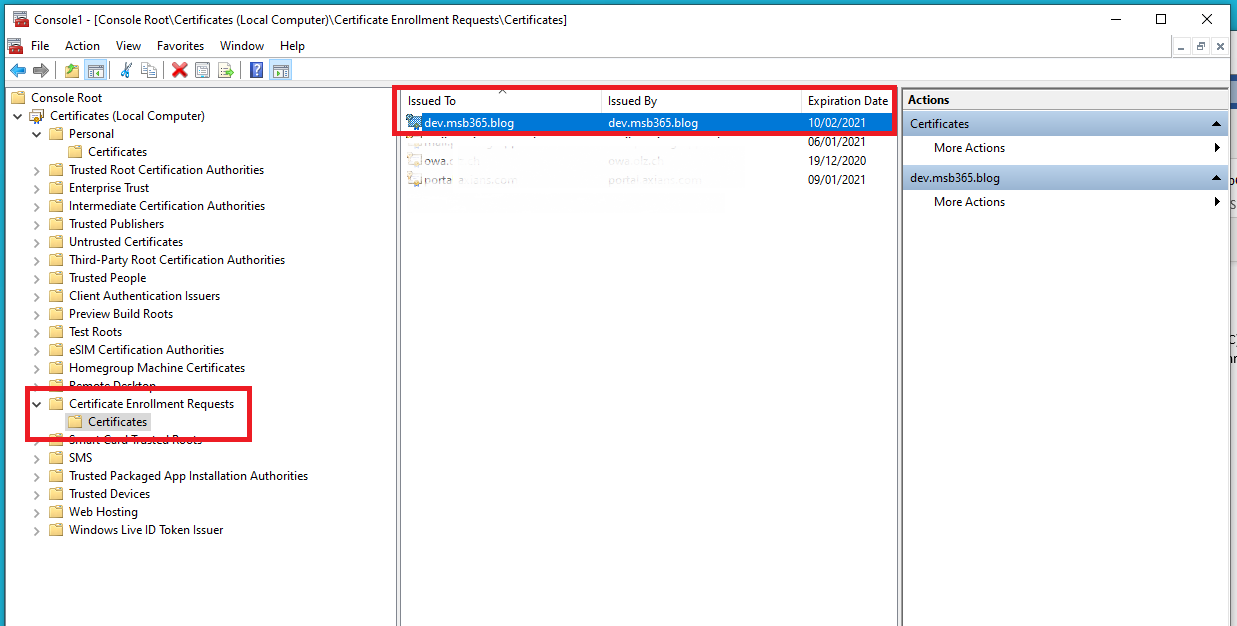 |
Select Certificate Enrollment > Certificates and check if the certificate request shows up in the right pane. |
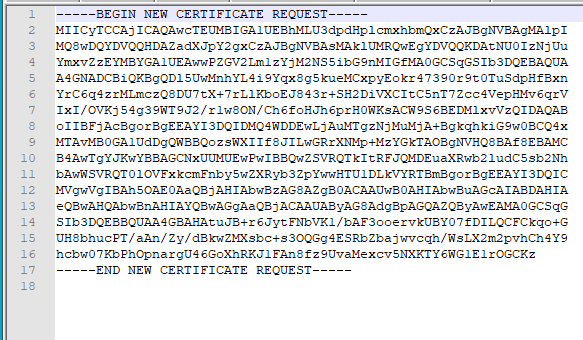 |
Copy and paste the certificate in the Certificate Signing Request filed of the selected CA |
At this point you can continue with the public part of the certificate ordering process as before.
As mentioned at the beginning, it is important that at the end the final certificate is imported back to this computer. This way you can create a PFX with the private key included.
Conclusion
When creating Certificate requests (CSR’s) there are of course different requirements. Depending on the intended use, additional information must be included in the certificate or the encryption must be greater than 2048.
Please note that this article is about standard certificates.
How often we really have to go this way depends on the situation and the application.
With an Exchange Certificate for example, the CSR can be created directly by the Exchange Management Shell or the ECP.
Some of my customers use this path when creating certificates for the use of ADFS.
Photo by 🇨🇭 Claudio Schwarz | @purzlbaum on Unsplash