There are different ways to roll out Windows 10. One option that is becoming increasingly popular is the deployment with Microsoft Intunes.
If you are familiar with Microsoft Intunes, you will soon notice that there are also different ways to configure Intunes.
I will not go into the chapter Intune itself in this article. However, I can recommend the YouTube channel from my friend Adam Gross.
Adam and Steve have created what I consider to be the best and most comprehensive Intune Channel for this chapter and cover almost the whole Intune.
So please have a look at https://www.intune.training.
I have tested several variants of Windows 10 depoyment for myself and came across a very exciting variant. Again I had support from Adam and Steve.
This is the variant of the deployment with a so-called USB boot stick.
In this article I describe how this special stick works.
Note: There are different types of sticks, this article is primarily about the stick, which you can also download here in my personal PowerShell Gallery.
Source
The actual stick was not developed by me. The code for this stick comes from Ben Reader and a YouTube video can be found HERE
I have adapted this stick so that you only need to download it and can use it with a single modification.
Work preparation
The stick I’m providing you with is almost “Ready to use”. I have provided a customized Windows 10 in version 2004 and Office and other tools are already preinstalled.
What you have to do before you can use the stick is to download the configuration of your Intune Tenant.
You can do this as follows:
First you have to download 2 modules.
These are the modules:
microsoft.graph.intune
WindowsAutopilotIntune
If you are not sure if you already have these modules on your device, you can pack the following code into a PS1 and run it:
#----------------------------------------------------------------------------------------------------------------------------------------
$var01 = "microsoft.graph.intune"
Function Get-MyModule
{
Param([string]$name)
if(-not(Get-Module -name $var01))
{
if(Get-Module -ListAvailable |
Where-Object { $_.name -eq $var01 })
{
Import-Module -Name $var01
$true
} #end if module available then import
else
{ Install-Module -Name $var01 -force}
}
else
{ $true } #module already loaded
} #end function get-MyModule
get-mymodule -name $var01

$var02 = "WindowsAutopilotIntune"
Function Get-MyModule
{
Param([string]$name)
if(-not(Get-Module -name $var02))
{
if(Get-Module -ListAvailable |
Where-Object { $_.name -eq $var02 })
{
Import-Module -Name $var02
$true
} #end if module available then import
else
{ Install-Module -Name $var02 -force}
}
else
{ $true } #module already loaded
} #end function get-MyModule
get-mymodule -name $var02
#----------------------------------------------------------------------------------------------------------------------------------------
After you have done these steps, you have to connect to your Intune via PowerShell, you can do this step with the following command:
connect-msgraph
Afterwards you need the following two commands:
$config = Get-AutopilotProfile
$config | ConvertTo-AutopilotConfigurationJSON | Out-File .\AutopilotConfiguration.json -Encoding ascii
The now created file “AutopilotConfigurationFile.json” must now be replaced on the USB stick under .\WINPE\Scripts.
From this point on, the USB stick can now be used.
Further preparations.
Of course the Intune Tenant must be prepared accordingly. If, for example, Device Energy settings are to be configured, certificates are to be rolled out or the background image is to be adjusted. This must be done on the Intune Tenant first.
Also here I like to refer to the Youtube channel https://www.intune.training.
Here you can find a lot of possible configurations.
Boot from the Stick
Now you simply follow the steps on your screen.
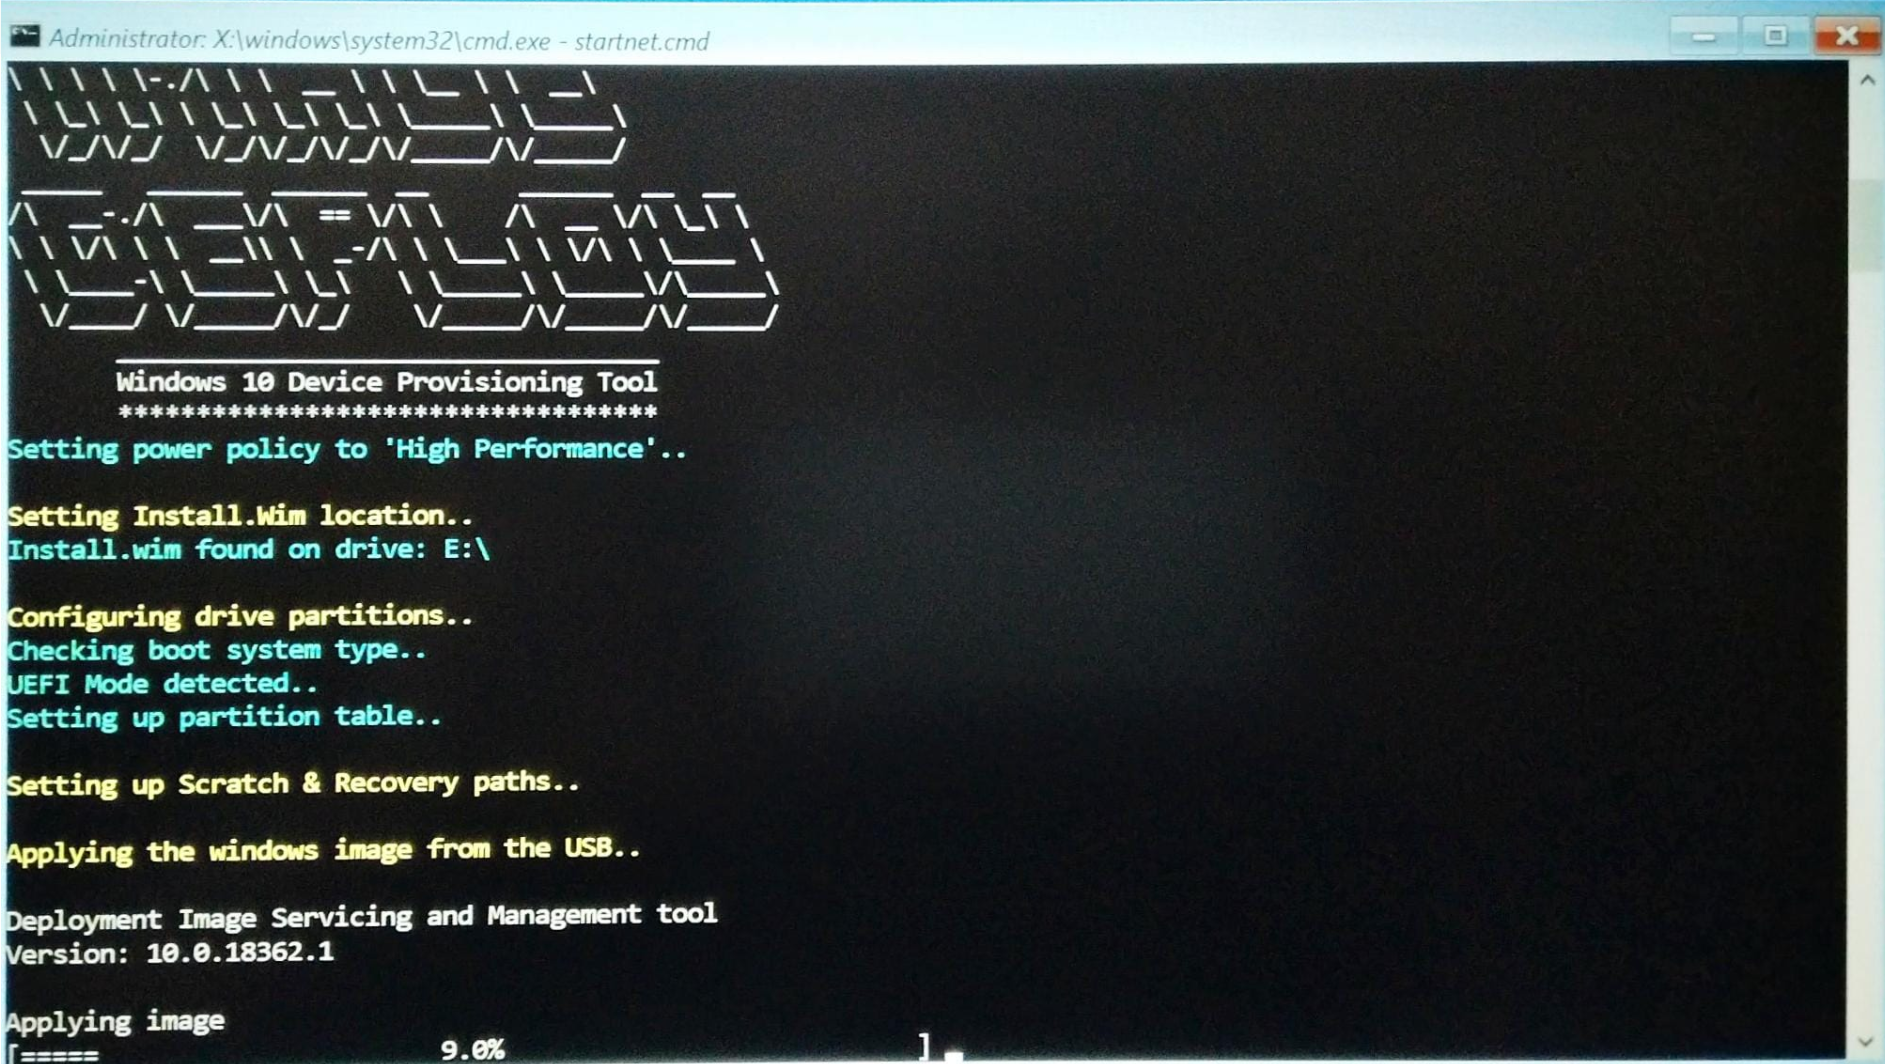 |
After booting from the boot stick, we come directly to the provisioning tool. Here we see how the image gets loaded. |
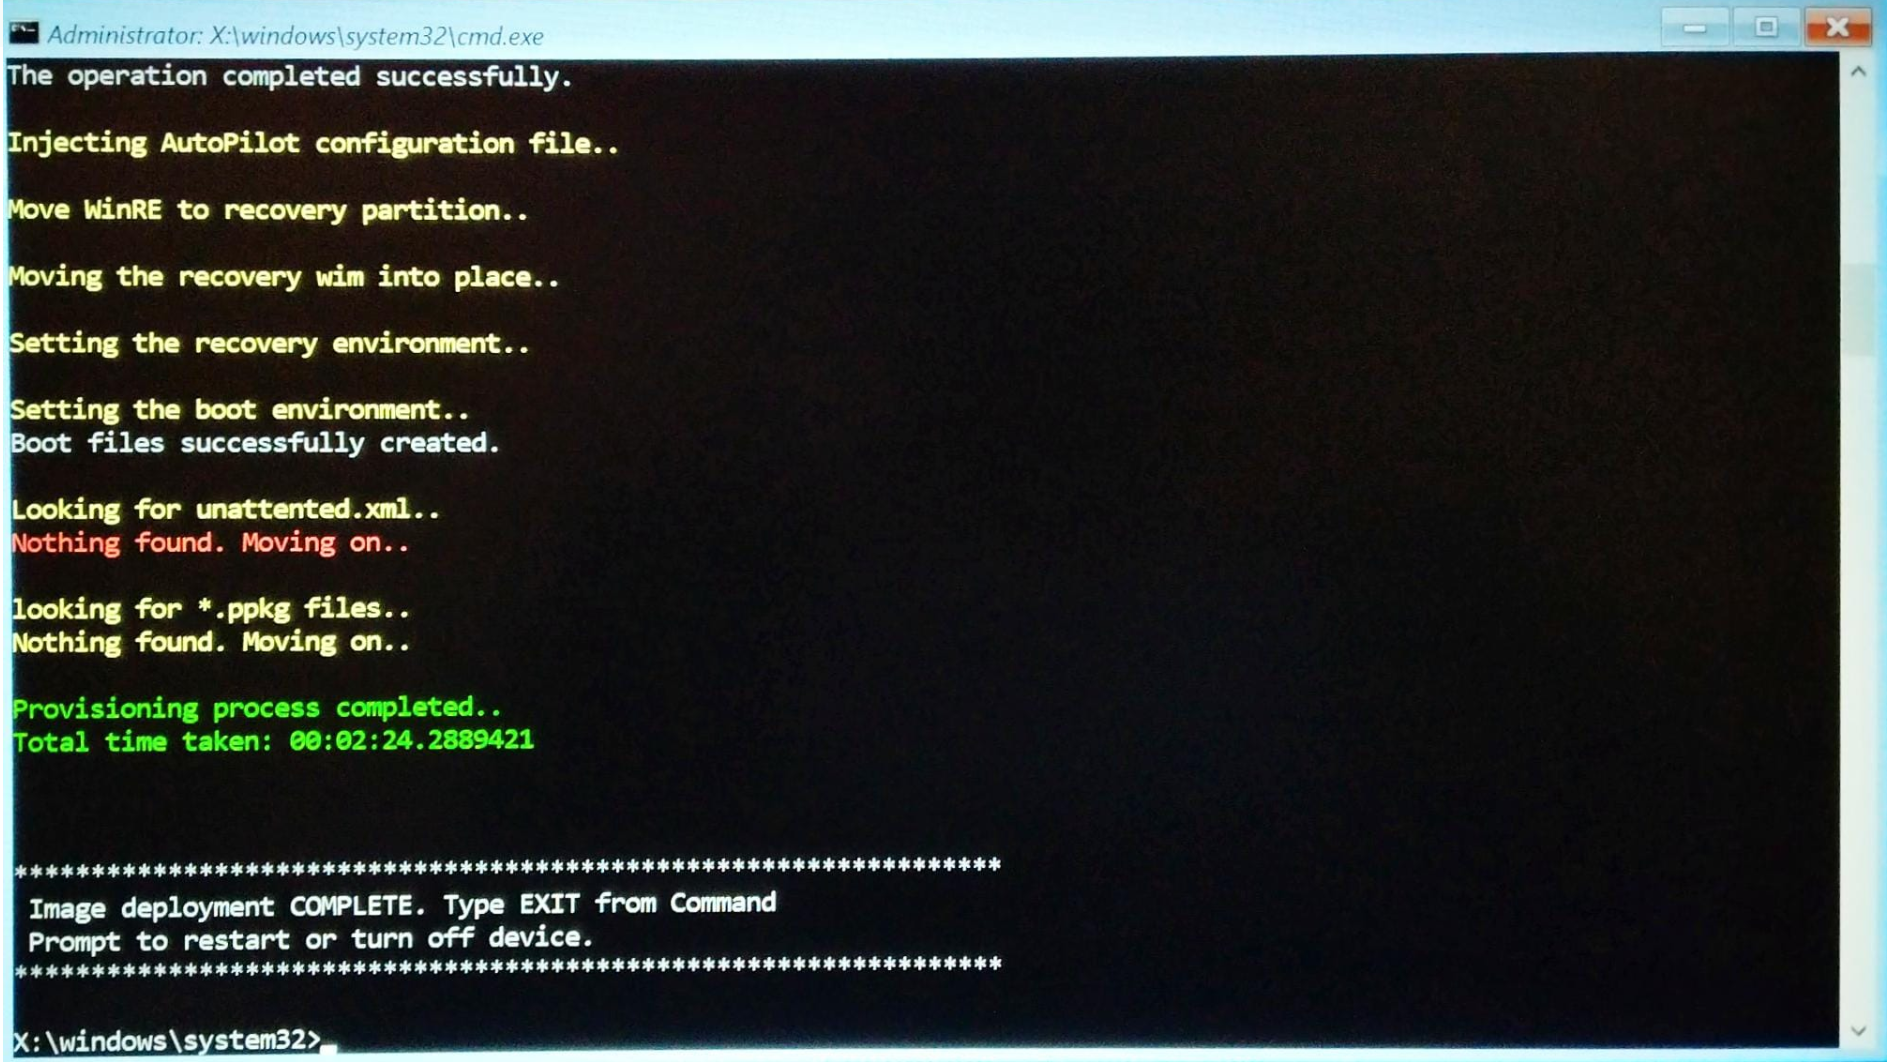 |
Afterwards we hit EXIT in the command line and reboot the Device. |
 |
The device is now restarting |
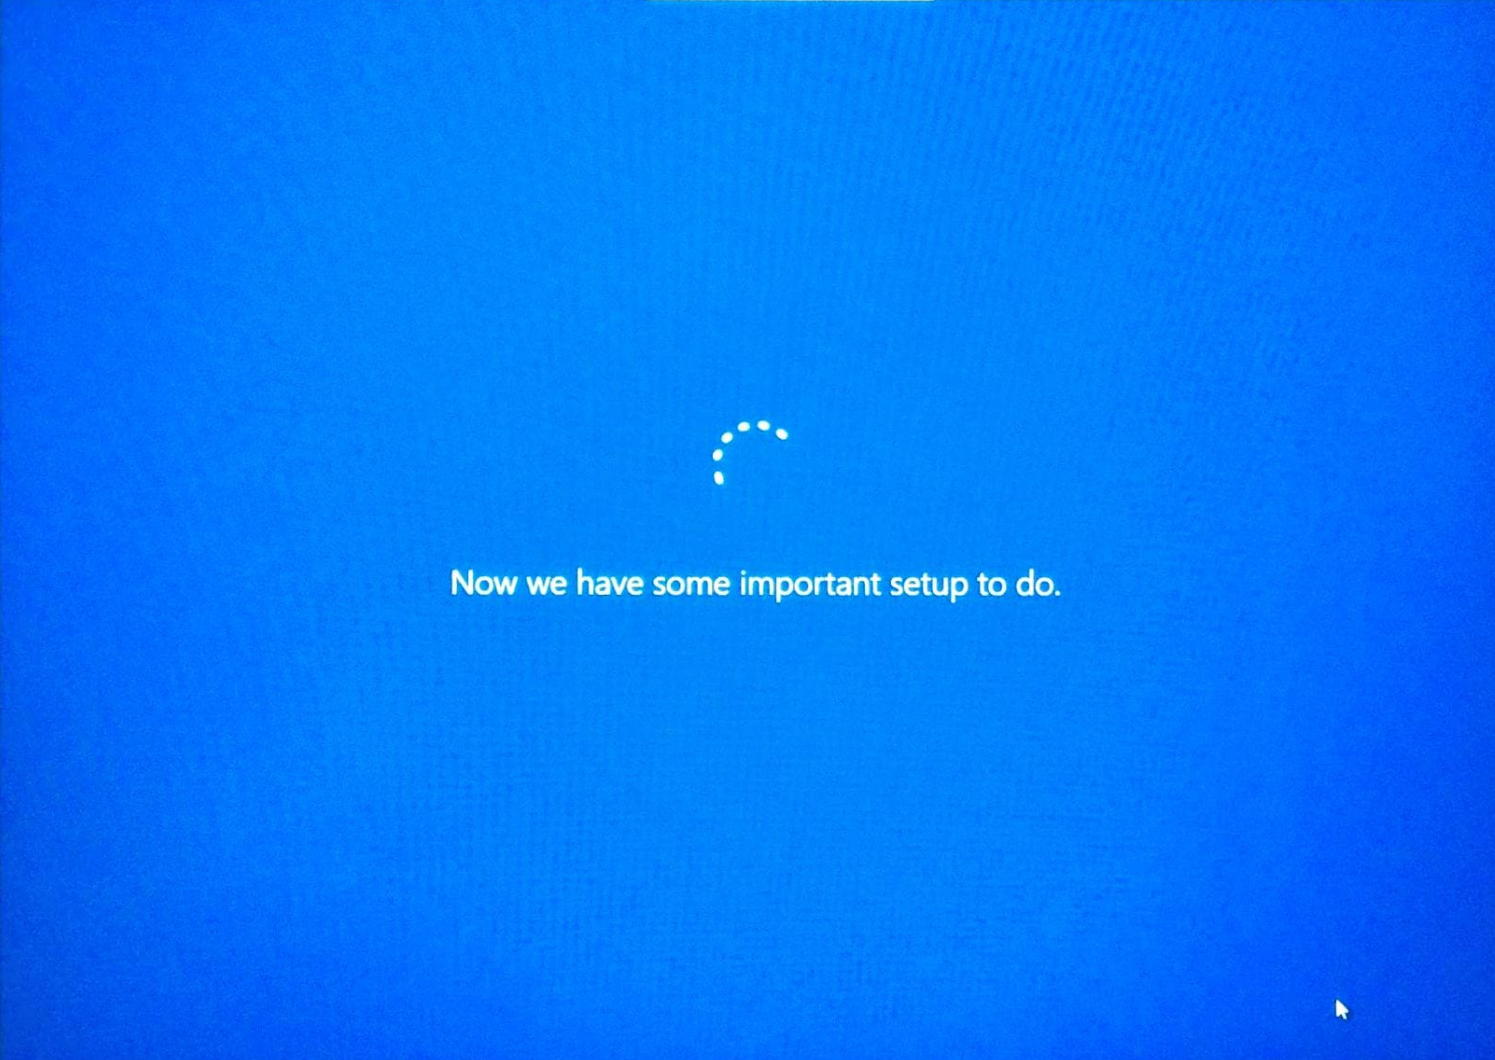 |
Now the OS will be installed. |
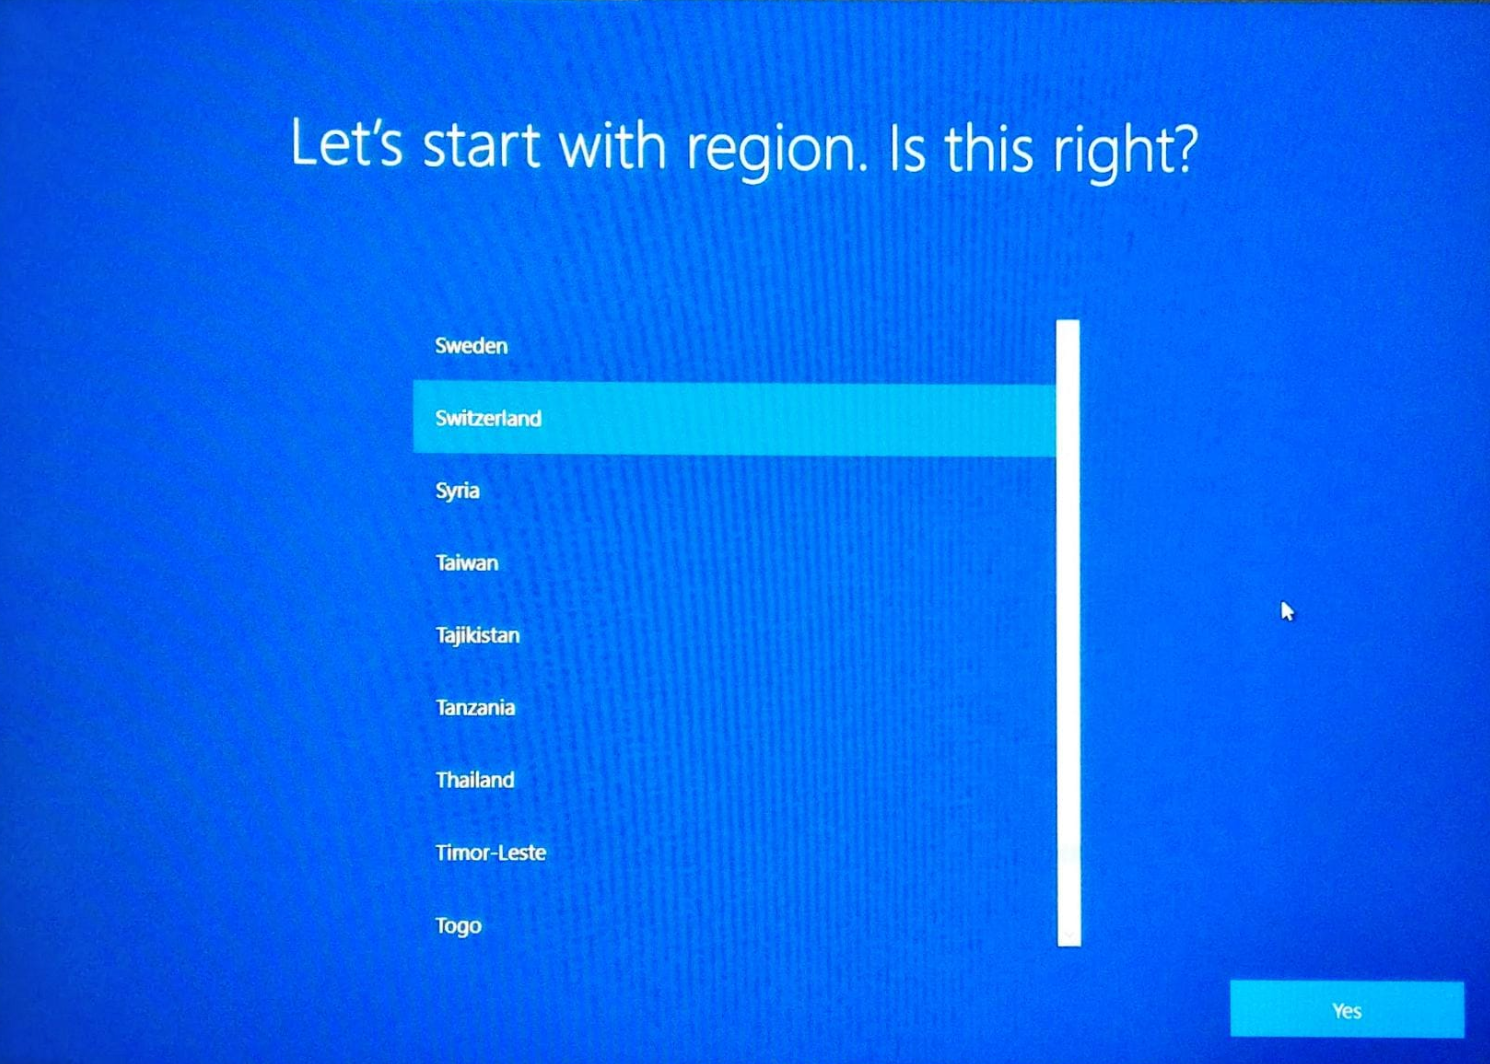 |
In the next step, we choose our region |
 |
After the operating system is basically installed, the autopilot is started |
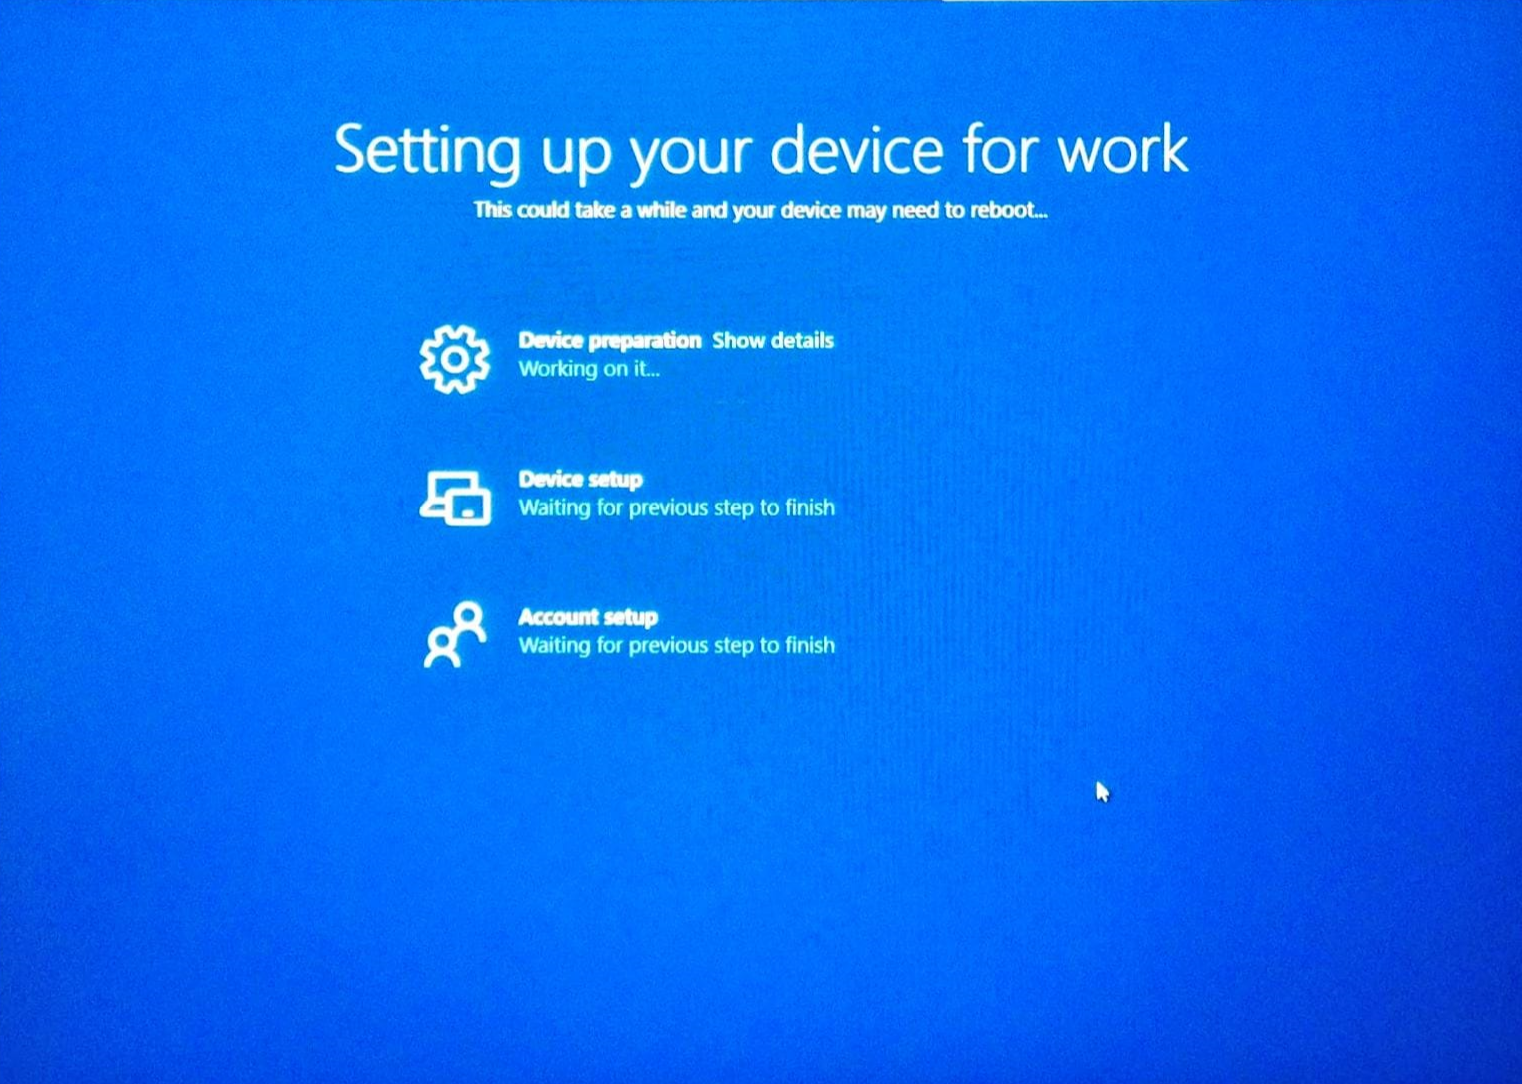 |
After successfully entering the credentials, the configurations of Intune will be loaded and installed. |
 |
Here we go, the device is now ready to use. |
Login to the Azure Tenant
Now we are ready. The end user receives the configured device.
He can now log in with his credentials and the device is finally configured.
Depending on the additional configuration, this may take a while.
However, we can be sure that the Device has been rolled out according to our defined standards.
Get the USB Boot Stick
If you liked this article, you can download the stick for free following THIS LINK. I have prepared an external download area for this Stick on a dedicated SharePoint site.
Note: You need to create a bootable USB Stick with two partitions on it. In the first partition you need the all data from the WINPE folder and on the second partition all form the Images folder.

You can watch the original video how to create such a stick directly in the linked YouTube video below. I hope this article helps you to understand the topic client deployment fast and easy.