Foreword
In this article, I describe one (of several) ways in which a mailbox migration can be carried out from, for example, an old on-premise infrastructure to a new Exchange online migration.
In my practical example, the two sites are on different tiers, and have no connection to each other.
Once again, this is one variant of how such a migration can be carried out. However, some of the points are fundamentally important for each variant and are crucial for the migration to be carried out successfully.
As a final point regarding this article: I have deliberately left out some detailed topics. This is because this article would otherwise be extremely long. My aim with this article is to create a basic playbook that can serve as a framework for all readers, who can adapt and/or extend it for their own purposes.
Phase 1: Preparations
Adjustments to public DNS
One of the first steps I recommend is to customize the public DNS entries. The first step is to adjust the TTL’s of the MX and CNAME entries, and not yet to change the final value of these entries.
If an old Exchange infrastructure has to be migrated, there are always the following two (or even 3) entries:
| DNS Typ | Priorität | Alias | Value | TTL |
| MX | 10 | @ | Mail1.contoso.com | 3600 |
| MX | 20 | @ | Mail2.contoso.com | 3600 |
| CNAME | – | Autodiscover | Autodiscover.contoso.com | 3600 |
Of course, there are also other public DNS entries that are relevant for messaging (SPF, DKIM, etc.), but at this point we will focus on the entries shown in the table.
As already mentioned, we first need to adjust the TTLs, which we temporarily change from 3600 (one hour) to 300 (5 minutes). If we do this at this stage of the migration, we can ensure that the new values are replicated worldwide when the actual cutover migration takes place.
Target side preparation
In this migration example, we will not migrate the mailboxes themselves, but only all mail items such as emails, calendars and contacts. Therefore, the new, empty mailboxes can now be created on the target side.
Depending on the target architecture, this can be a hybrid infrastructure or just Exchange online.
At this point, we only differentiate between where the new mailboxes are to be opened and how licence management can be applied.
If the source site does not have a Microsoft 365 tenant, we can also enter the final mail domain in the target tenant at this point. If this is possible, the new mailboxes can already be created with the final primary SMTP address, which saves enough time in the end.
Summarizing the source side information
As the migration of the mail content will take place via a 3rd party tool, we need some more information on the source side.
This is summarized as follows:
- List of shared mailboxes
- List of room and equipment mailboxes
- Authorizations for shared mailboxes
Note: For a 3rd party migration I usually use Quest or BitTitan migration tools.
So that we can export all shared mailboxes to a CSV file, the following command can be used:
Get-Mailbox -RecipientTypeDetails SharedMailbox -ResultSize Unlimited | select PrimarySmtpAddress,DisplayName | export-csv c:\temp\SharedMailboxUsers.
The website “Office 365 reports” offers a great script for Room and equipment mailboxes. You can download it from the following link:
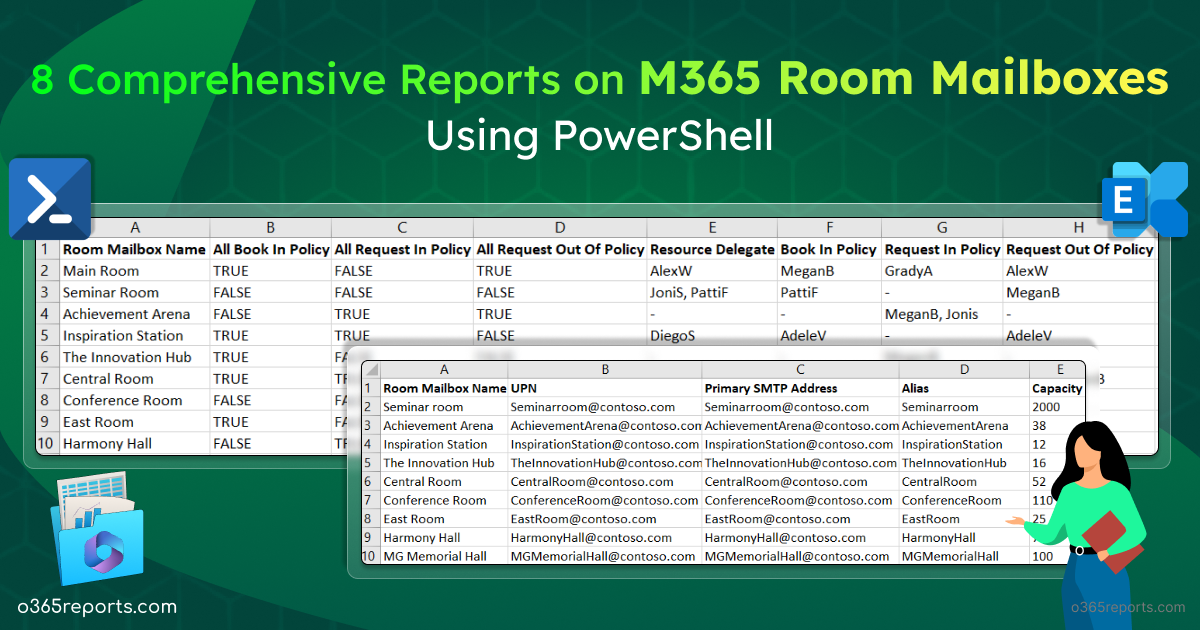
Alternatively, the following two PowerShell commands are also available:
Room Mailbox:
Get-MailBox -Filter '(RecipientTypeDetails -eq "RoomMailBox")' | Select Name,Alias | export-csv c:\temp\RoomMailbox.csv
Equipment Mailbox:
Get-MailBox -Filter '(RecipientTypeDetails -eq "EquipmentMailbox")' | Select Name,Alias | export-csv c:\temp\ EquipmentMailbox.csv
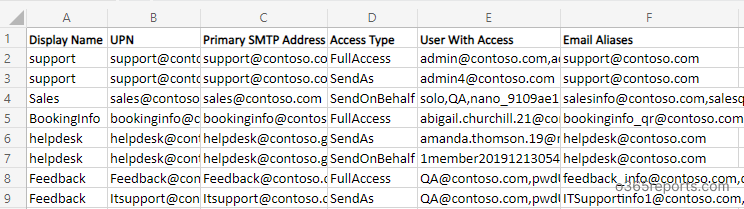
Finally, we need all current authorisations that are set on the shared mailboxes:
Here too, there are two ways in which these can be exported:
Either directly via PowerShell command:
Get-Mailbox -RecipientTypeDetails SharedMailbox -ResultSize:Unlimited | Get-MailboxPermission |Select-Object Identity,User,AccessRights | Where-Object {($_.user -like '*@*')}|Export-Csv C:\Temp\sharedfolders.csv -NoTypeInformation
Or again thanks to the “Office 365 reports” website:
Phase 2: Prepare target
Once the new and empty user mailboxes have been created, we need to take care of the room, equipment and shared mailboxes.
Creating the room mailboxes
As we have previously created an export of the various room, equipment and shared mailboxes, we can now use some of my PowerShell scripts.
These scripts work in such a way that they do not need to be customized before use. We can simply start these scripts and are automatically guided through the respective process.
We can use the following script for the Room Mailboxes:

Creating the equipment mailboxes
The process here is practically identical to the Room mailboxes. The only two points that are different are the corresponding CSV that is to be used and also with my PowerShell scripts it is the following:
Creating the shared mailboxes
The third import is now aimed at the shared mailboxes. As with the other two mailbox types, we have also prepared a corresponding CSV here. We can now use this with the following script to create the new empty shared mailboxes on the target page:
Setting the authorizations
After the shared mailboxes AND the user mailboxes have been successfully created in the target page, we now take care of the corresponding authorizations.
Once again, we have prepared a CSV from the source page for this topic.
Now we can set the corresponding authorizations with another script:
Further information on phase 2
It is important that the exported CSV files from the source page are adapted as they are to be used for the scripts on the target page. How exactly this looks is described in the respective script itself, or alternatively in the README of the GitHub repository.
I will not describe public folders, etc. further in this article, or go into them in more detail.
Phase 3: Mail content migration
In this phase, we now perform an initial sync between all mailboxes on the source and target side. This is not a final migration, but rather a pre-sync of the mail data up to a defined date.
This helps us to migrate less content on the cutover date.
Note: Before the pre sync, please note whether any archive solutions are still in use on the source side. If this is the case, you must first take care of this and ensure that this content can also be migrated.
There are also several ways in which this can be implemented. I will therefore not go into this point further in this article. However, it is important that this point is taken into account.
Phase 4: Cutover migration
For the cutover migration, it is very important that all other phases have already been successfully completed. In my example, the following points are important to note:
Preparing Outlook profiles
In order for users to receive the new mailbox after the cutover, the old Outlook profile should be deleted. Once again, there are different ways to do this. I have already dealt with this topic in the past and have described three variants in more detail. You can find them in the following link:

Adjusting the public DNS entries
Now we have to adjust the public DNS entries mentioned at the beginning. We assume that the target is Exchange online. The entries can therefore look as follows:
| Record Rype | Priority | Alias | Target / Value | TTL |
| MX | 10 | @ | your-domain-com.mail.protection.outlook.com | 3600 |
| SPF | – | – | v=spf1 include:spf.protection.outlook.com -all | 3600 |
| DKIM | – | – | your-domain-com.selector1._domainkey.your-domain-com.mail.protection.outlook.com | 3600 |
| CNAME | – | Autodiscover | Autodiscover.outlook.com | 3600 |
As you can see, the SPF and DKIM records are already displayed here. Of course, further entries can be added in the SPF, for example. This example is the absolute minimum.
Optionally, here is some more information about SPF:

Final migration
In the next step, we can now carry out the final migration of the source mailboxes to the target mailboxes.
Important: Do not do this immediately after the public DNS records have been adjusted, as there is a possibility that certain emails could still be routed to the old mailbox.
Last step
Depending on how the user’s Outlook profile is to be reset, this can now be applied. This means that the next working day, users can automatically connect to the new Outlook profile thanks to Autodiscover.
A little tip: We always give employees a little goodie, such as a small bar of chocolate, which is available at the workplace, so the first day after the cutover usually starts with a positive feeling, which massively increases acceptance.
Note: The Outlook profile on the mobile device must also be reintegrated. In 90% of cases, this is either done manually by the user (thanks to Autodiscover, this is not a problem), or alternatively with Microsoft Intune.
Conclusion
As already mentioned at the beginning, depending on the requirements and project, there are other points that need to be considered or should be done differently. This article is intended to reflect the basic framework of such a migration.
I hope that this article, or even just parts of it, will help you with mail migrations in the future.
🙂