
This script is for the following use case:
An administrator needs to add multiple users from an organisation to an Azure AD group.
This can be done in different ways. On the one hand in the Azure Admin Portal or via Powershell.
In my variant, I have created a script that can massively simplify and speed up this process.
This article serves as documentation for my script, which you can find on my GitHub page.
Preparation
My approach is that all users who are to be added to a group are recorded in a CSV. The CSV needs the following format: “UserPrincipalName”, “DisplayName”.
The administrator can now create a corresponding CSF manually or export an extract from the current Azure Active Directory.
To do this, he can use the following script:
# Split path

$Path = Split-Path -Parent "C:\MDM\*.*"

# Create variable for the date stamp in log file

$LogDate = Get-Date -f yyyyMMddhhmm


# Define CSV and log file location variables

# They have to be on the same location as the script

$Csvfile = $Path + "\AllAzADUsers_$logDate.csv"


# Get all Azure AD users

$AzADUsers = Get-AzureADUser -All $true | Select-Object -Property *

# Display progress bar

$progressCount = 0

for ($i = 0; $i -le $AzADUsers.Count; $i++) {

Write-Progress `

-Id 0 `

-Activity "Retrieving User " `

-Status "$progressCount of $($AzADUsers.Count)" `

-PercentComplete (($progressCount / $AzADUsers.Count) * 100)

$progressCount++

}

# Create list

$AzADUsers | Sort-Object GivenName | Select-Object `

@{Label = "DisplayName"; Expression = { $_.DisplayName } },

@{Label = "UserPrincipalName"; Expression = { $_.UserPrincipalName } }|


# Export report to CSV file

Export-Csv -Encoding UTF8 -Path $Csvfile -NoTypeInformation #-Delimiter ";"
After that, the actual script can be executed. The following is a step-by-step documentation:
AddUserToAADGroup
It is important to note that this script currently only works with security groups!
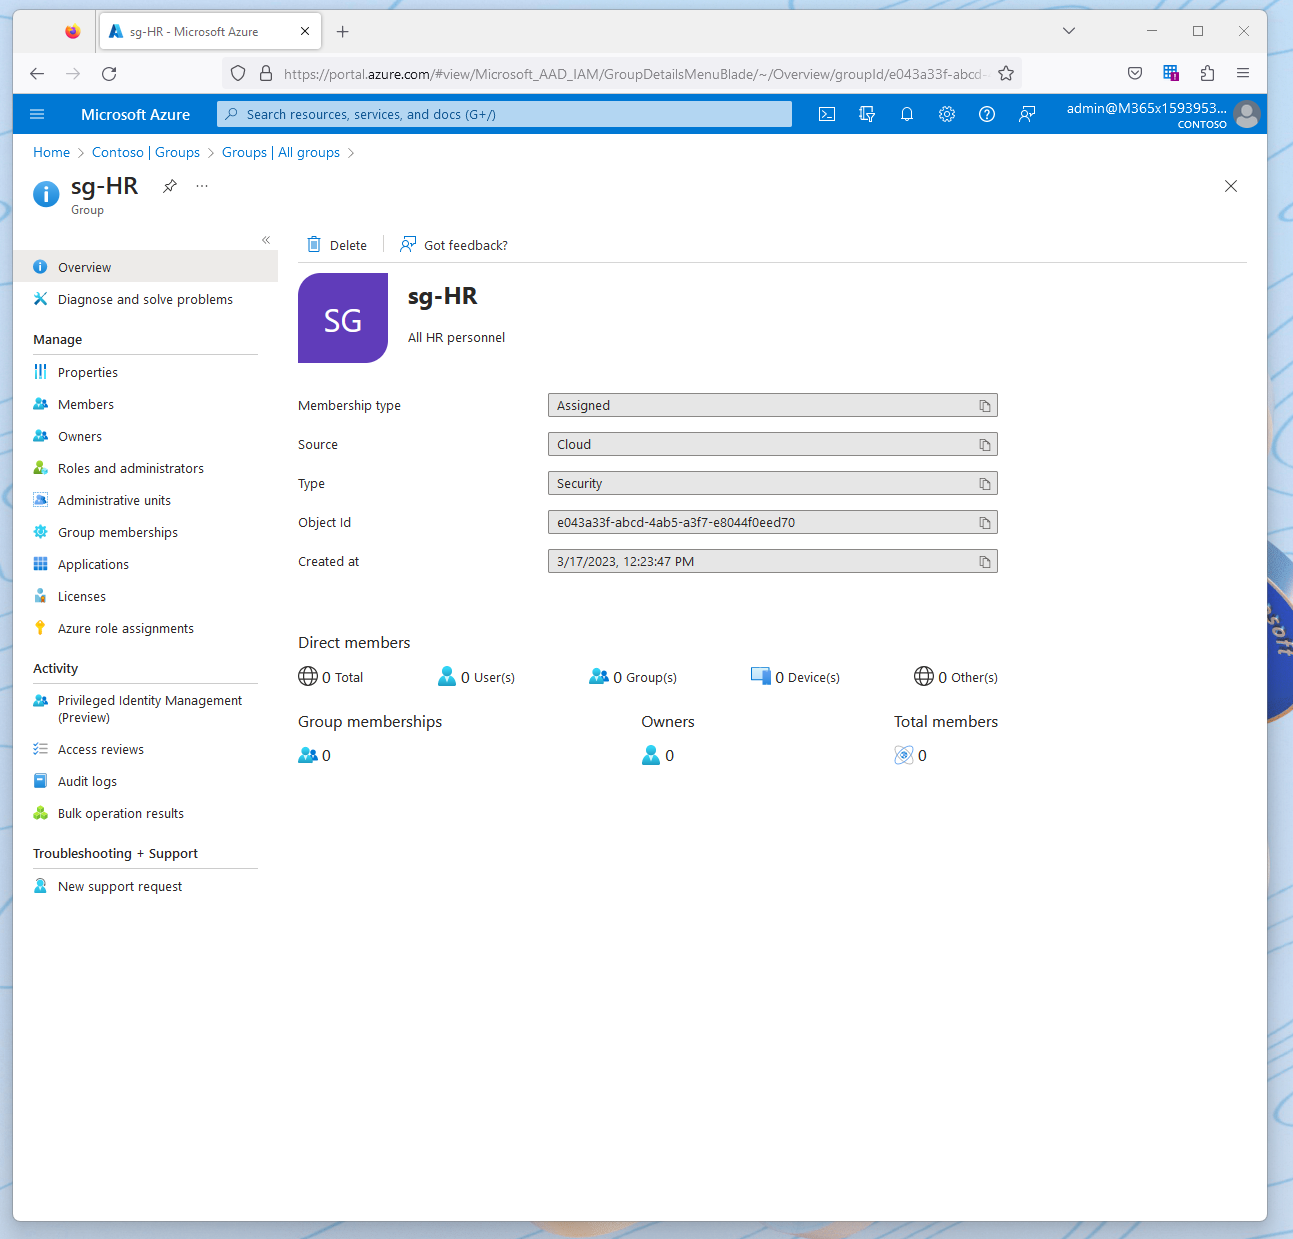
| In the Azure AD portal, we first identify the group that is to receive several new members.
In this example, it is the group “sg-HR”. As we can see, this group currently has no members. |
 |
| Now we start the PowerShell console and connect to our tenant with the command “Connect-AzureAD”. |  |
| After we have started the script, we are asked to accept the EULA. | 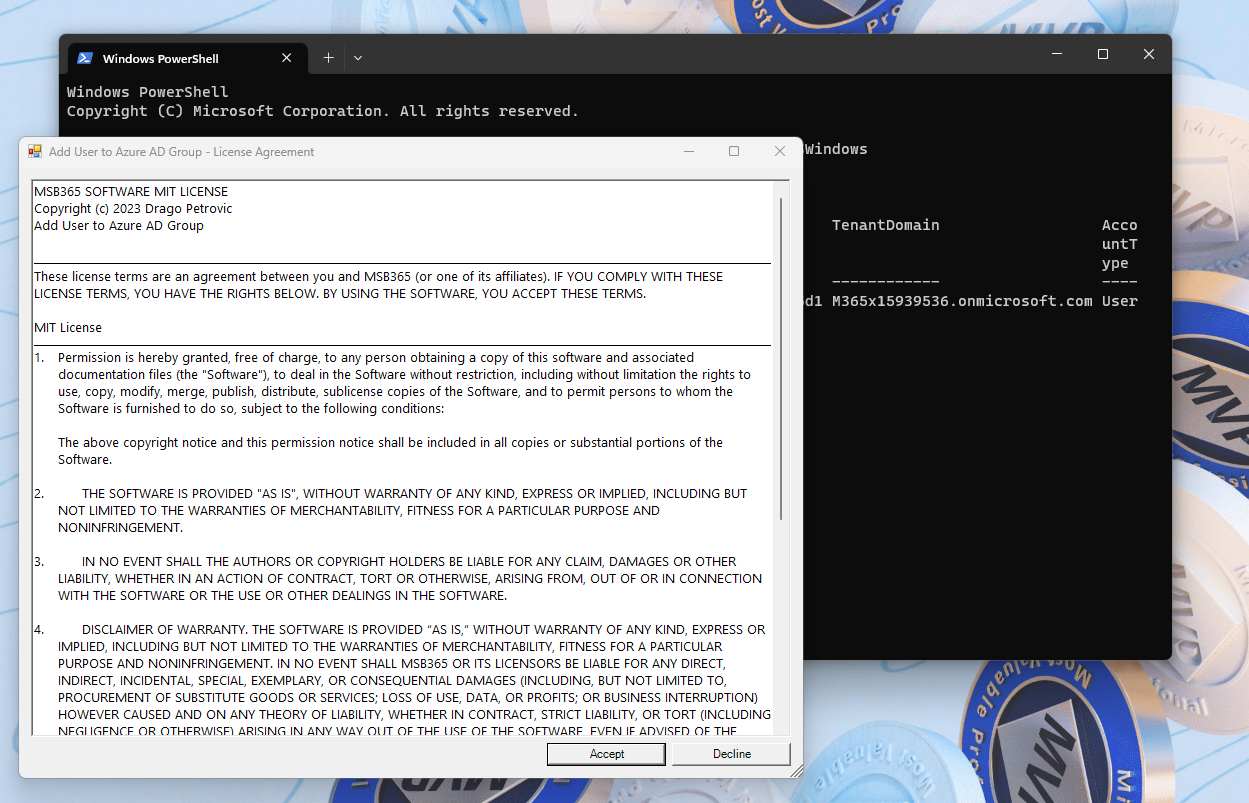 |
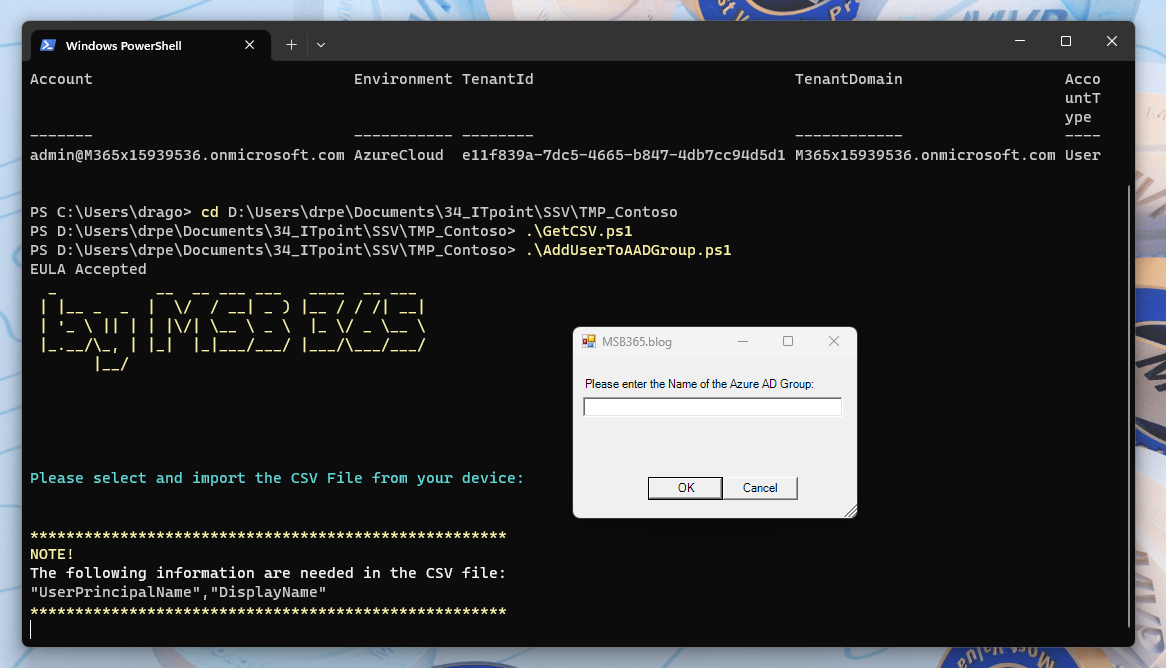
| When the EULA has been accepted, a new pop-up window appears where we can enter the name (not UPN) of the desired group.
Please enter the corresponding entry here and confirm with OK. |
 |
| After we have defined and confirmed the group, a new window appears, now we can simply browse to the desired CSV file, select it and confirm with “Open”. | 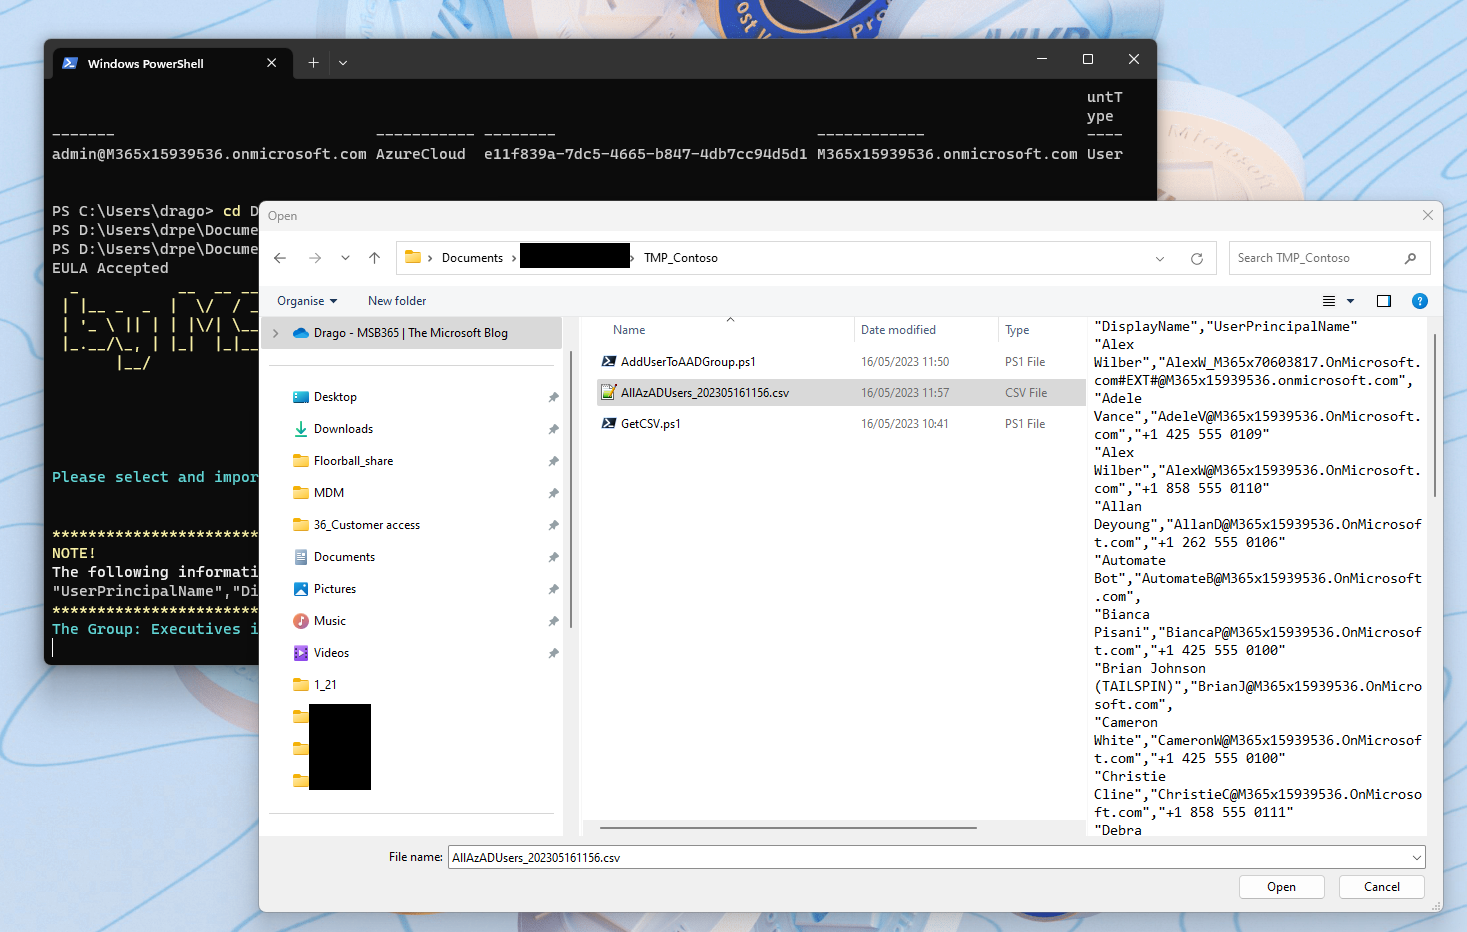 |
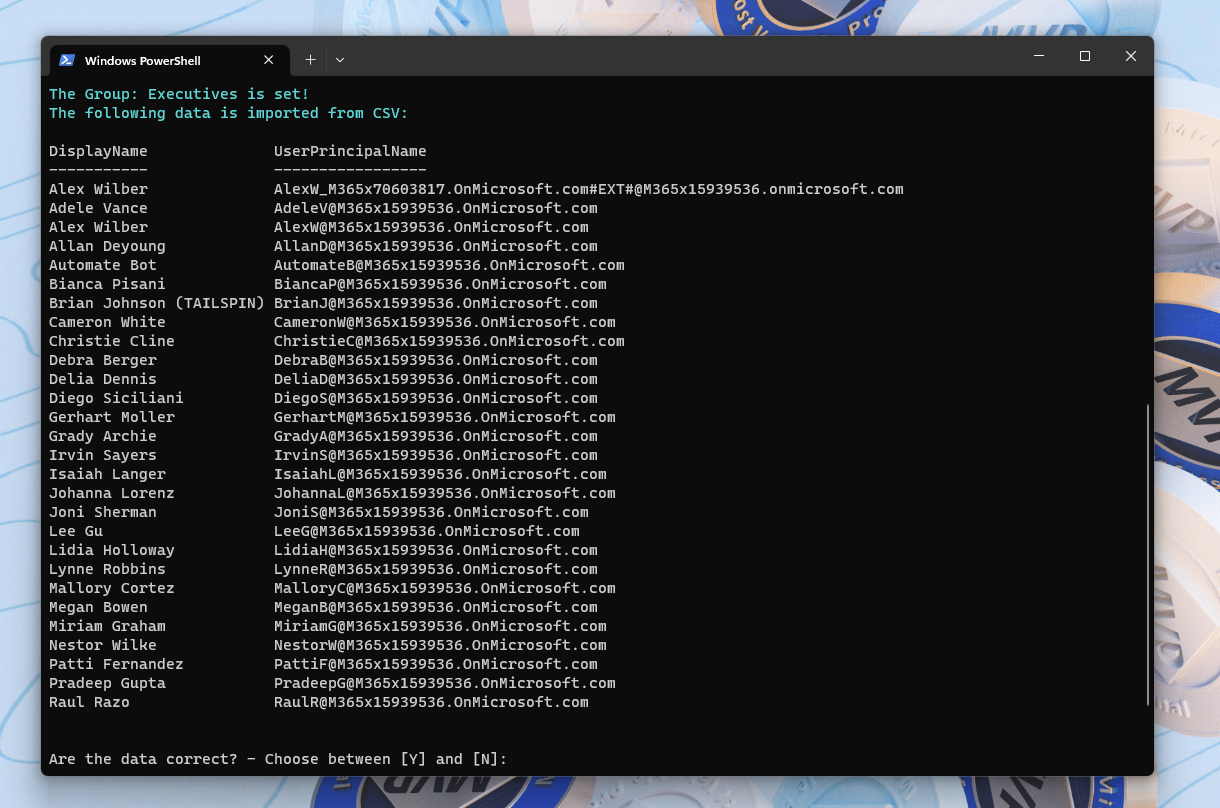
| The content of the imported CSV file is now displayed in the PowerShell window. Here we have the opportunity to check again whether we have selected the correct file.
If this is not the case, simply continue with “N” and we can select another CSV file.
However, if it is the right file, we continue with “Y”. |
 |
| Now all users from the CSV file are added to the group defined to begin. |  |
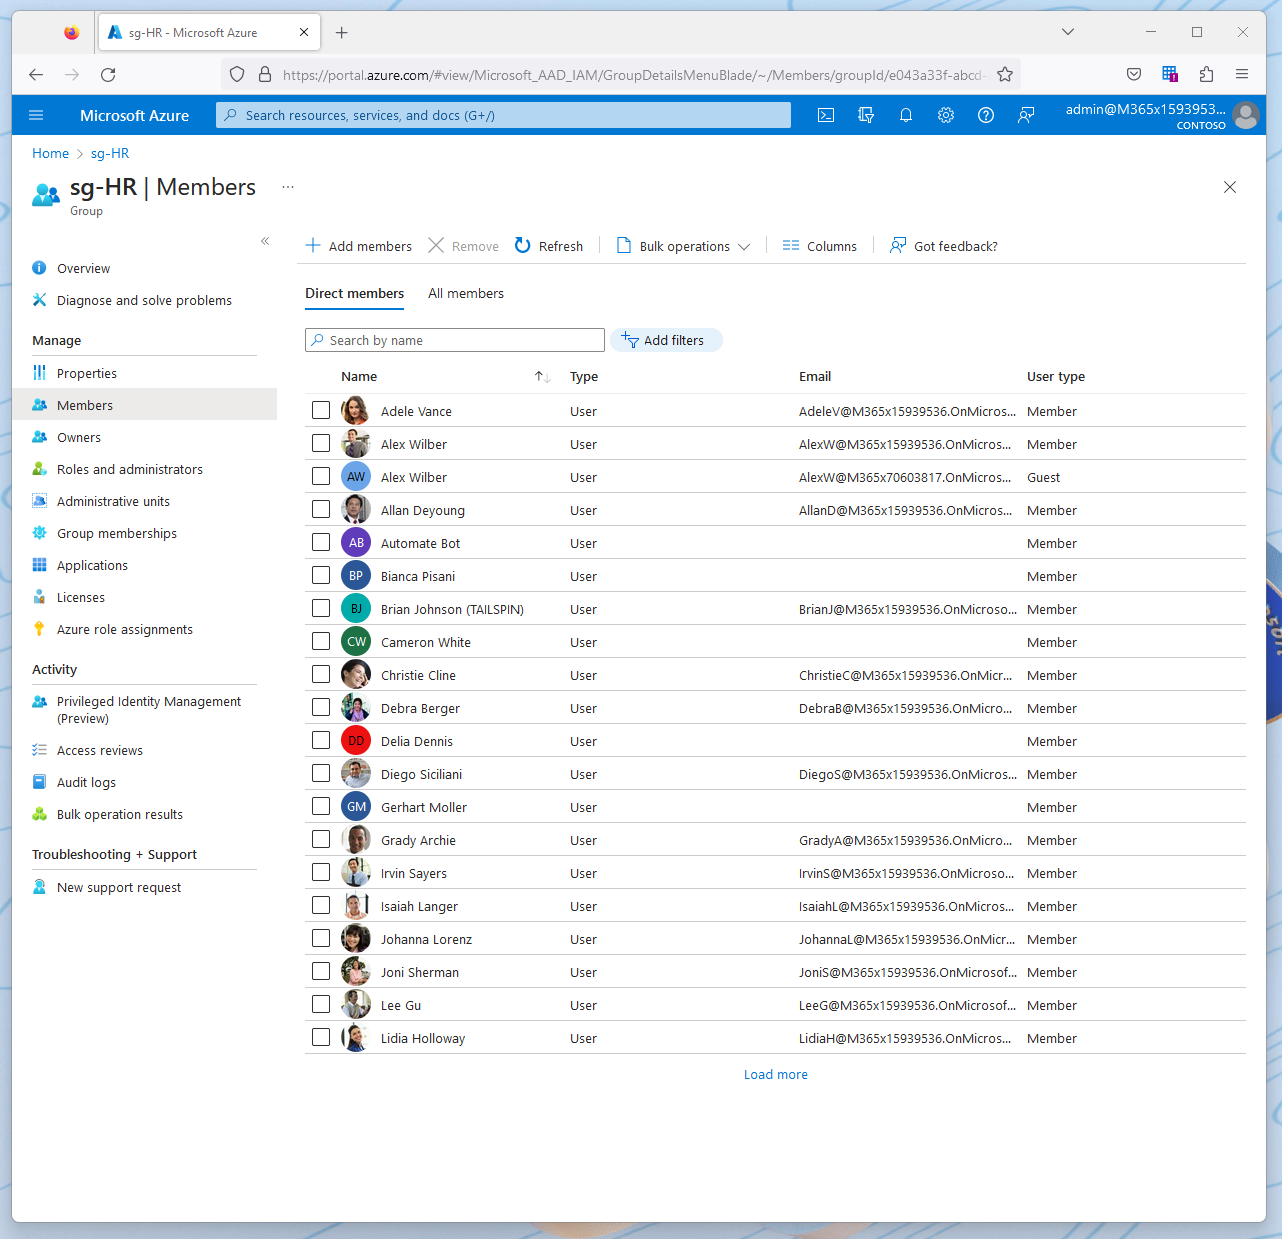
| After the process is complete, we see that the group has 28 new users and these are the users we had in our CSV. | 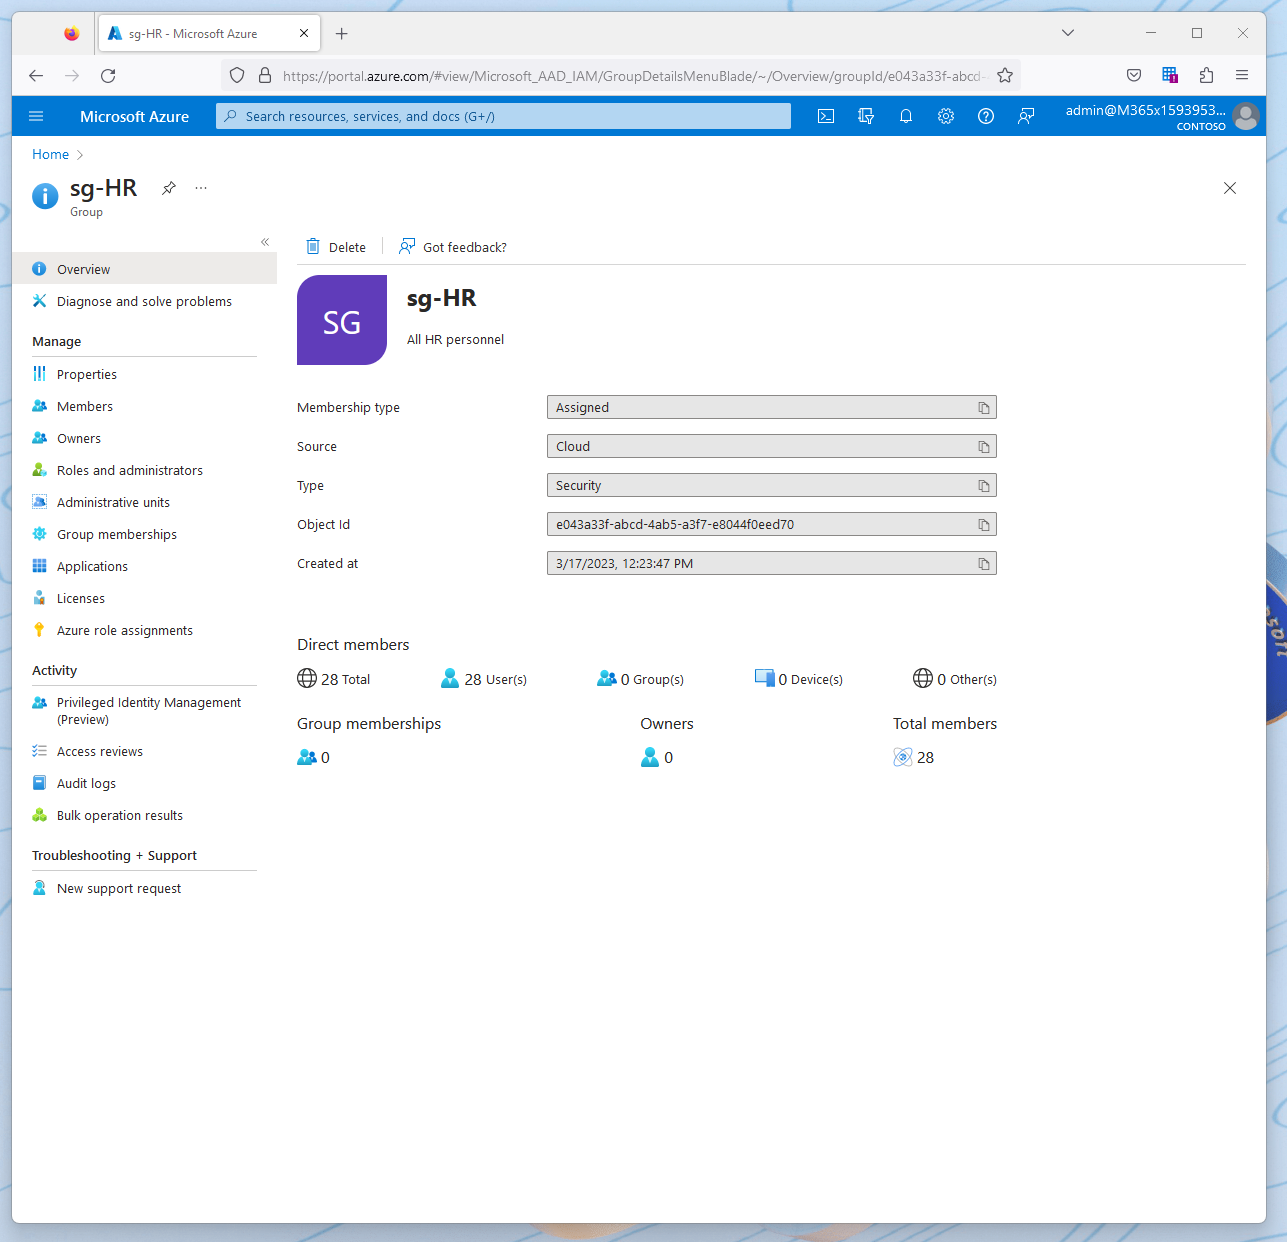 |
| Of course, we can also check this further.
Basically, the task is now completed. |
 |
PowerShell Script on GitHub
The script itself can be found on my GitHub repository under the following link

Conclusion
The script can be used free of charge as described in the licence conditions. Changes are also allowed. However, when distributing or using the individual modules, reference must be made to this article and the MSB365 blog.
I strongly recommend testing the script in a LAB the first time you use it.
Likewise, I assume no liability for possible damage that the script may cause.
It is not allowed to pass on this script or single modules to third parties against payment. We follow the approach: From the community, for the community.
❤️


Pingback: Add BULK Customers from CSV to Azure AD Group - Hacker Takeout